Creating dialog boxes
There are several ways you can create dialog boxes in your apps. The easiest way is to use the MessageBox method. The MessageDialog class provides a bit more features. Lastly, you can create your own dialog with its own layout by creating a custom dialog box using a Window.
A simple message box
You can display a simple message box to the user with the MessageBox method. This is useful for displaying a brief message to the user in the form of a modal dialog box. Pass the text that you want to display to the MessageBox method. For example, the following message could be shown when a file upload has completed successfully:
MessageBox("File transfer complete!")
This line of code displays a message box with the message and one button that the user can click to dismiss the dialog.
Note
Visual Basic's MsgBox method is also supported for compatibility and is identical in syntax and functionality to MessageBox.
MessageBox on Windows |
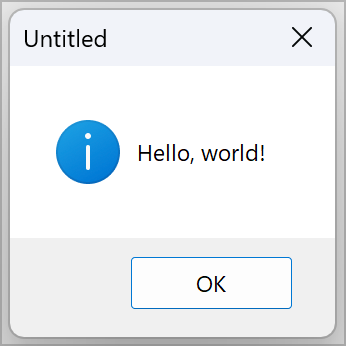
|
MessageBox on macOS |
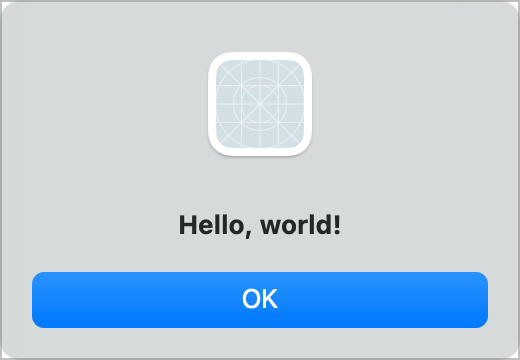
|
MessageBox on Linux |
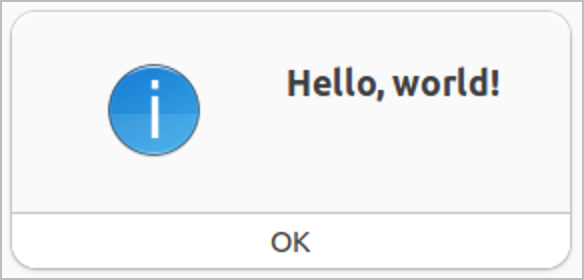
|
If the string that you pass to MessageBox contains a null character or unprintable characters, you should filter them out before passing them to MessageBox. The null character will terminate the string, no matter where it appears.
Use MessageBox when you need a simple message dialog box. The MessageDialog class itself supports more configuration options should you need them such as additional buttons, icons, and more.
Message Dialog
A Message Dialog is a much more flexible dialog that you can display to the user. By taking advantage of the MessageDialog class you can have more sophisticated dialog boxes than are possible with the MessageBox function.
With the MessageDialog class, you can present up to three buttons and control their text and functionality. You can also present subordinate explanatory text below the main message.
However, since MessageDialog is a class, you cannot accomplish all of this with a one line function call. You need to declare a variable as type MessageDialog, instantiate it, set its properties, and handle the result returned, which tells you which button the user pressed. This is a little bit more work, but the results are worth it.
A MessageDialog can have up to three buttons: ActionButton, CancelButton, and AlternateActionButton, which each have these properties:
Property |
Description |
|---|---|
Caption |
The text displayed in the button. |
Visible |
Indicates if the button is displayed. Set to True to show the button. |
By default, only the ActionButton is shown, but you can show the others simply by setting their Visible properties to True.
In addition, you can set the text of the message, the subordinate explanation, the type of icon shown in the dialog (no icon, Note, Warning, Stop, or Question), and the title.
Not all of the icons are displayed on MacOS.
You present the customized dialog by calling the ShowModal method of the MessageDialog class.
After the user clicks a button, MessageDialog returns a MessageDialogButton object, which is either an ActionButton, CancelButton, or AlternateActionButton. By determining the type of object that was returned, you learn which button the user pressed. You can also examine the returned object's properties, if necessary.
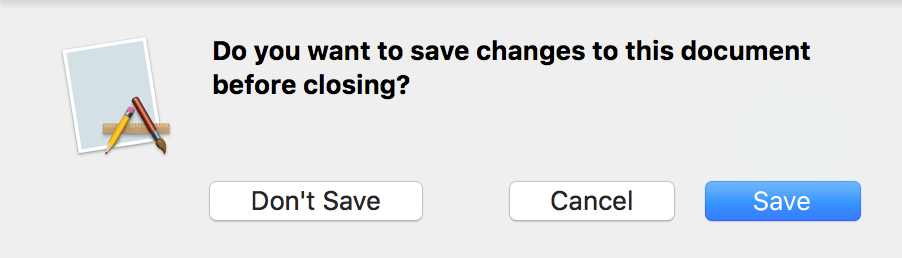
Here is an example:
Var dialog As New MessageDialog

dialog.Message = "Do you want to save changes to this document before closing?"
dialog.ActionButton.Caption = "Save"
dialog.CancelButton.Visible = True
dialog.CancelButton.Caption = "Cancel"
dialog.AlternateActionButton.Visible = True
dialog.AlternateActionButton.Caption = "Don't Save"

Var dialogButton As MessageDialogButton
dialogButton = dialog.ShowModalWithin(Self)

Select Case dialogButton
Case dialog.ActionButton
  ' Save
Case dialog.AlternateActionButton
  ' Don't save
Case dialog.CancelButton
  ' Cancel
End Select
Custom dialogs
There will be times when you need a more advanced dialog box, perhaps with additional controls or a more sophisticated layout than what MessageBox and MessageDialog offer. In these situations you can use a Modal Window as a dialog box.
To do this, add a Window to your project and set its Type property in the Inspector to one of these values:
Movable Modal: A modal dialog box with a title bar that the user can use to drag it around the screen.
Modal Dialog: A modal dialog box that cannot be moved around the screen by the user.
Sheet Window: Available only on MacOS, a sheet window drops down from the parent window. Because of this you do not see the title bar. On Windows and Linux, a Sheet Window behaves the same as a Movable Modal window.
On macOS, it is important that you add a way for the dialog to close since there is no close button. Typically you use a button for this and in its Pressed event handler call Self.Close to close the dialog.
To make a value available for the caller to check, create a public property on the dialog window and set it to the value before you close the dialog.
This code (in the Pressed event handler of a button on a dialog) gets the selected text from a ListBox, assigns it to the SelectedName property and closes the dialog:
If NameList.SelectedRowIndex >= 0 Then
  SelectedName = NameList.SelectedRowText
  Self.Close
End If
This is the code that calls the dialog window and assigns the SelectedName to a Label on the window:
Var dialog As New DialogWindow
dialog.ShowModal

ResultLabel.Text = dialog.SelectedName
By default dialogs display centered on the main screen. You can reposition a dialog by setting its Left and Top properties. This code centers a dialog above its parent window:
Var dialog As New DialogWindow
' Calculate center of parent (Self)
Var dLeft As Integer = Self.Left + (Self.Width - dialog.Width) / 2
Var dTop As Integer = Self.Top + (Self.Height - dialog.Height) / 2

' Change position to new center coordinates and show the dialog
dialog.Left = dLeft
dialog.Top = dTop
dialog.ShowModal
File dialogs
Use the built-in file dialogs to create file open and save dialogs. They are:
For more information on how to use these, refer to the Accessing the file system via the FolderItem Class topic.
See also
MessageBox method, MessageDialog class, DesktopWindow, OpenFileDialog, SaveFileDialog, SelectFolderDialog classes