Understanding Screens
Screens are where you design a mobile layout by adding controls. This is similar to a Window in desktop projects or a WebPage in web projects. You drag controls from the Library onto the Screen, positioning them as appropriate.
Note
iOS uses a feature called Auto-Layout to determine how the controls move on the screen as the device size or orientation changes.
Use the Insert button or menu to add new Screens to your project. You can change the way the Screen layout appears by using the Portrait/Landscape buttons or by clicking the Device Type button to change the size of the device to various iPhone and iPad sizes. Note that these only affect the preview and do not alter how the app runs. If you want to control Portrait/Landscape support for your app, do it in for the appropriate iOSLayout. Otherwise the Layout Editor for a Screen works as described in the Layout Editor topic.
Add event handlers to the controls the same way you do in desktop and web projects: choose the "+" button in the Layout Editor toolbar and select "Add Event Handler". A view can have several event handlers: Activated, Closing, Deactivated, Opening, Resized and ToolbarButtonPressed.
Below are commonly used events, properties and methods used with Screens. Refer to MobileScreen for the complete list.
Events
Activated - Called when the Screen is first opened or redisplayed after another Screen that was displayed over it is closed.
Closing - Called when the Screen is closing.
Deactivated - Called when the Screen is deactivated by either closing it or displaying another Screen on top of it.
Opening - Called when the screen first opens. This is typically where you will do initialization such as setting up toolbars.
ToolbarButtonPressed - Called when a button on the Navigation Bar or the Toolbar is pressed.
Properties
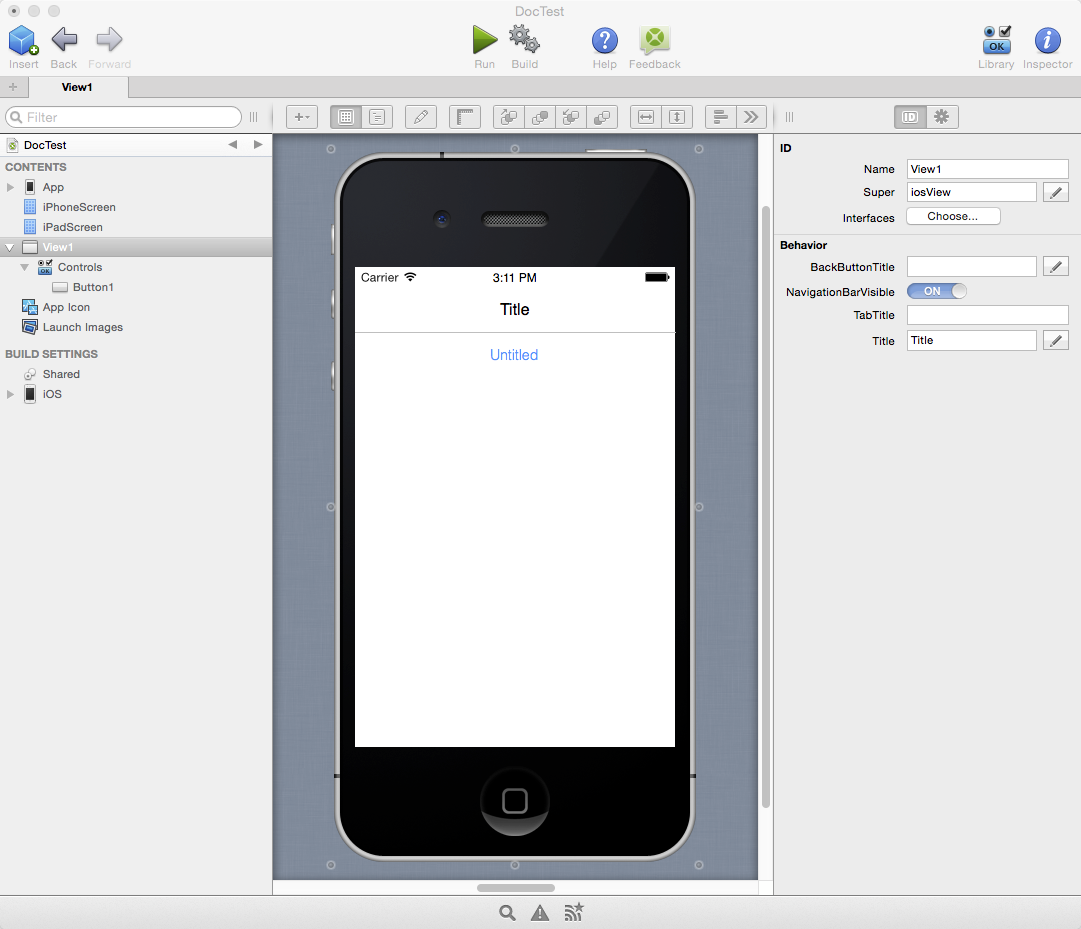
The Behavior section of the View Inspector has these properties you can use: BackButtonCaption, HasNavigationBar, and Title.
BackButtonCaption - BackButtonCaption is the title that appears on a subsequent Screen to get back to this Screen. For example, if this Screen contains Notes, then you might set BackButtonCaption to "Notes" so that if a later Screen displays details for a note (by pushing onto this Screen), its back button will show "Notes" instead of just "Back". When you then click the "Notes" button, the new Screen closes and this Screen reappears.
Title - The Title property is the title of the view.
HasNavigationBar - The Title and BackButton are only displayed if the Navigation Bar is visible (HasNavigationBar is ON or True).
Methods
Usage
Displaying a new Screen
You are often going to have more than just a single Screen for your app. Unlike a desktop app that can have multiple windows open at once, a mobile app can only have one Screen open at a time. When you call the Show method to display another Screen, the new Screen is displayed in front of the current one in a stack formation. This means that when the frontmost Screen closes, the one underneath it will be displayed automatically. The Show method automatically creates this stack so that the back button (in the Navigation Bar) on the new Screen can be used to go back to the original Screen.
For example, say you have a view called NotesScreen and a view called NoteDetailScreen and you want NoteDetailScreen to appear when the user clicks on a note displayed in NotesScreen. This code on NotesScreen displays NoteDetailScreen:
Var details As New NoteDetailScreen
Self.Show(details)
The previous Screen can be displayed by the user tapping the back button in the Navigation Bar (if enabled) or by closing the new Screen in your code:
Self.Close
Changing the current Screen
There may be times when you want to change the current Screen but do not want it to be part of the Screen navigation stack. This situation can occur with a startup login screen, for example. You can have the login Screen be displayed by default and when the user successfully logins in, you can change the base screen to a new Screen so that the navigation stack is not available. You can directly change the current Screen to a new Screen by using the MobileApplication.CurrentLayout.Content property like this:
Var myNewScreen As New MyScreen
App.CurrentLayout.Content = myNewScreen
The above example simple switches to a new Screen, but you can also switch the layout to point to a new tab or split (on an iPad). To switch to a new tab, you have to create a new iOSTabBar and then add your Screens to the tabs. This example adds two tabs to a tab and then makes it the current layout:
Var tab As New iOSTabBar

Var mv As New MainScreen
mv.Title = "Main"
tab.AddTab(mv)

Var v2 As New Screen2
v2.Title = "Tab 1"
tab.AddTab(v2)

App.CurrentLayout.Content = tab
Similarly, this example adds two Screens to a split and then makes it the current layout:
Var split As New iOSSplitView

Var master As New MainScreen
split.Master = master

Var detail As New DetailScreen
split.Detail = detail

App.CurrentLayout.Content = split
Displaying a modal Screen
A modal Screen is a Screen that is also displayed without replacing the current Screen. A modal Screen cannot have toolbars and should not have other Screens pushed onto it. You can show and close a modal Screen using the ShowModal method:
Var v As New ModalScreen
v.ShowModal