Creating Split Layout for larger iOS Screens
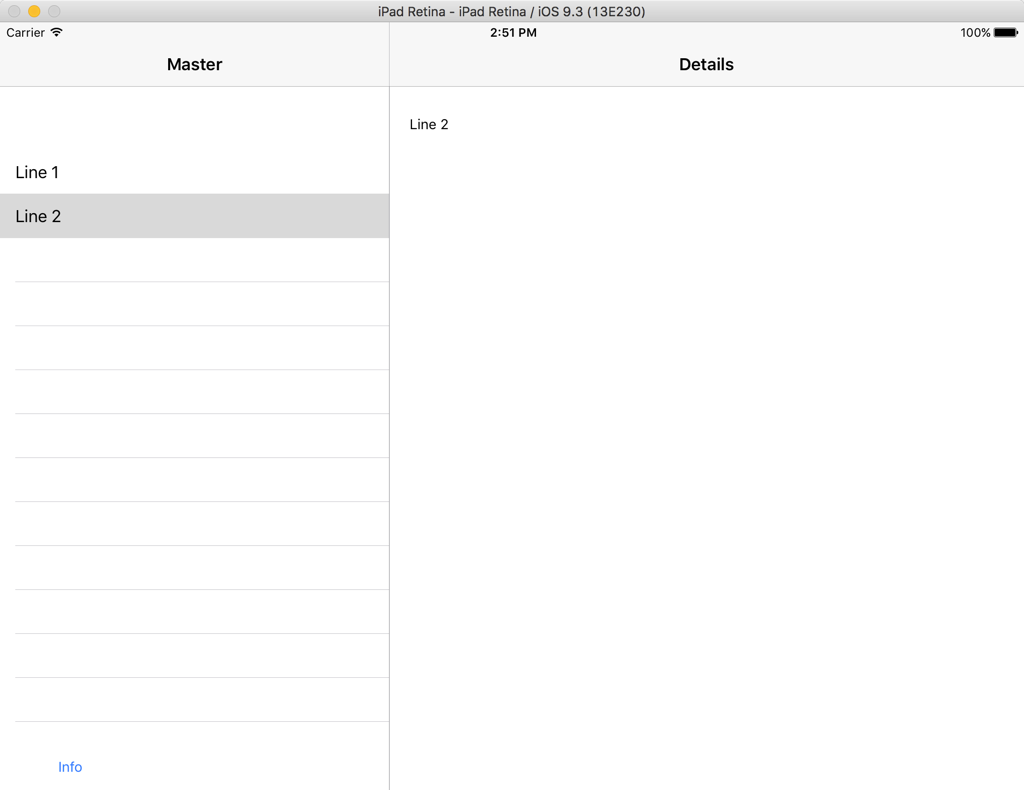
A Split layout allows you to split the layout area into two sections: a master on the left and a detail on the right. Each of these sections is its own Screen (or Tab). This layout is only available for iPads so you set it up on the iPadLayout used by iPad-sized devices. In landscape orientation, the master and detail appear on the screen at the same time.
In portrait orientation, by default only the detail section appears. Swipe from the left edge of the screen to the right to show the master section. To force the split to display both sections in portrait, set the iOSSplitView.DisplayMode property.
The Mail app included with iOS is an example of a split layout in action. When displayed in landscape orientation it displays the email messages on the left and the selected message in the detail section on the right.
You can also have each section of a Split be a Tab for further granularity.
Split Layout
You configure a split layout in the iPadLayout project item. In its Inspector, go to the Content property and change the value to "Split". This displays two additional properties:
Left (Main)
Right (Detail)
For these two sections you can specify a Screen to display or you can choose to set up tabs that display within the sections. Change the layout control to "Landscape" to see how the two sections will look side-by-side.
Be sure to select an iPad device in the iOS settings to run and test the split in the iOS Simulator.
You use the MobileScreen.ParentSplitScreen property to see if a split is active. If it is not Nil then a split is active. This returns an iOSSplitView with the properties Detail and Master that allow you to get the screens (or tabs) that are set for those sections. You can use these properties to cause other screens to be displayed in the sections at run time.
This code (which, for example, could be on a table in the master screen) changes the detail section to display a screen containing customer details:
If Self.ParentSplitView <> Nil Then
  Var details As New CustomerDetailsScreen
  Self.ParentSplitView.Details = details
End If
This code pushes a new screen onto whatever screen is displayed in the details section:
If Self.ParentSplitView <> Nil Then
  If Self.ParentSplitView.Detail IsA MobileScreen Then
    Var info As New InfoScreen
    info.Show(MobileScreen(Self.ParentSplitView.Detail))
  End If
End If
Dynamic Split Layout
You can also create split layouts at run time using the iOSSplitView class and the MobileApplication.CurrentLayout property. You can manually create a new iOSSplitView in your code, assign views to the Master and Detail properties and then assign the split to the MobileApplication.CurrentLayout property. This technique allows your app to switch between a split and a non-split screen.
To check if a split is available for use, you can use the iOSSplitView.Available shared method. You do not want to set up a split on an iPhone because only the Detail section will be visible and there will be no way to get to the Master section. This code sets up a split:
If iOSSplitView.Available Then
  Var split As New iOSSplitView

  Var master As New MasterScreen
  split.Master = master

  Var detail As New DetailScreen
  split.Detail = detail

  App.CurrentLayout.Content = split
End If
See also
iOSSplitView, MobileScreen classes