Making a LED light blink part II
In this tutorial you will extend the Making a LED Light Blink Part I to add a button to the breadboard. With Xojo code you will turn on the LED when the button is pressed and turn off the LED when the button is not pressed.
Parts
In order to build this circuit, you'll need some additional parts:
A digital button
2 male-to-male jumper wires
1 10k resistor
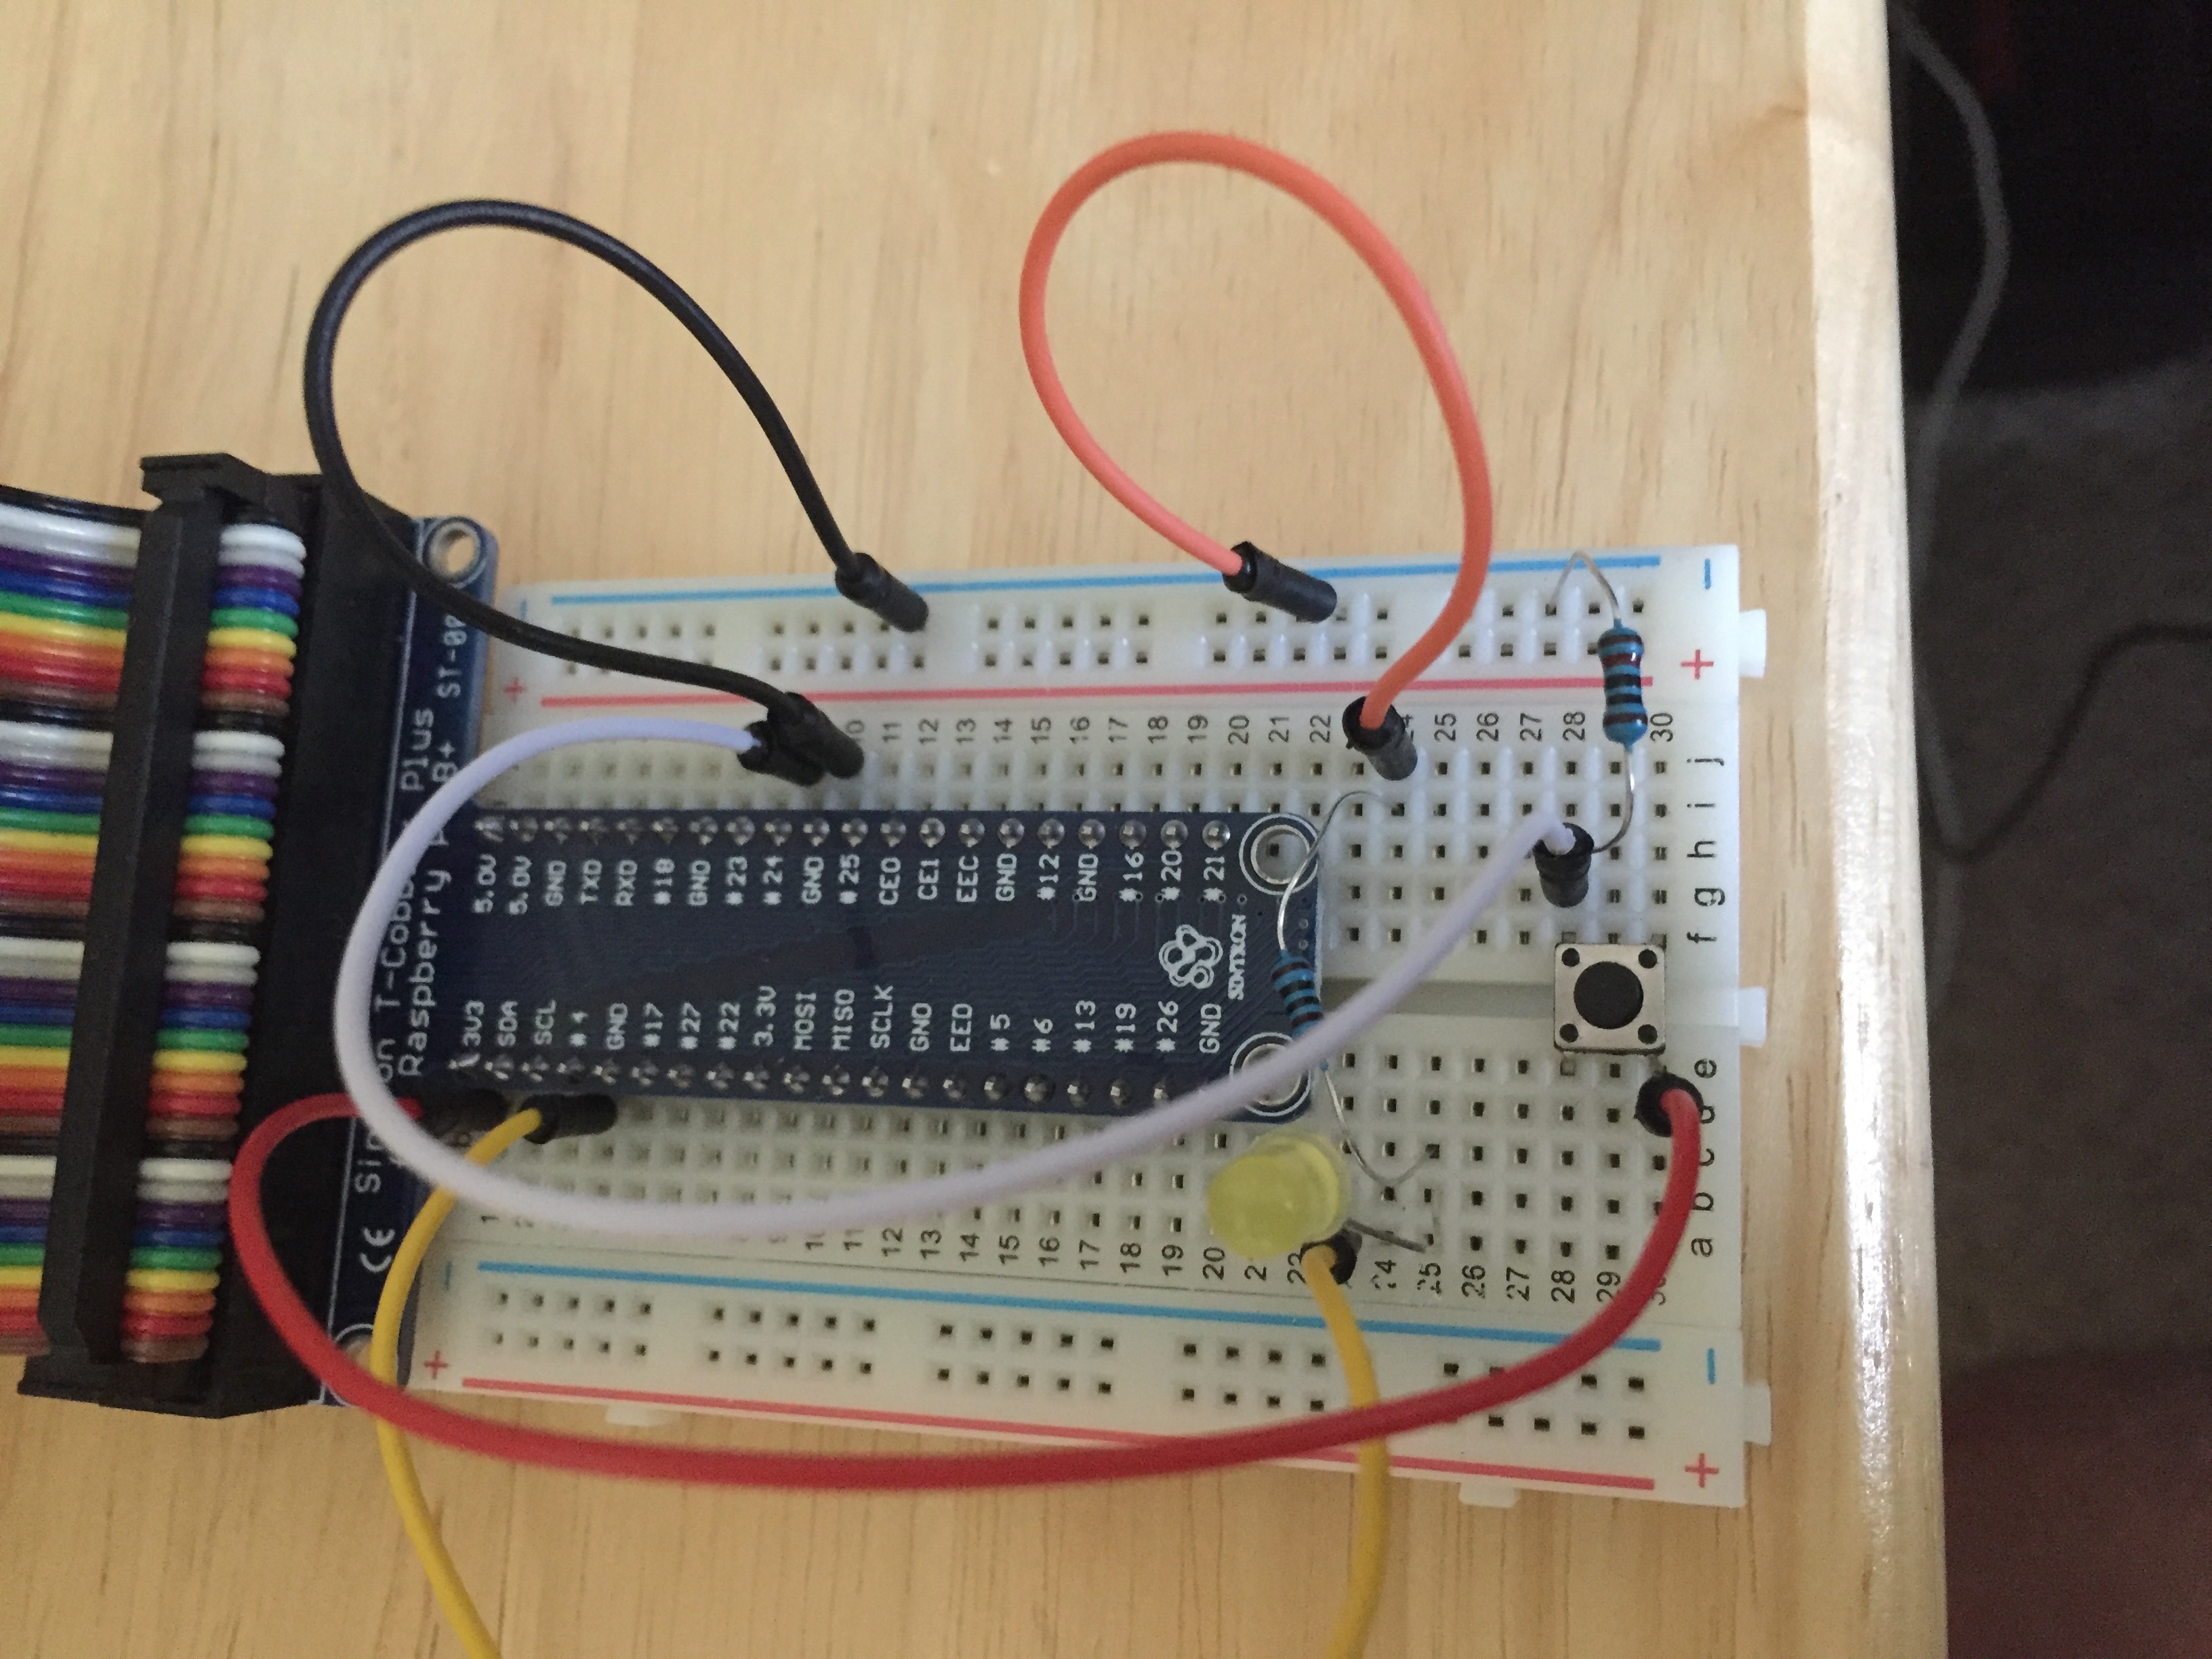
Wire the button circuit
Plug the button into the breadboard so that it straddles the center channel.
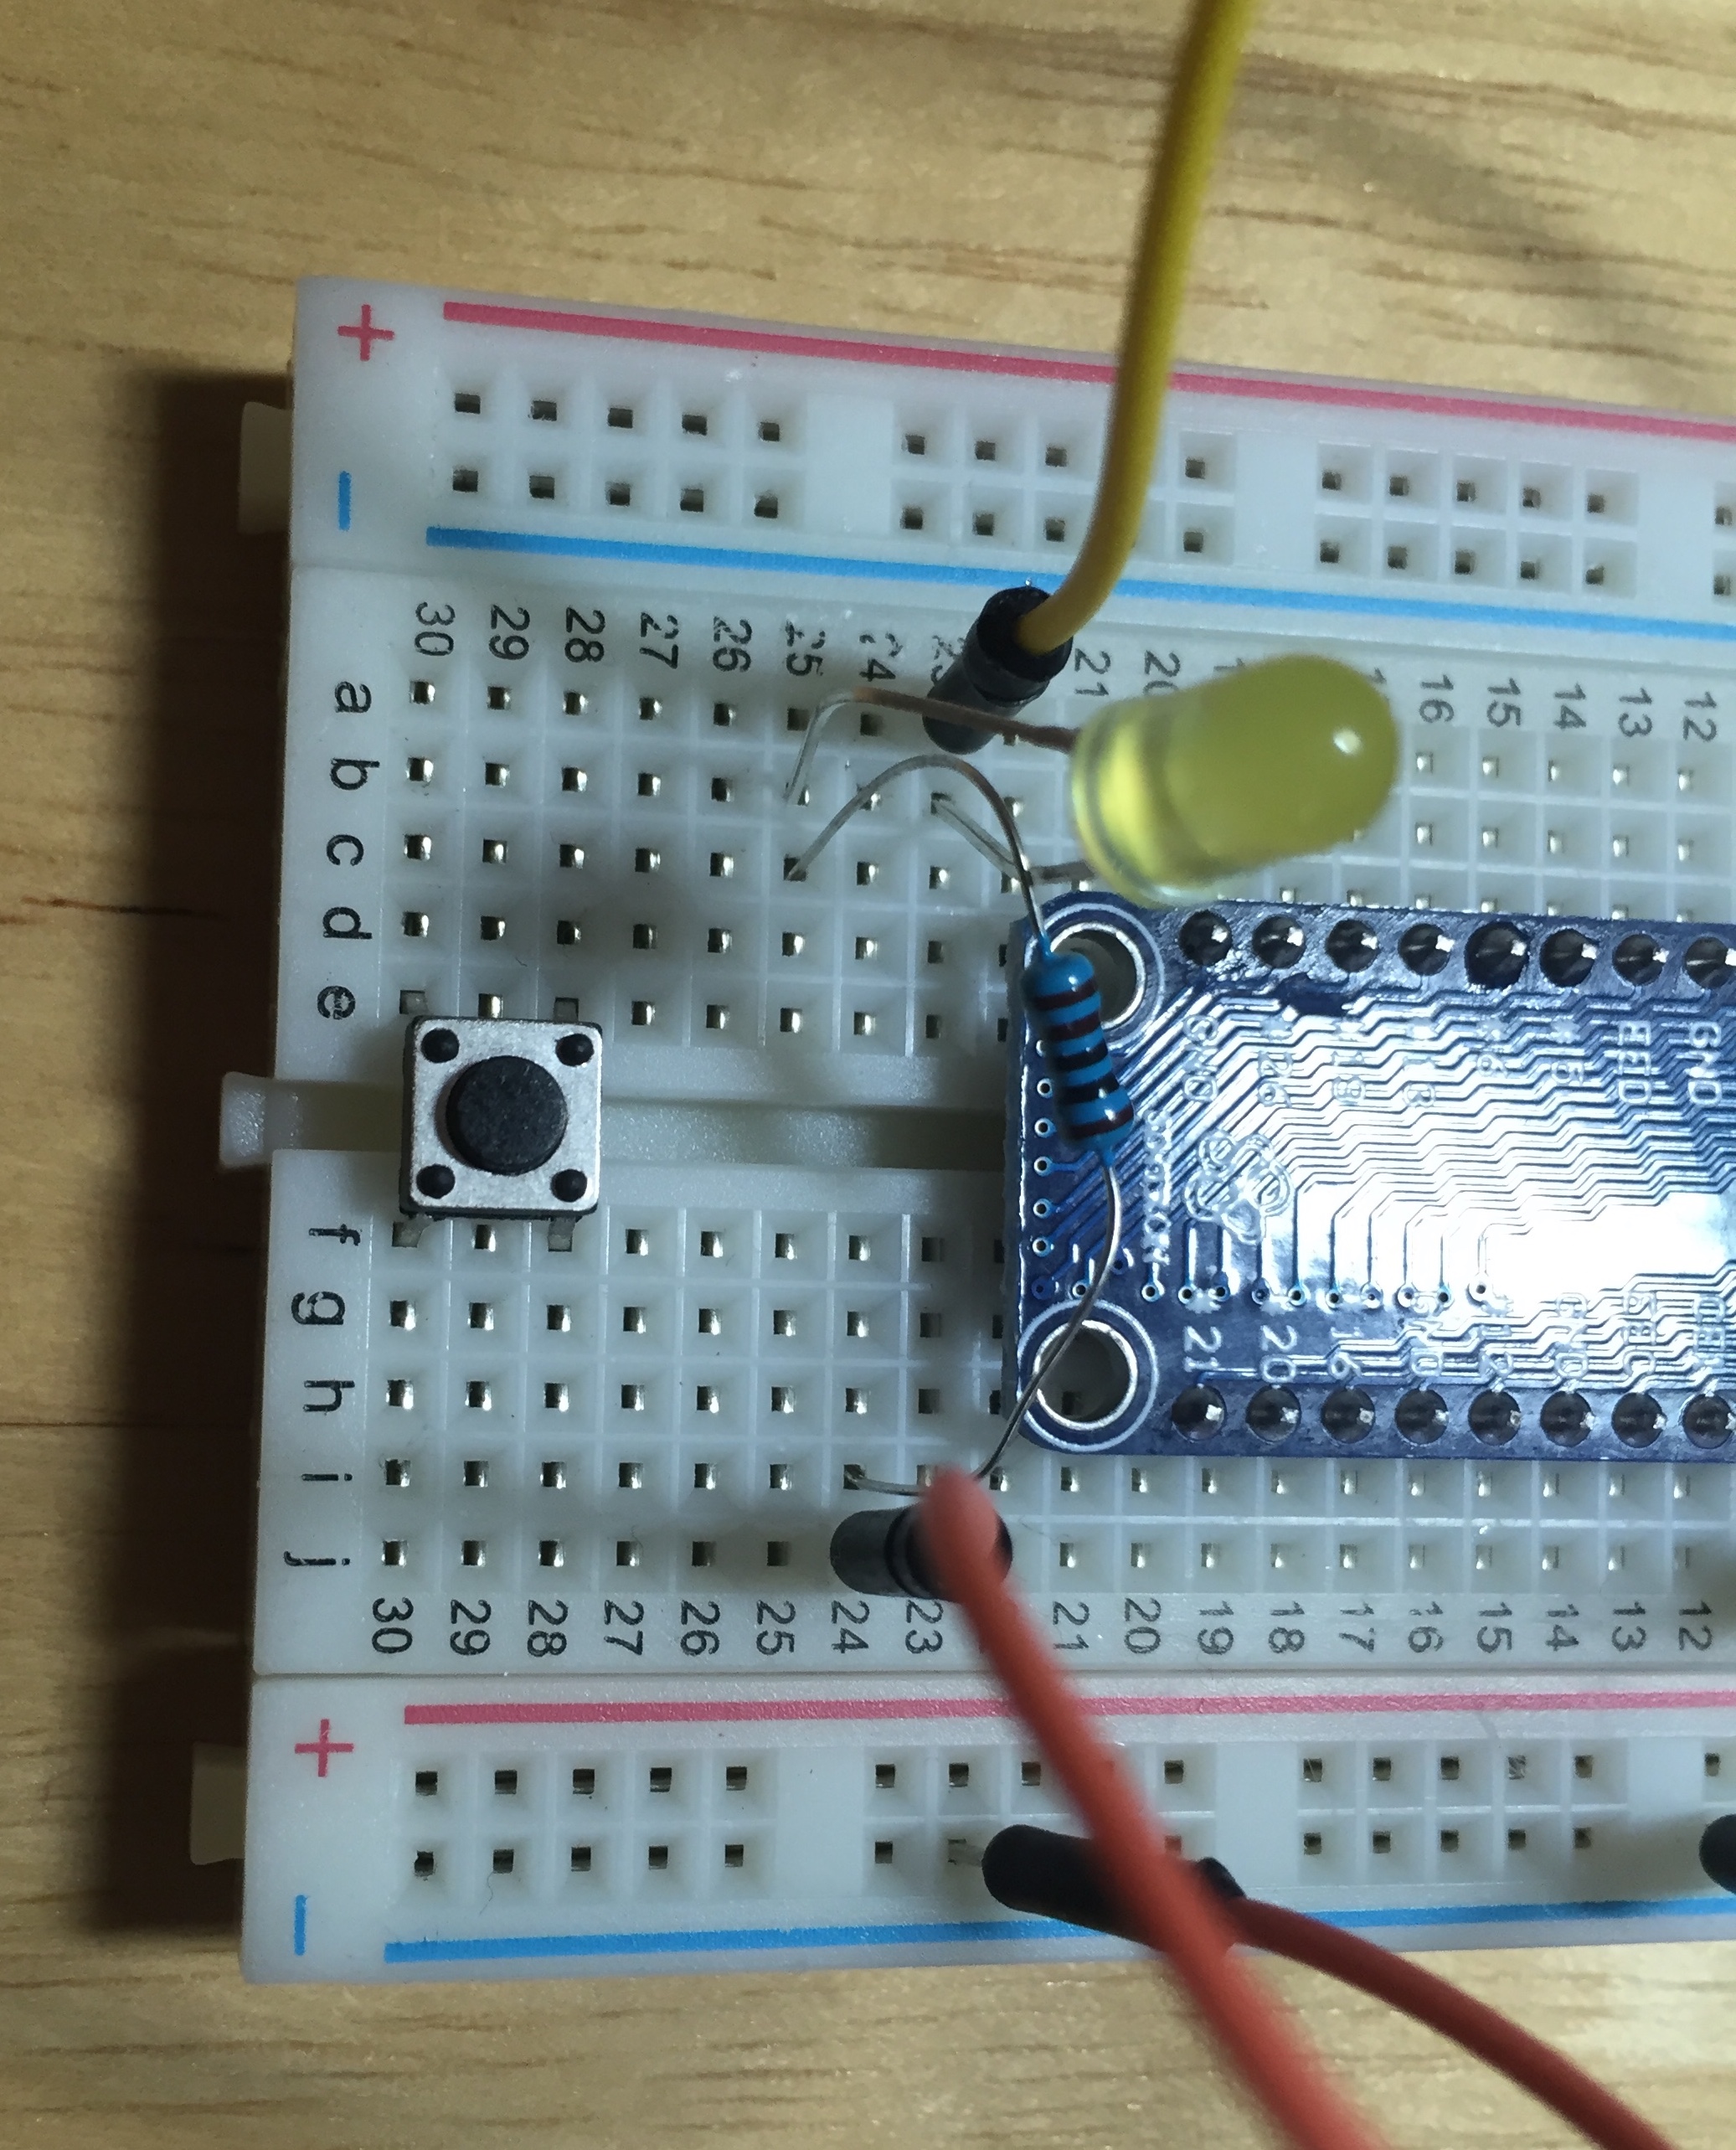
Connect a wire from the top of the button (either side) to pin #24.
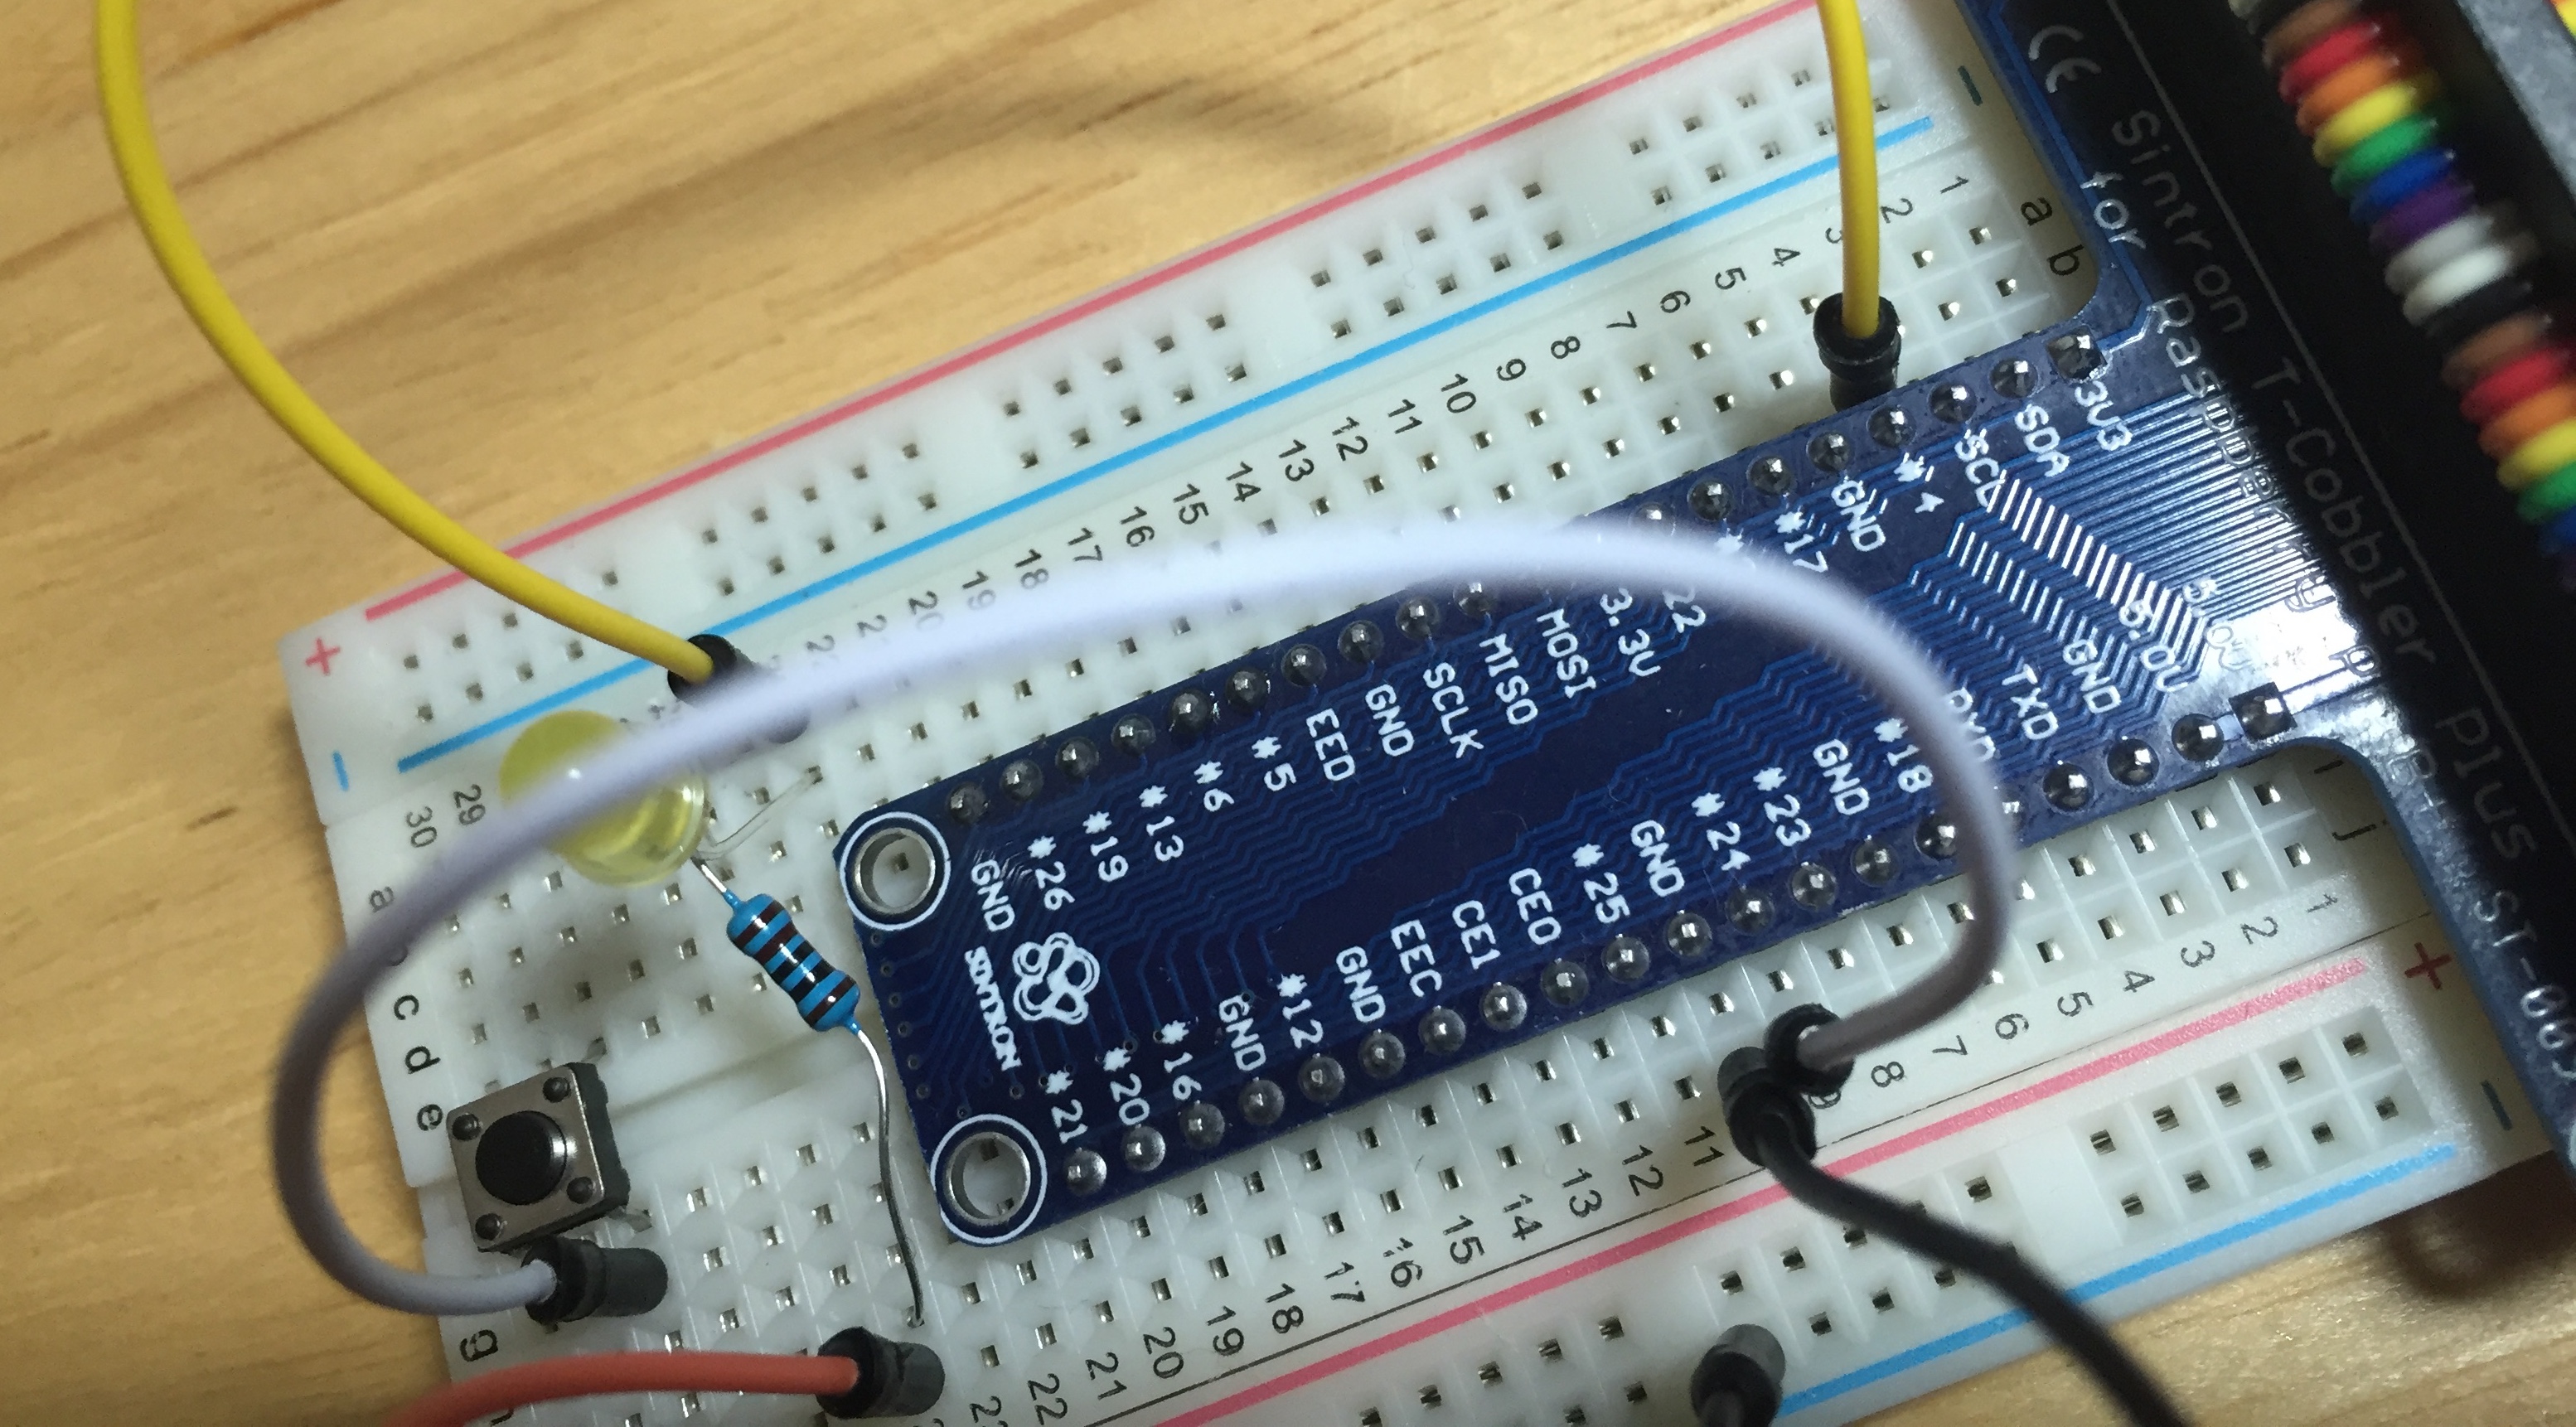
Connect a 10k resistor from the top of the button to the same negative (-) column on the breadboard that you used in the Blinking LED Tutorial.
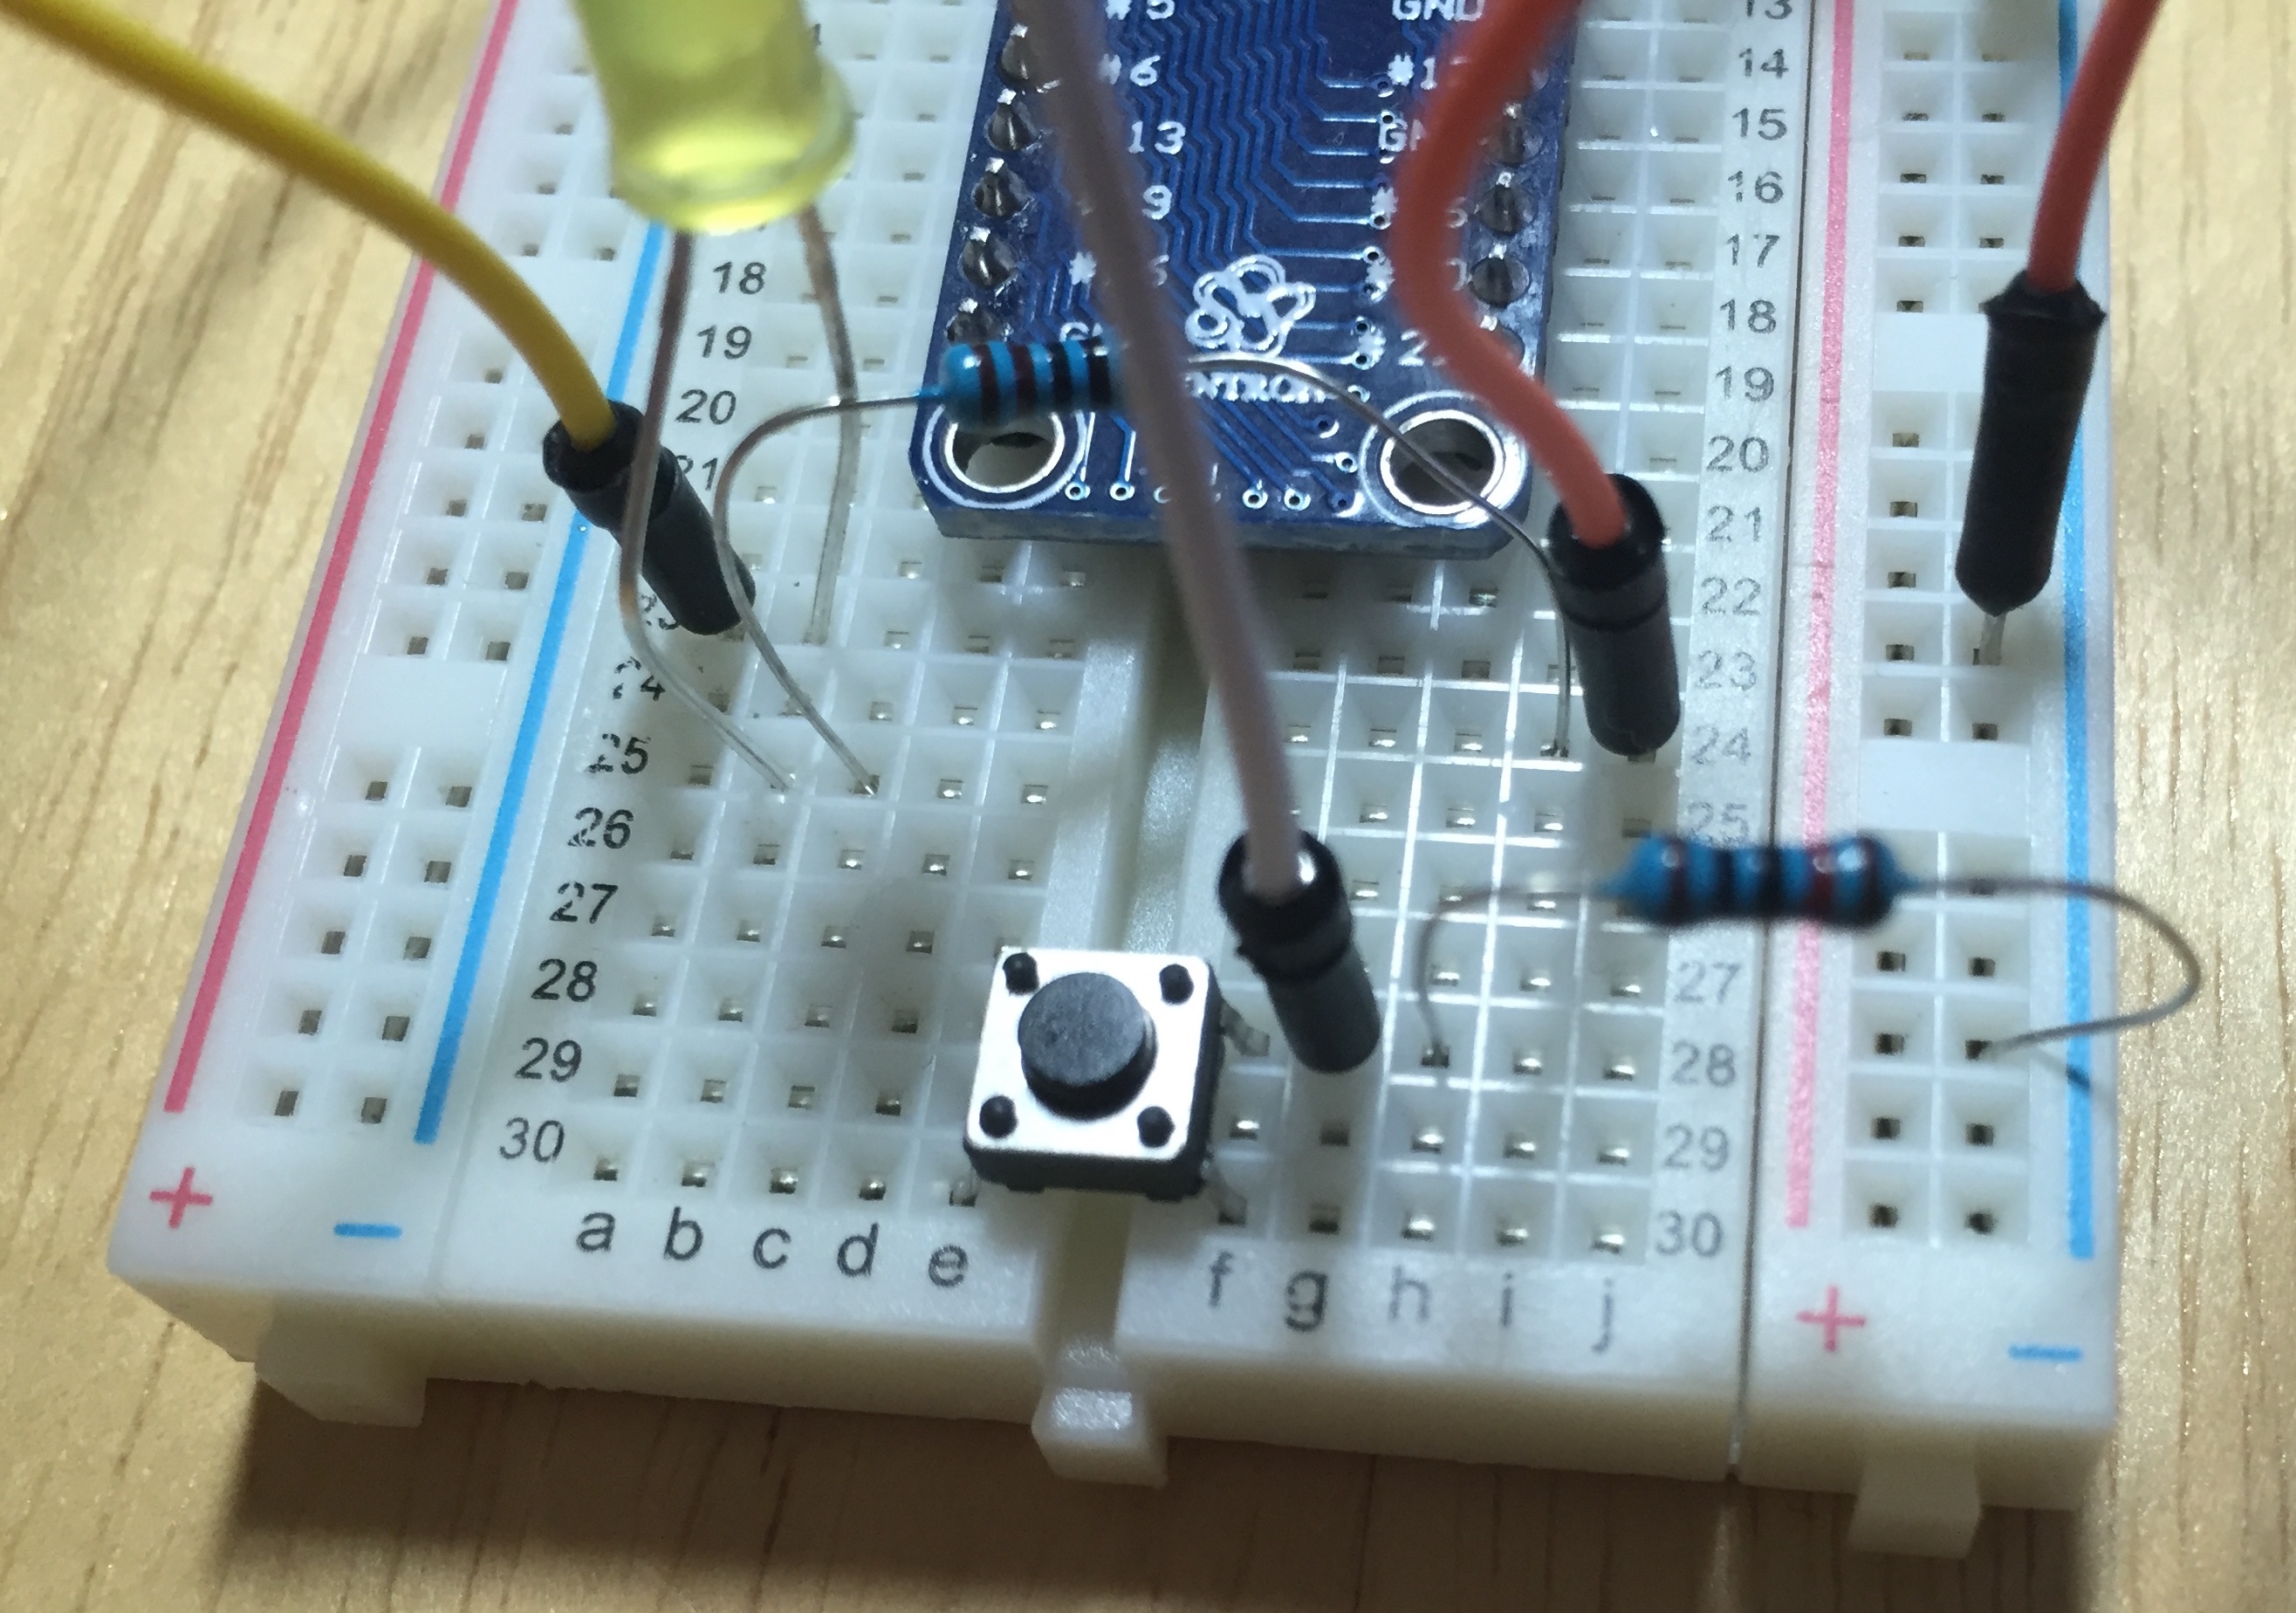
Connect a wire from the 3v3 pin to a bottom pin on the button.
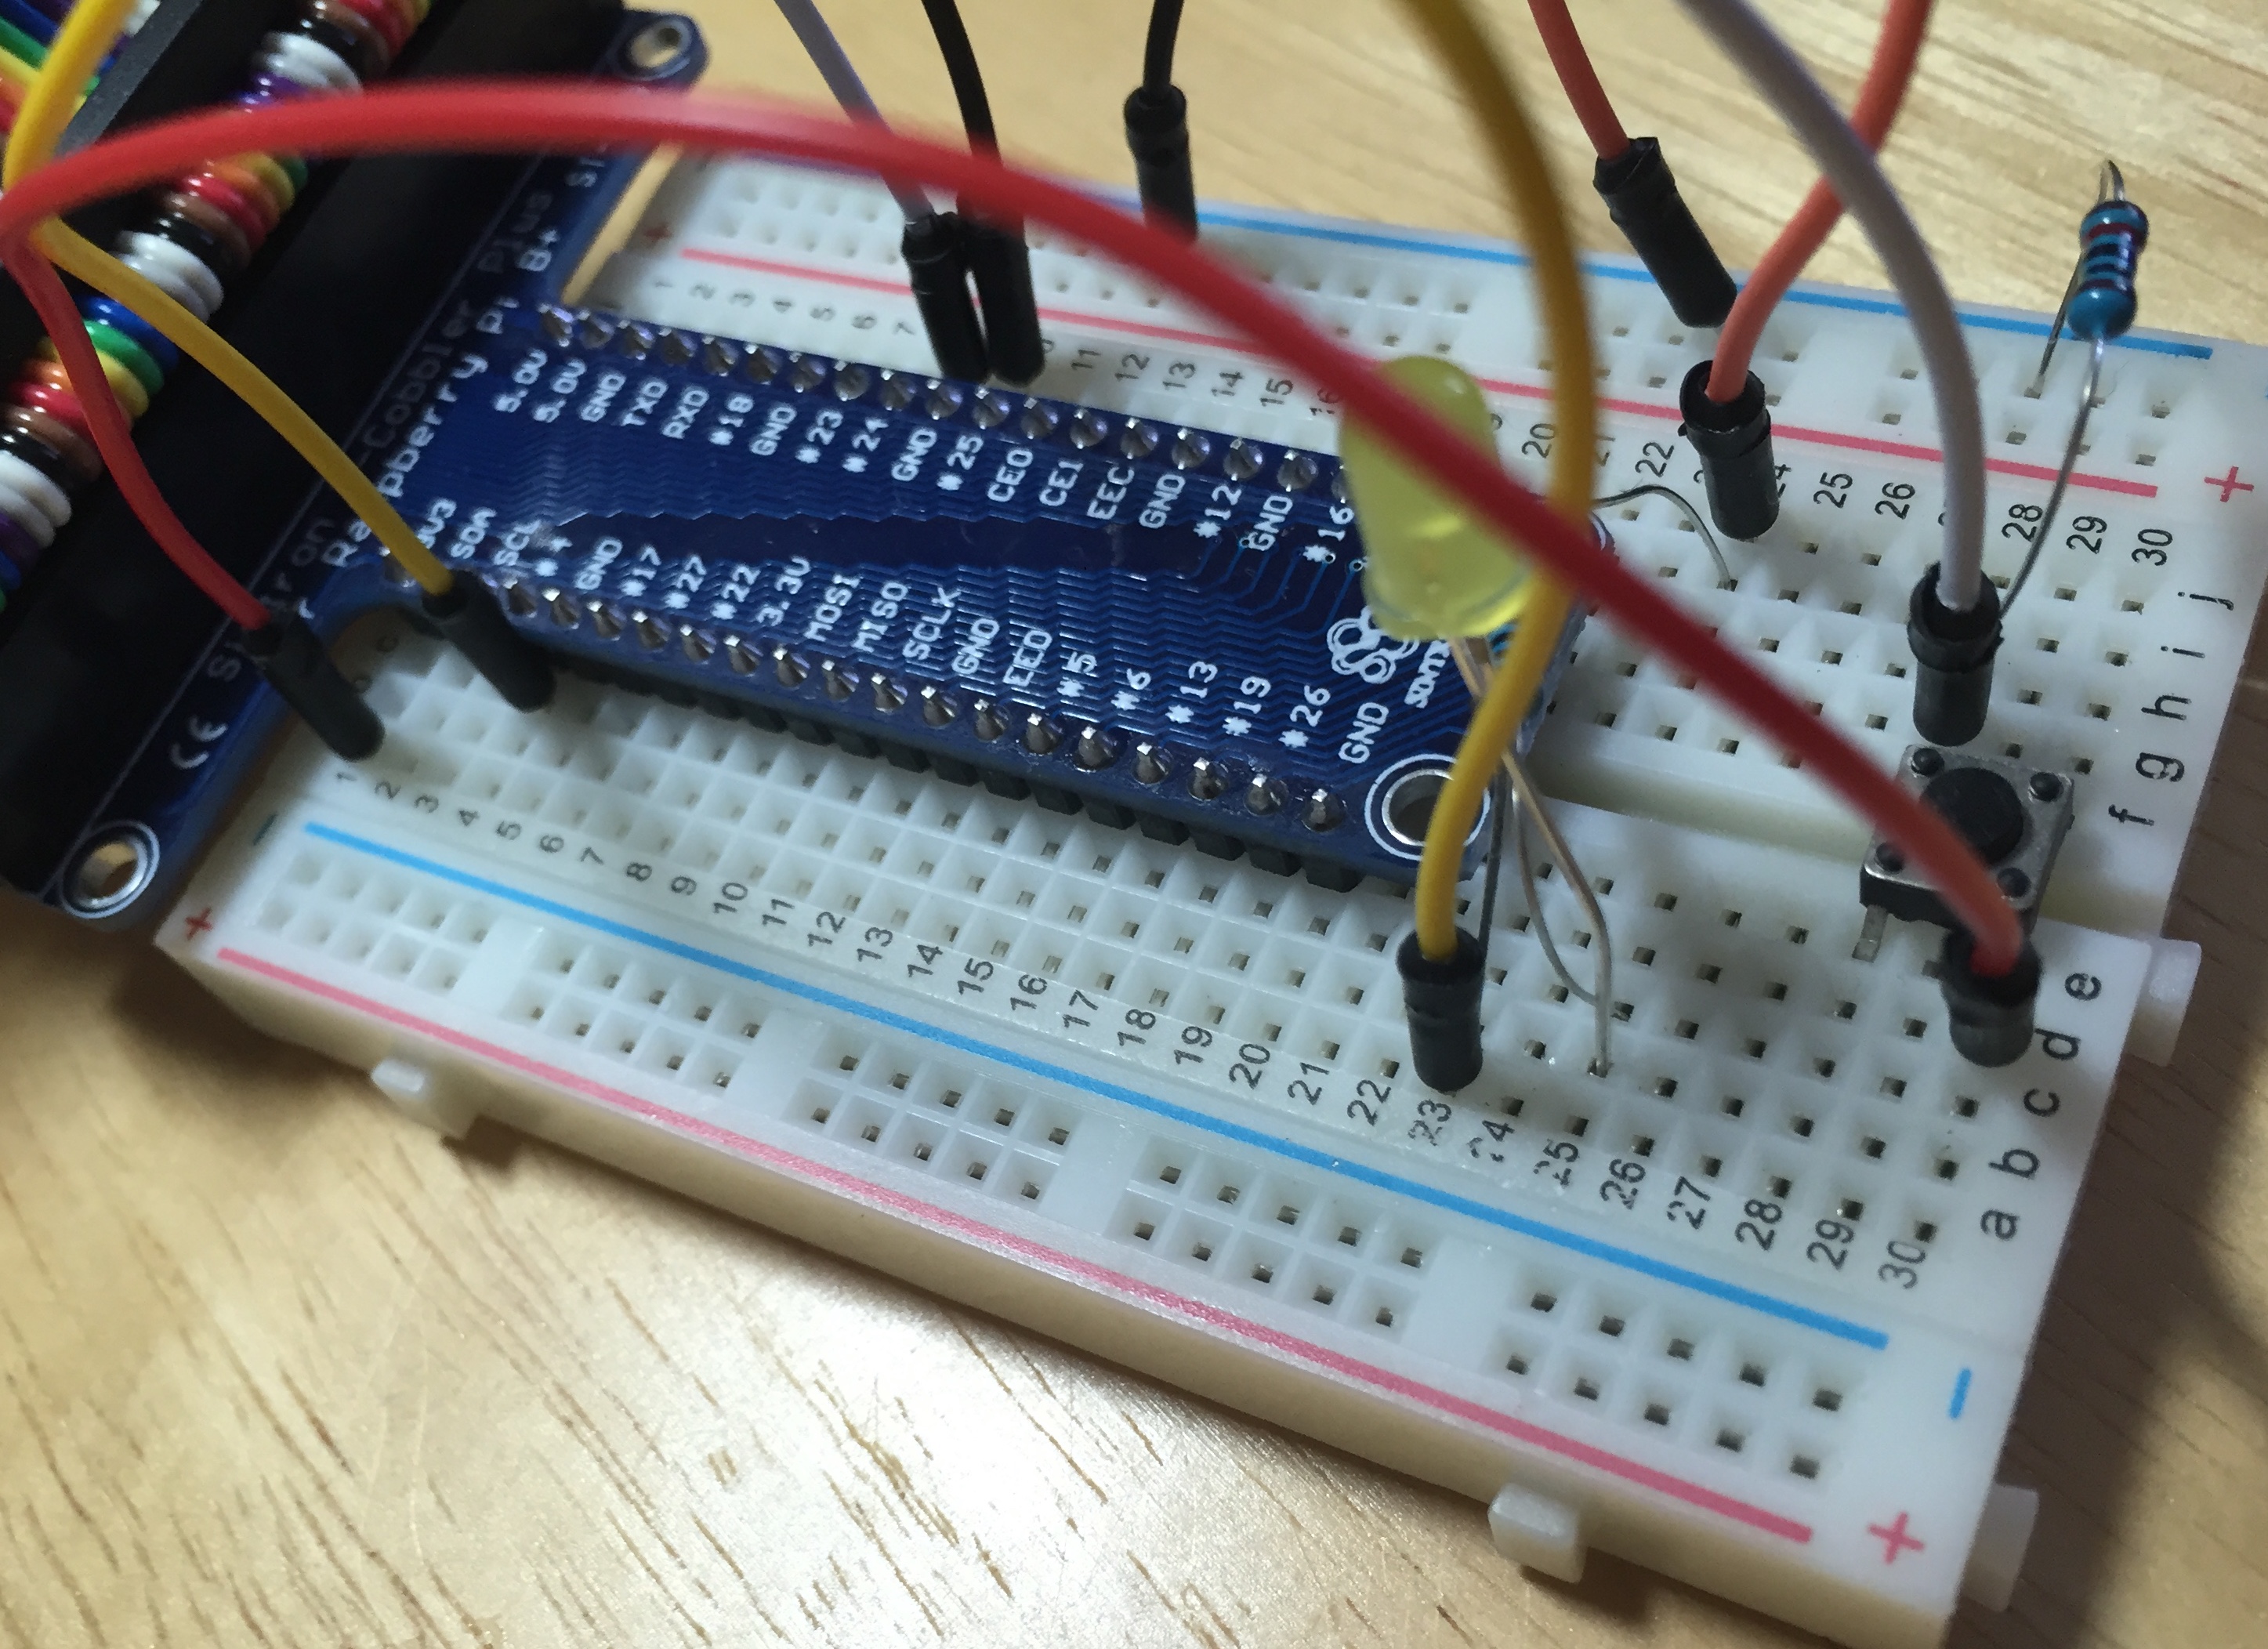
This completes the circuit.
Create the Xojo app
To test your circuit, you'll use a simple Xojo app that will check the state of the button. If it is pressed (ON), then the LED will illuminate. When the button is not pressed (OFF), the the LED will be off. 1. Create a new Console project and call it LEDButton.
Add the GPIO module to the project.
Add this code to the App Run event handler:
GPIO.SetupGPIO

Const kLEDPin = 4 ' "#4" on the pinout
Const kButtonPin = 24 ' "#24" on the pinout

' Set the LED pin to accept output
GPIO.PinMode(kLEDPin, GPIO.OUTPUT)

' Set the button pin to accept input
GPIO.PinMode(kButtonPin, GPIO.INPUT)

' Blink LED when button is pressed
While True
  ' If the Button Pin is ON then turn on the LED
  If GPIO.DigitalRead(kButtonPin) = GPIO.ON Then
    ' Turn the pin on (give it power)
    GPIO.DigitalWrite(kLEDPin, GPIO.ON)
  Else
    GPIO.DigitalWrite(kLEDPin, GPIO.OFF)
  End If

  App.DoEvents(50) ' Small delay helps with CPU usage
Wend
Transfer and run the Xojo app
Start your SFTP app and connect to the Raspberry Pi. Transfer the LEDButton folder from the Linux build folder to the Pi. On the Pi, open the Terminal (or ssh to it from your development machine). In the terminal, navigate to the location of the LEDButton folder and then CD to the folder:
cd LEDButton
Run the app:
sudo ./LEDButton
Normally sudo is needed to access GPIO. The GPIO.SetupGPIOSys method does provide access to some GPIO functionality without requiring sudo.
The LED should light up when you press the button. To stop the app, press Control C.
Starting with Raspbian Jessie, you no longer have to use sudo to access GPIO. In order to not require sudo, you have to first set an environment variable before you run the app:
export WIRINGPI_GPIOMEM=1
The Xojo project is included with the Xojo examples and is located here:
Example Projects/Platform-Specific/RaspberryPi
Video
Watch the step-by-step video: https://youtu.be/SdNztRZ1thI
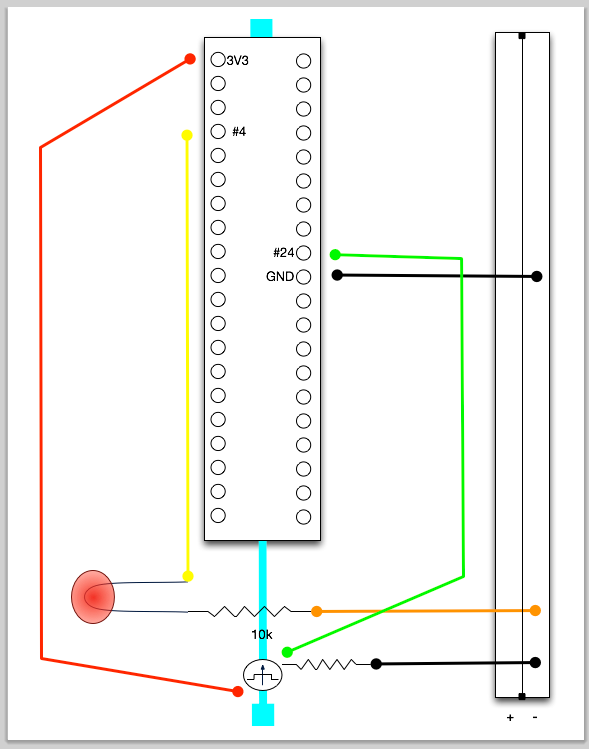
Circuit diagram
Here is a circuit diagram for reference: