Displaying reports
Once you have designed your report with the Report Layout Editor, you have to provide data for it to display. This is called the data set. Databases are commonly used as data sets for reports, but you can also use any data you want by using the Reports.DataSet interface.
Using a database as a data set
It is simple to use a database as the data set. You get the data you want into a RowSet. Then you can pass the RowSet to the report for it to use as its data set. Here is an example:
// teamRowSet comes from a database
// SELECT statement
Var ps As New PrinterSetup

Var rpt As New TeamReport
If rpt.Run(teamRowSet, ps) Then
  If rpt.Document <> Nil Then
    // Save the document for
    // the Canvas to display
    mReportDocument = rpt.Document
  End If
End If
Using text as a data set
To use anything else as a data set for a report, such a text file, you create a custom class that implements the Reports.DataSet interface. This interface specifies these methods: EOF As Boolean, Field(Integer) As Variant, Field(String) As Variant, NextRecord As Boolean, Run, Type(String) As Integer.
In these methods, you fetch the specific data you need from your actual data source (perhaps a text or XML file) and then return the result or do the expected action.
As a simple example, you can put the team names in a string array and then create a class to work with this array. You have to supply the code for each method in the interface.
To start with, create a class and call it TeamDataSet. Add the Reports.DataSet interface to it. Now add the array to contain the team names as a property of this class:
mTeams() As String
Create a Constructor method for the class and initialize the array there:
mTeams = Array("Seagulls", "Pigeons", "Crows")
Now you can begin implementing the interface methods. Start with NextRecord as it is the simplest. The NextRecord method is used to move the current array position, but before that can be implemented, another property to track the current array position is needed:
mArrayPosition As Integer
Now you can add the code to move the array position to the NextRecord method:
mArrayPosition = mArrayPosition + 1
EOF is next. EOF should return True when there is no more data in the array and False if there is still data.
If mArrayPosition > mTeams.LastRowIndex Then
  Return True
Else
  Return False
End If
The above code checks if the current array position will be beyond the size of the array.
Moving along, the Type method is used to return the type of a specified field name. The array only has one field, the team name, so this method should check for the field name of “TeamName” and return its type, which is String. The type is indicated by the same integer value that specifies types when working with databases. For String, this is 5.
Note: You can find the complete table of data type values in the Database Operations topic.
If fieldName = "TeamName" Then
  Return 5
Else
  Return 0
End If
The two Field methods are used to get the value for the specified field in the current array position. One Field method uses an integer field position and the other uses the field name. There is only one field, so that simplifies things.
For Field(String) As Variant:
If name = "TeamName" Then
  Return mTeams(mArrayPosition)
Else
  Return ""
End If
The name is matched to what is specified for the DataField property for each ReportField in the Report Layout.
For Field(Integer) As Variant, have it use the previous code:
If idx = 0 Then
  Return Field("TeamName")
Else
  Return ""
End If
Lastly, you need to implement the Run method. This method is called to start the process of getting the data. It is also simple because all you need to do for this example is initialize the array position:
mArrayPosition = 0
With this class in place, you can now use it with the Report.Run method to populate the report with your data:
Var teamData As New TeamDataSet
Var ps As New PrinterSetup
Var rpt As New TeamReport
If rpt.Run(teamData, ps) Then
  If rpt.Document <> Nil Then
    // Save the document for
    // the Canvas to display
    mReportDocument = rpt.Document
  End If
End If
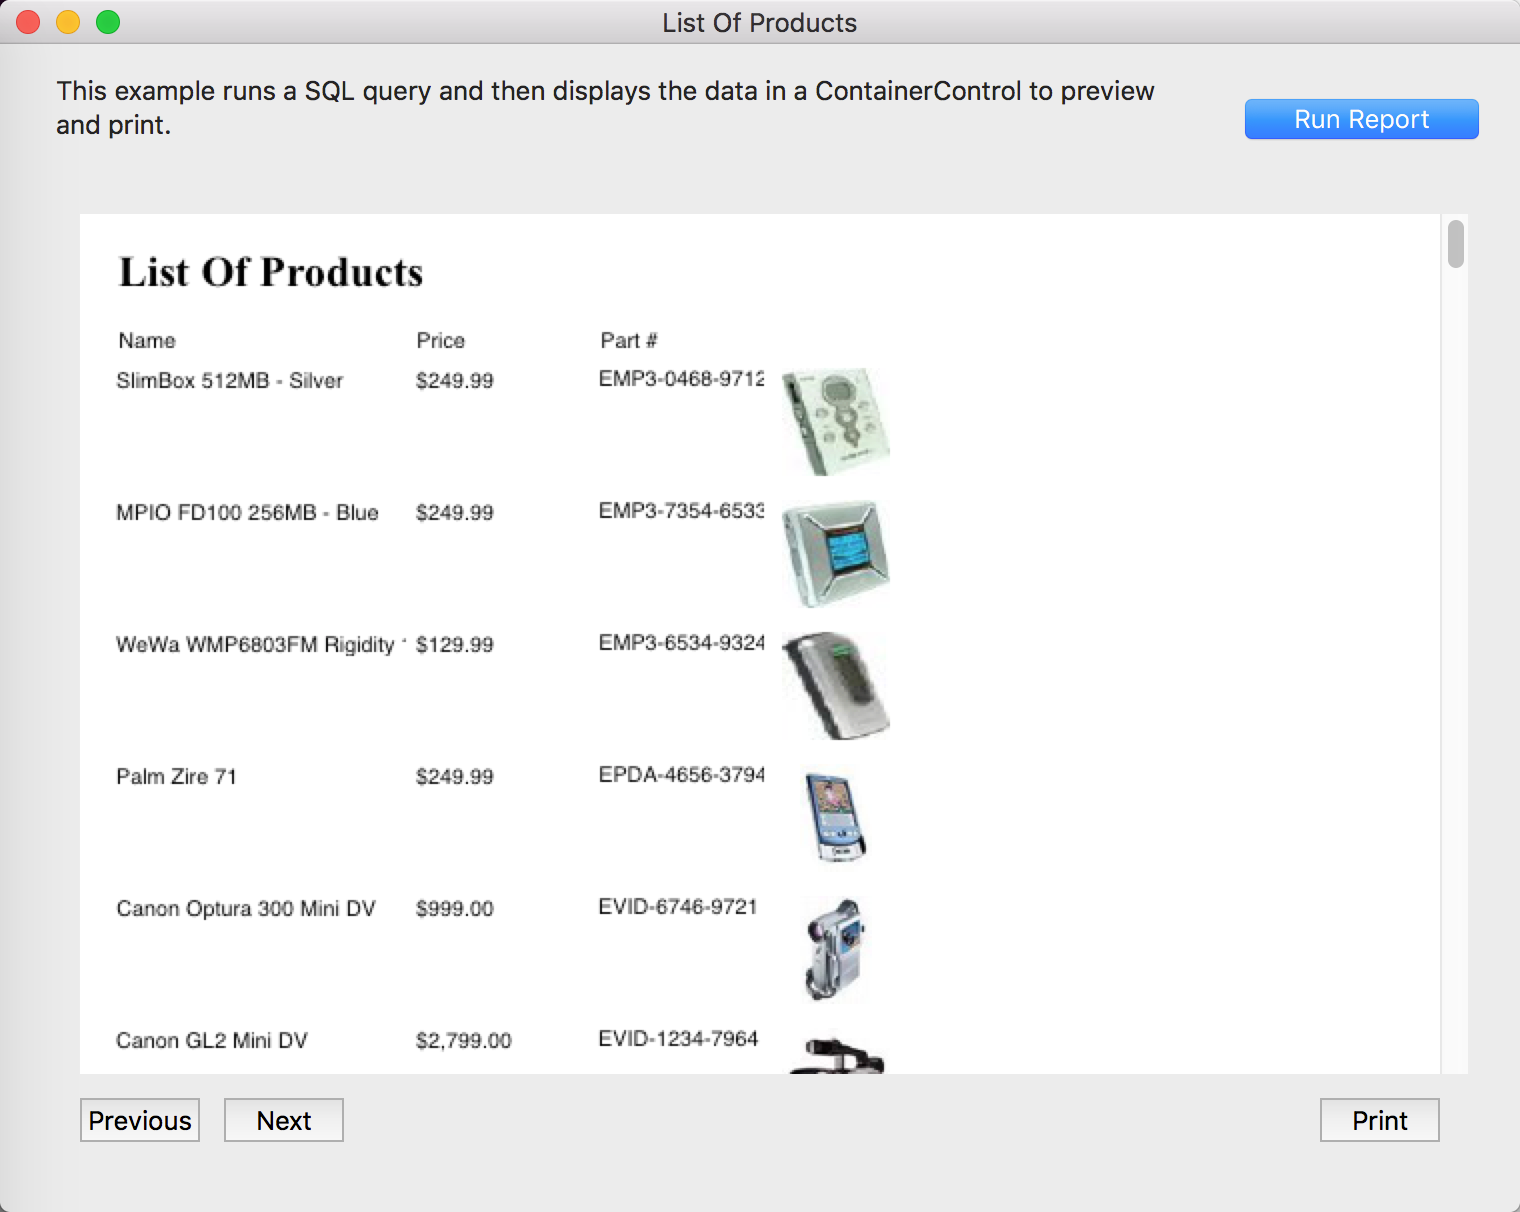
Displaying the report
The Report Layout Editor lets you design your reports, but there is no way to preview them without running your app. Reports are generated as pictures, so you can display them by running the report with the data set and then displaying the generated report in a Canvas. Of course since the report is a Picture, you can do anything you can do with a Picture as well, such as save it directly to a FolderItem or database.
The above examples show how to run the report and have a comment that the document is saved for the Canvas to display. In order to display the report, the Document for the report is saved to a property of the window:
mReportDocument As Reports.RBReportDocument
The RBReportDocument class has a property to tell you how many pages are in the report (PageCount) and methods that are used to display, print and save the report (Page, Print, Save).
To display the report, you get one page at a time using the Page method (which returns a Picture containing the page of the report). You then use a Canvas to display the picture.
For example, this code in the Paint event of a Canvas displays page 1 of a report:
If mReportDocument <> Nil Then
  g.DrawPicture(mReportDocument.Page(1), 0, 0)
End If
This code always only shows page 1 of the report. For an actual report preview, you usually display one page at a time and have Back/Next buttons to move between pages. The Back/Next buttons could alter a mCurrentDisplayPage property that you would use here in the Paint event in place of the “1” for the page number:
If mReportDocument <> Nil Then
  g.DrawPicture(mReportDocument.Page(mCurrentDisplayPage), 0, 0)
End If
The PageCount property tells you how many pages there are in total.
Printing the report
Printing a report works similarly to printing in general. You use PrinterSetup and OpenPrinter (or OpenPrinterDialog) to get a Graphics object. You then call the Print method of the Report Document to print it:
// teamRowSet comes from a database SELECT statement
Var ps As New PrinterSetup

Var rpt As New TeamReport
If ps.PageSetupDialog Then
  Var g As Graphics
  g = ps.ShowPrinterDialog
  If g <> Nil Then
    If rpt.Run(teamRowSet, ps) Then
      If rpt.Document <> Nil Then
        // Print the report
        rpt.Document.Print(g)
      End If
    End If
  End If
End If
Saving the report
To save your report, you have a couple options. If you are using macOS, you can let the user take advantage of its ability to print directly to a PDF file. The user can use the macOS print dialog to select to save the report to a PDF file rather than sending it to the printer.
Your other choice is to save the Pictures to disk rather than drawing them on screen as this code shows:
Var teamData As New TeamDataSet
Var ps As New PrinterSetup
Var rpt As New TeamReport
If rpt.Run(teamData, ps) Then
  If rpt.Document <> Nil Then
    Var saveFolder As FolderItem
    saveFolder = FolderItem.ShowSelectFolderDialog
    If saveFolder <> Nil Then
      Var saveFile As FolderItem
      For i As Integer = 1 To rpt.Document.PageCount
        saveFile = saveFolder.Child("TeamReport" + i.ToString + ".png")
        rpt.Document.Page(i).Save(saveFile, Picture.SaveAsPNG)
       Next
    End If
  End If
End If
See also
Reports Module module; Reports.DataSet interface; Report Layout Editor topic