Using the Lingua app to localize your app
If you have a lot of text to localize, it can get tedious to enter all the values using the Constant Editor. The Lingua app is used to simplify the localization process. With Lingua you can localize your application strings outside of the project by using the localized strings you have already created.
The Lingua app is located in the Extras/Lingua folder in your Xojo installation folder.
To use Lingua you first have to make sure all the appropriate text in your project has been defined as localized strings (refer to Localization for information on how to do this). 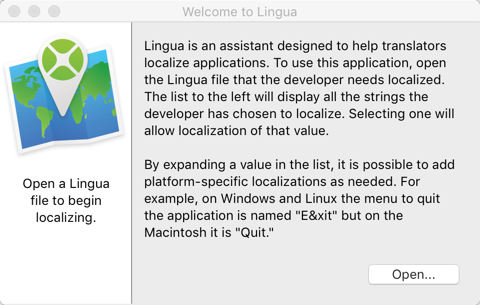
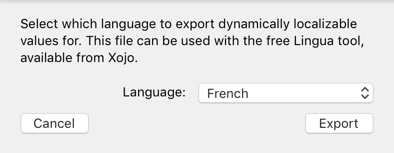
Once your project text is ready, in Xojo choose File > Export Localizable Values. A dialog box appears, asking you to select the language you want to localize to. Select the language you are localizing to and click Export. (Also make sure that the Language in the Build Settings is set to either Default or any other language that you want to use as the originating language in the export.) When you click Export, you'll be prompted to choose a location and name for the Linga file (xojo_locale) to create. This file can be opened by Lingua.
Start Lingua, click the Open button on the Welcome window and choose the file you just exported.
The main Lingua window opens, showing a list of all the localized strings that were exported from your project. The values are grayed out when there is no localized text yet. If there are any different values specific to Windows, Linux, or macOS, there will be an icon to the far right of the string in the list. Like the strings, the icons are grayed out if the value hasn't been localized yet.
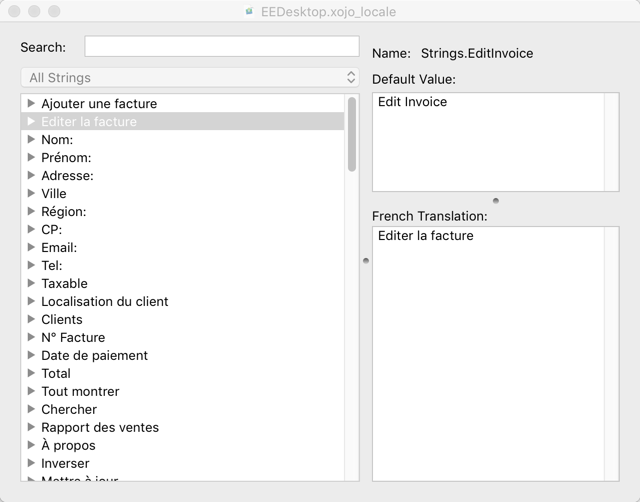
To localize a string, select it in the list. The original value is displayed in its entirety in the upper right text rea, and in you can type the translated text in the lower right text area.
To add a value specific to a platform, expand the string in the list, and select the individual platform to edit it.
To test the strings in your app, in Lingua choose File > Export to Application. Lingua presents an open-file dialog box. Select the target app and click Open. When the import is complete, switch back to Xojo and debug the application normally.
When finished localizing, you can save the file from within Lingua and then import it back into your Xojo project by dragging it into a project or choosing File > Import.
Using XojoScript for custom text handling
You can create your own XojoScripts that can be used to process text in the Default Value and Translation text areas.
Your XojoScripts can use the standard XojoScript language with these additional commands:
ShowDialog: Works the same as ShowDialog in IDE Scripting.
DefaultText As String: Used to get or set the text in the Default Value text area.
TranslatedText As String: Use to get or set the text in the Translation text area.
As a simple example, this XojoScript applies Trim to the text in the Translation text area:
// Apply Trim to the translated text
TranslatedText = TranslatedText.Trim
To make your own scripts available, create them as text files with the extension "lingua_script" and save them in the Scripts folder for Lingua. To get to the Scripts folder, in Lingua go to the Scripts menu and choose "Show Scripts Folder".
The scripts in that folder appear in the Scripts menu. Select a script to run it against the currently display localizable string.