Comparing Xojo and Swift
If you are interested in iOS development then you've probably heard about Swift, Apple's latest programming language. Swift seems like a fine language, but using it is not quite as simple as it is made out to be. You'll likely be able to create iOS apps much faster using Xojo.
To help demonstrate this, this tutorial takes a Swift tutorial that creates a simple tip calculator and shows you how to port it to Xojo. You compare the differences and see how easy it is to create a native iOS app using Xojo!
Getting started
Before you start, you'll need to install Xojo and Xcode (if it's not already installed). Note that Xcode only needs to be installed so that the iOS Simulator gets installed. You will not need to actually use Xcode.
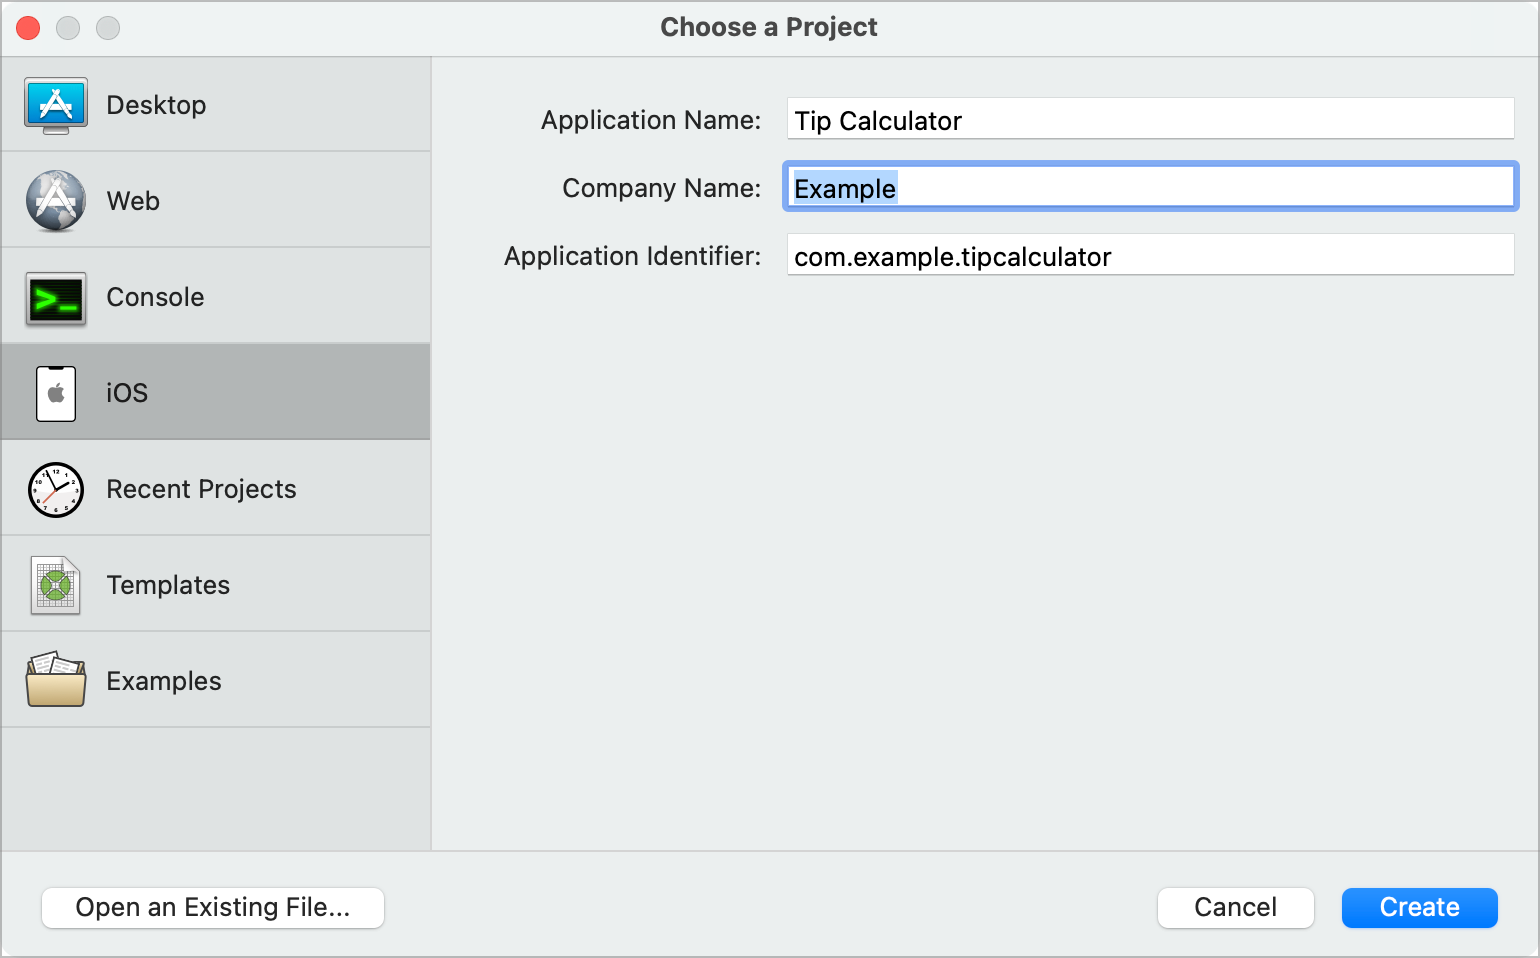
Launch Xojo and in the Project Chooser, select iOS.
Enter
TipCalculatorfor the Application Name, a Company Name (this can be anything) and press OK.
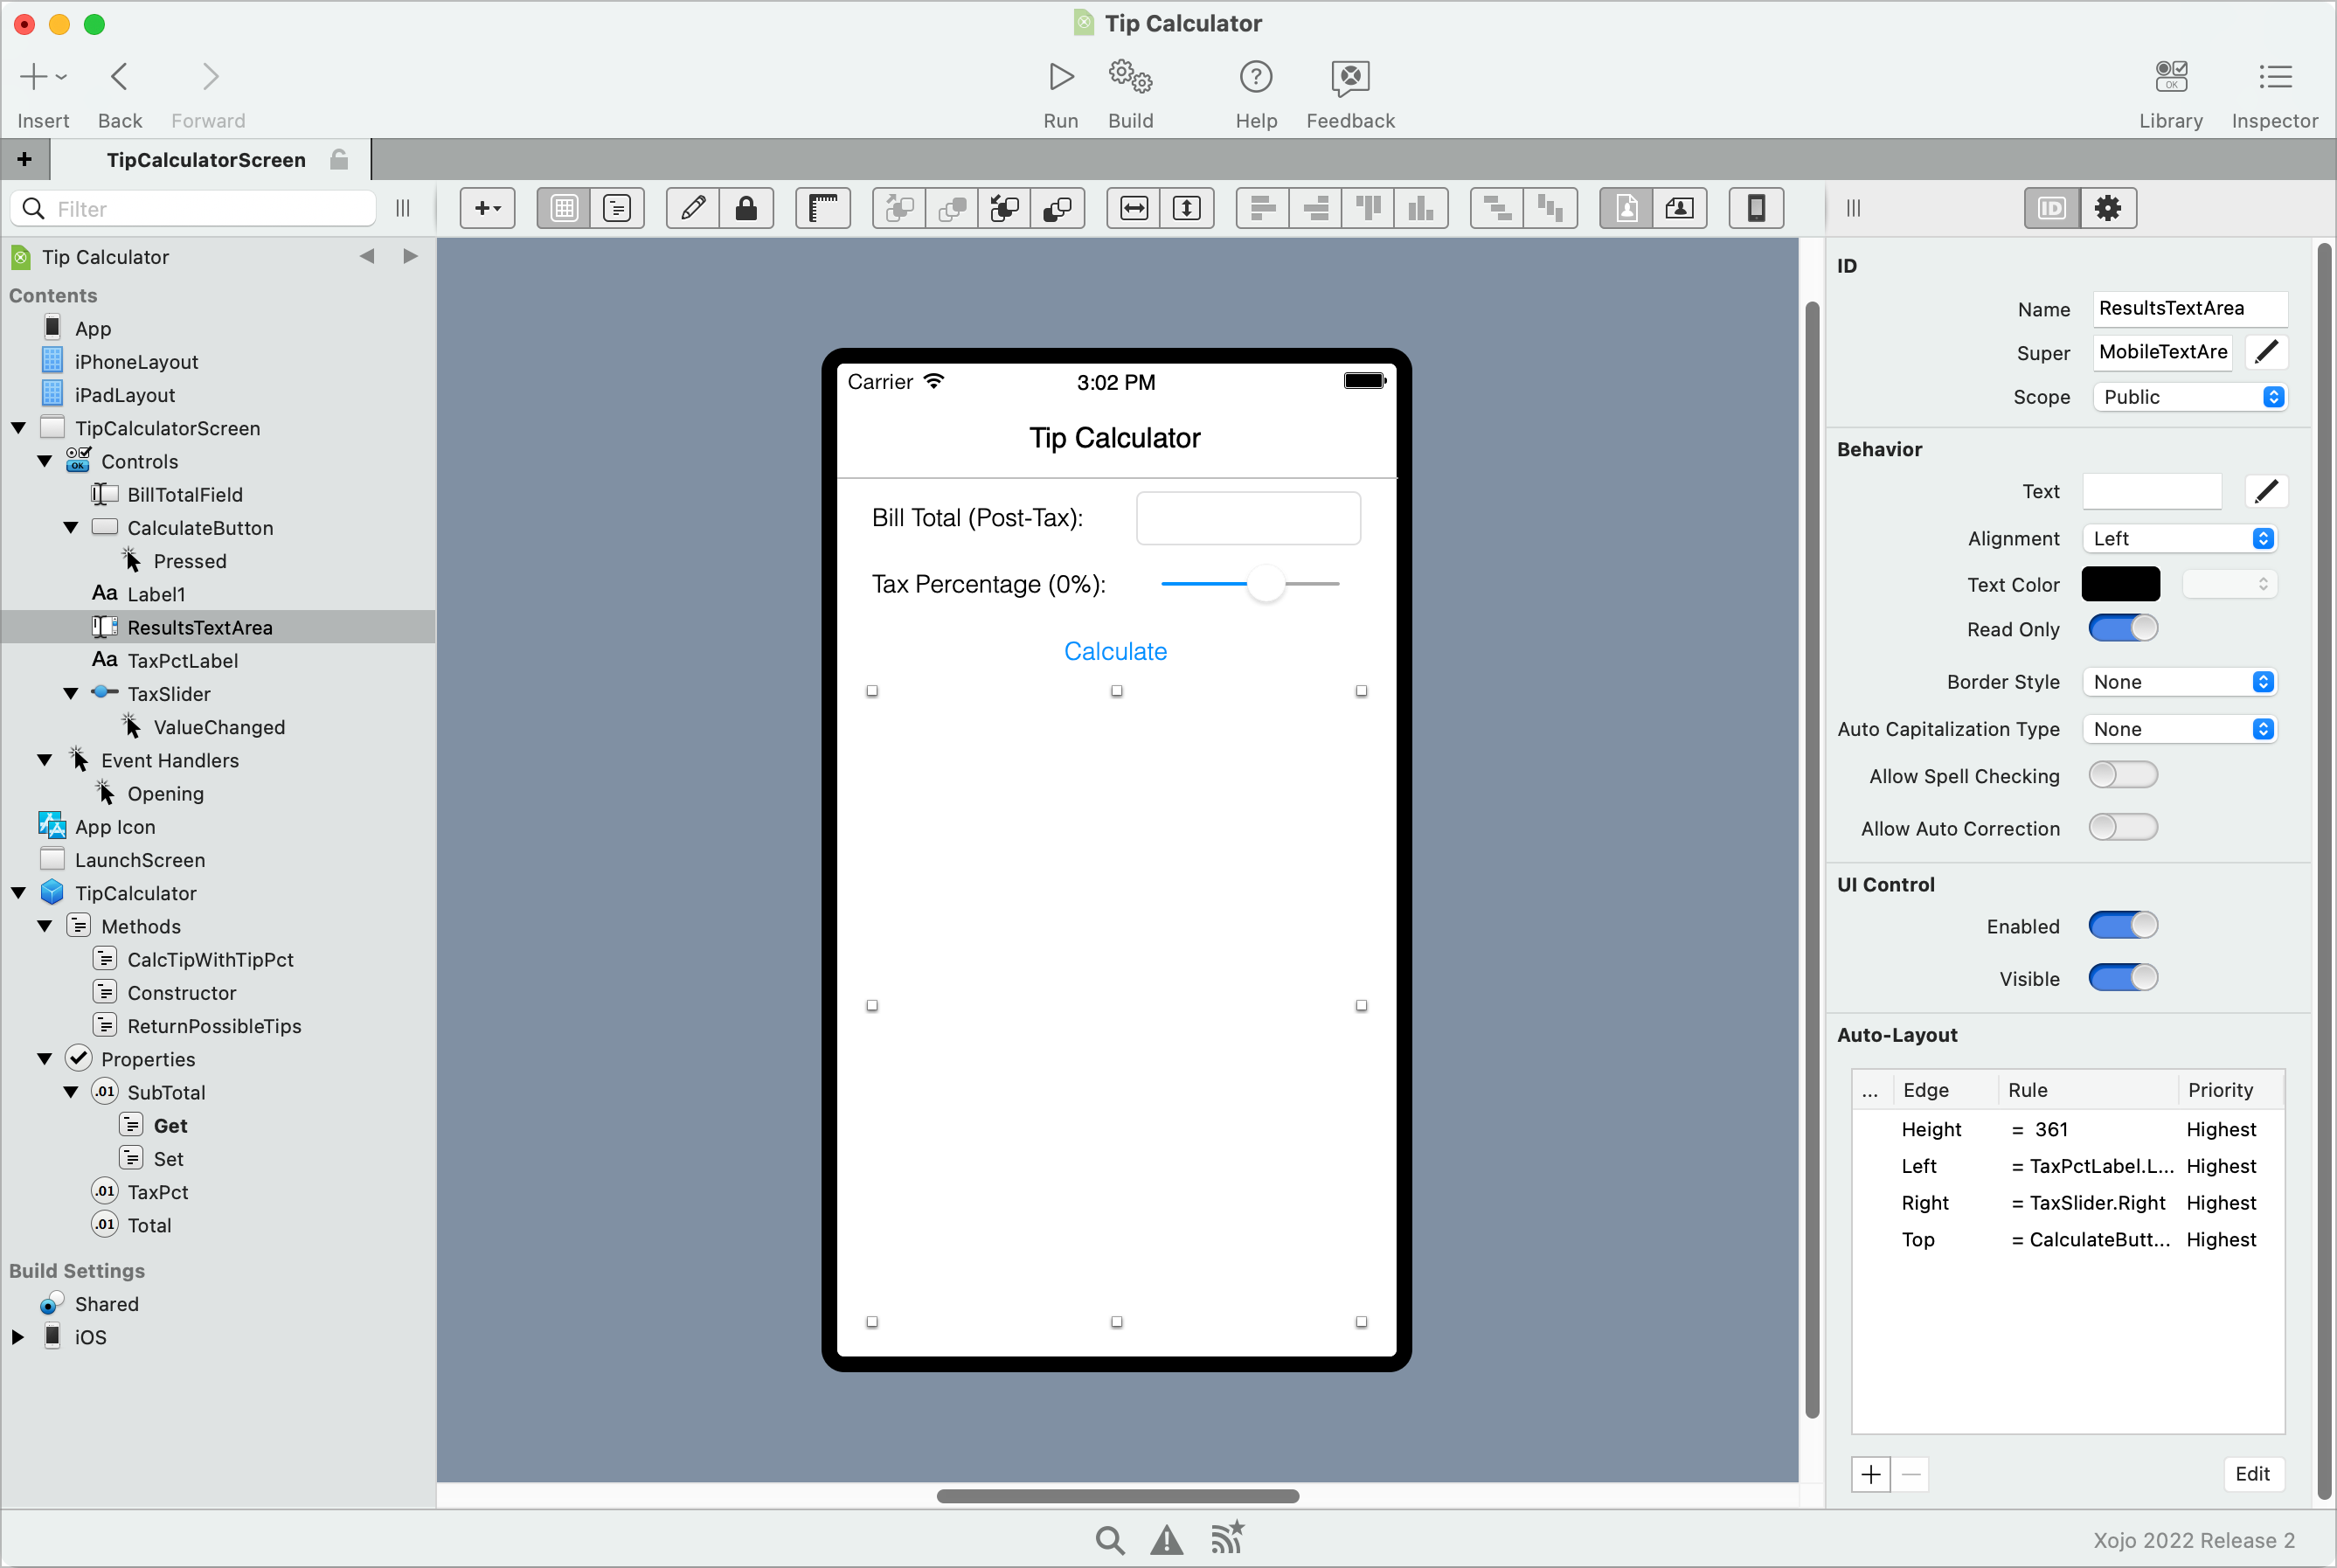
In one quick step, you're now looking at the Xojo Workspace.
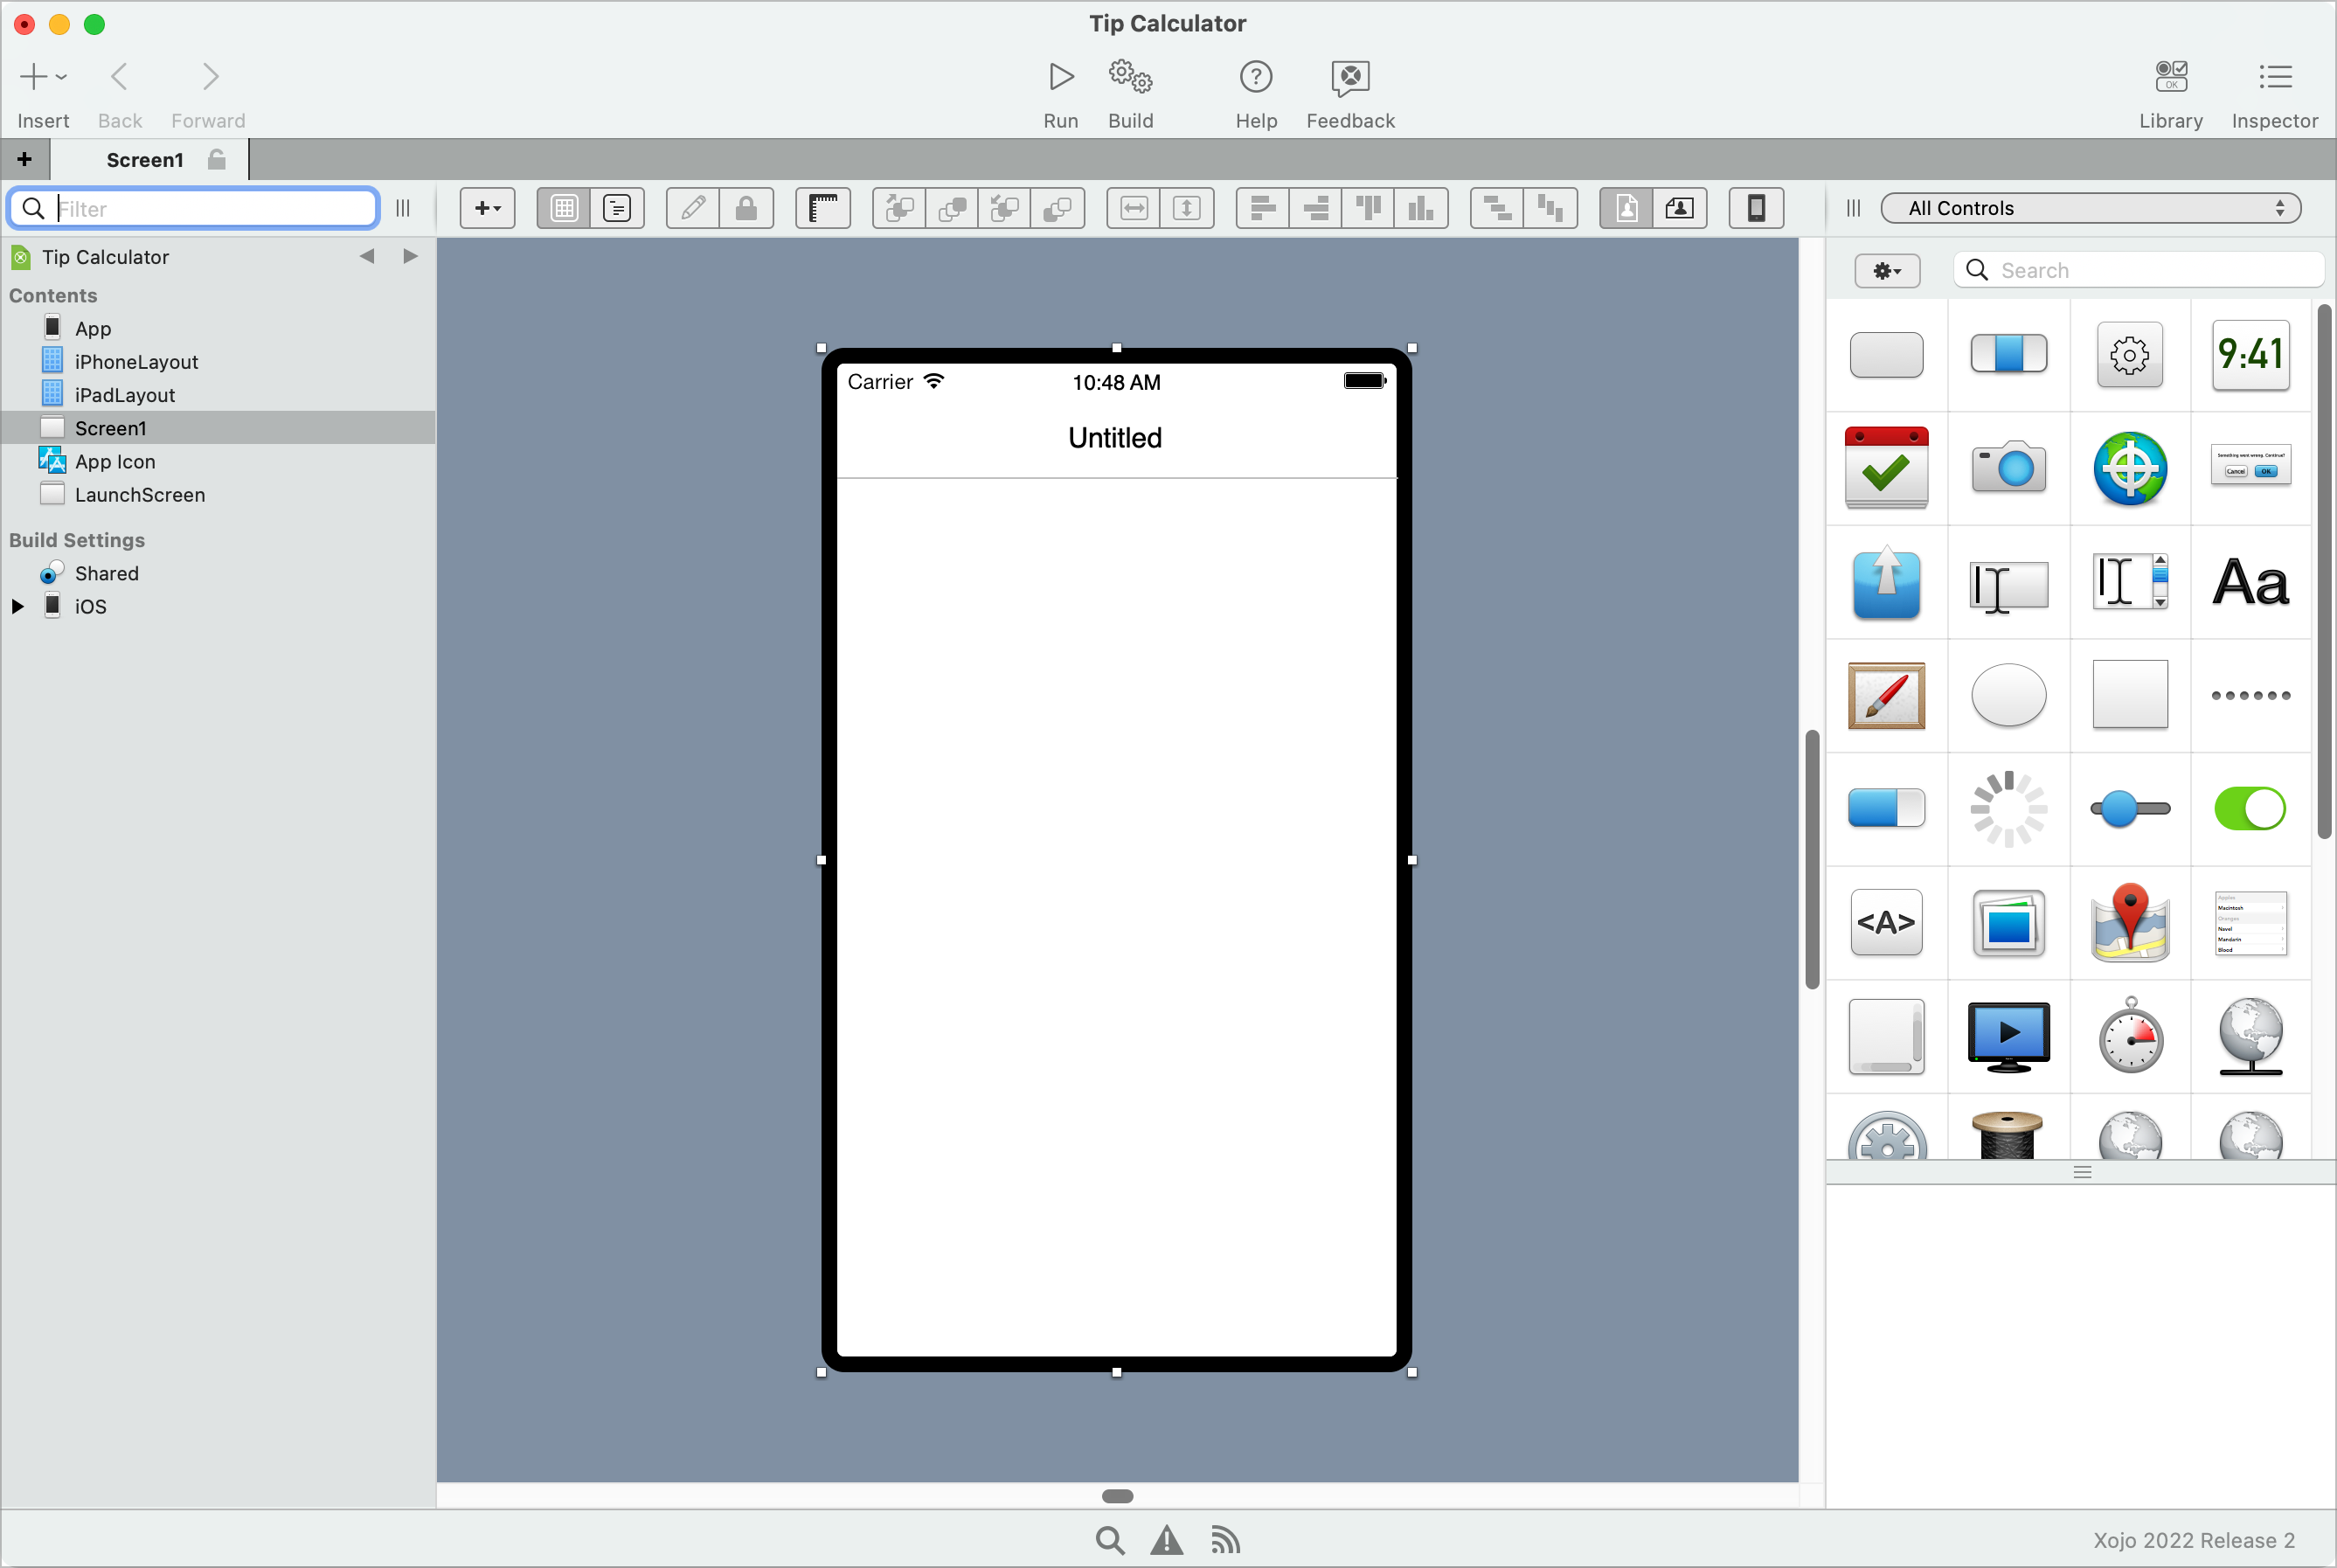
On the left side is the Navigator. In the center is the Edit Area, which is currently showing the Layout Editor. In the center is also where you will see the Code Editor. On the right is the Library of controls. You can also see the property Inspector on the right by clicking Inspector in the toolbar at the top.
Click Run on the toolbar to see what Xojo has created for you. This starts the iOS Simulator and a blank screen appears for the app. Quit the Simulator to go back to Xojo.
Creating the class
Swift, Xcode and Cocoa generally want you to use the Model-View-Controller design pattern. This is a useful pattern, but it can be overkill for simple apps and can be a bit tricky to grasp for those unfamiliar with it. Xojo uses an event-driven programming model that is much easier to work with (although you can also use MVC if you want).
Even though this simple app does not really need a separate class to do the actual tip calculation, you will make one to keep the steps aligning closely with the original Swift tutorial.
Click the Insert button on the toolbar and choose Class to add a new class to your project.
Change its name to
TipCalculatorusing the Inspector on the right. To match the Swift code, you'll add the same properties and methods.Now click the Insert button on the toolbar and choose Property to add a property to the class. Name it
Totaland set its type toDouble. You can just typeTotal As Doublefor the name to have the type set automatically.Now add a second property,
TaxPct As Doubleto the class in the same manner.Next, a computed property is needed. Again, click the Insert button on the toolbar and choose Computed Property to add it to the class. Name it
Subtotal As Double. Like with Swift, a computed property does not actually store a value. Instead it is computed each time based on other values. This computed property will calculate the subtotal each time based on the Total and TaxPct properties.Expand the Subtotal computed property (in the Navigator) and In the Get section of Subtotal, put this code:
Return Total / (TaxPct + 1)
Now it is time to add the methods. These were covered in part 1 of the Swift tutorial referred to earlier, so here's the code for them:
Add the first method by clicking Insert on the toolbar and selecting Method. Name this method
CalcTipWithTipPct, set its parameter totipPct As Doubleand its Return Type toDouble. This is its code:
Return SubTotal * tipPct
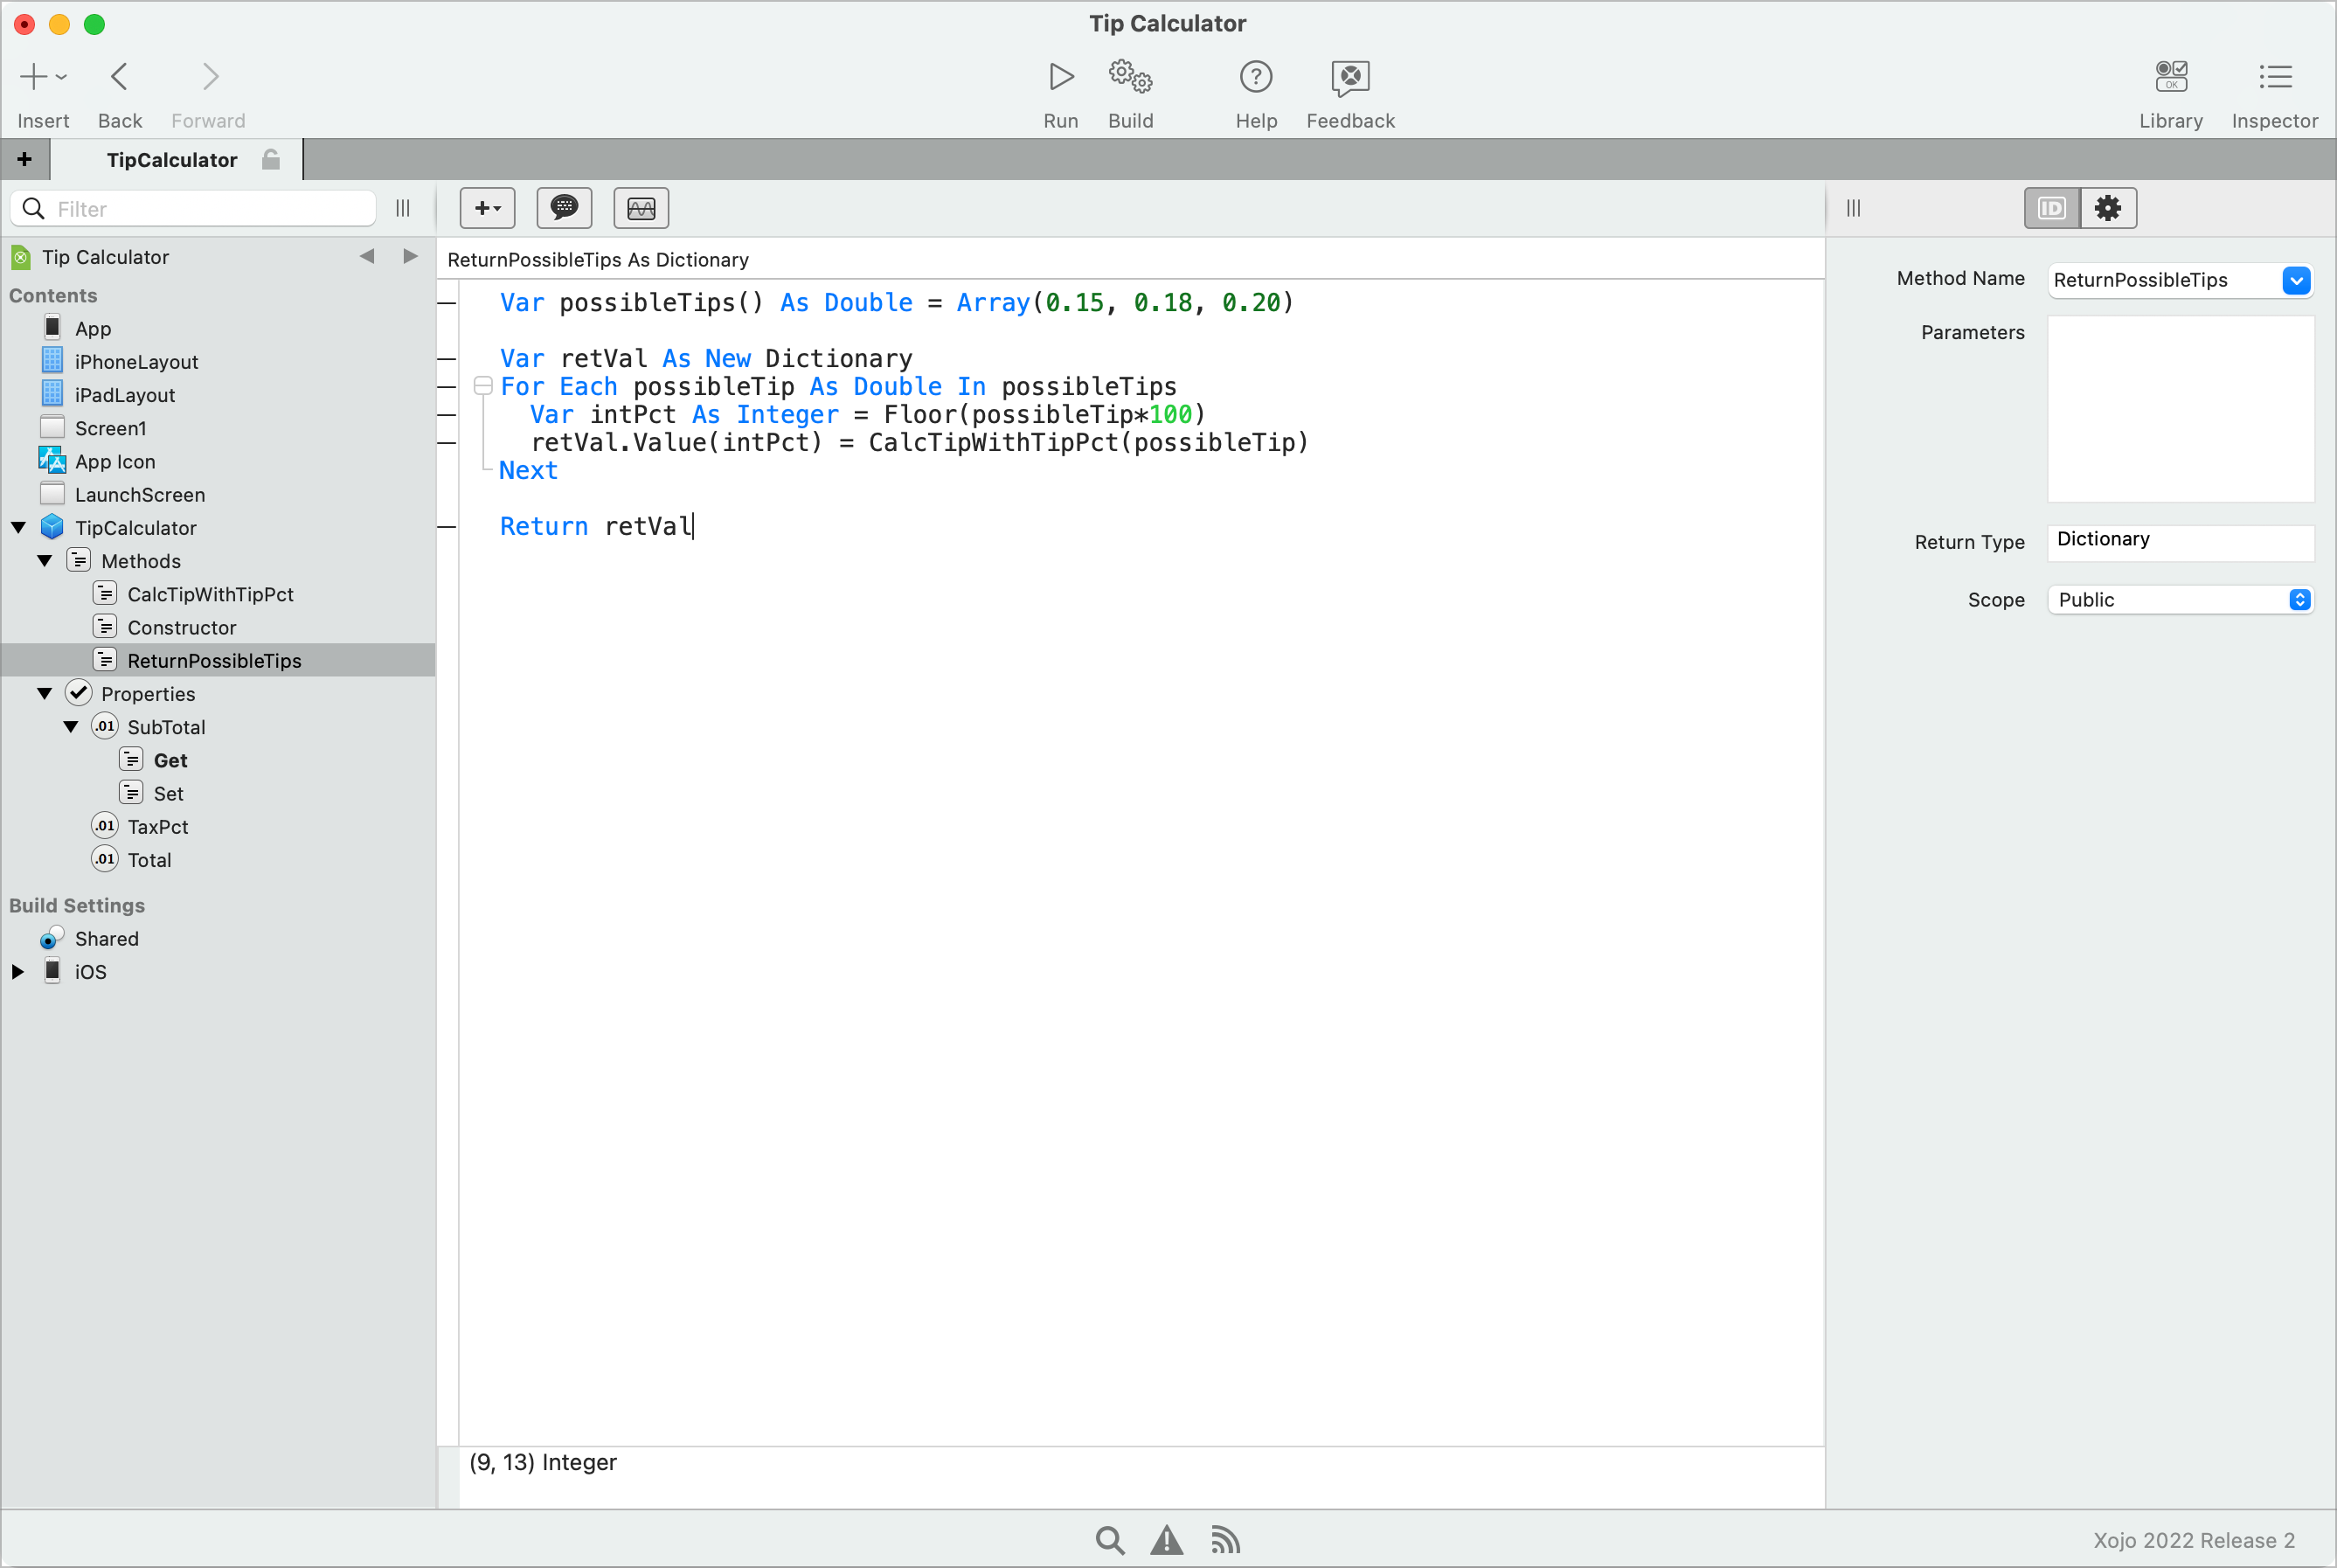
Add another method and name it
ReturnPossibleTipsand set its Return Type toDictionary. This is its code:
Var possibleTips() As Double = Array(0.15, 0.18, 0.20)

Var retVal As New Dictionary
For Each possibleTip As Double In possibleTips
  Var intPct As Integer = Floor(possibleTip*100)
  retVal.Value(intPct) = CalcTipWithTipPct(possibleTip)
Next

Return retVal
The last method to add is the Constructor, which is the equivalent of the init method on the Swift class.
Add a new method and set its name to
Constructorand its parameters tototal As Double, taxPct As Double. This is the code:
Self.Total = total
Self.TaxPct = taxPct
That is it for code for the class. Be sure to compare the Swift class to the Xojo class and notice how similar the two are.
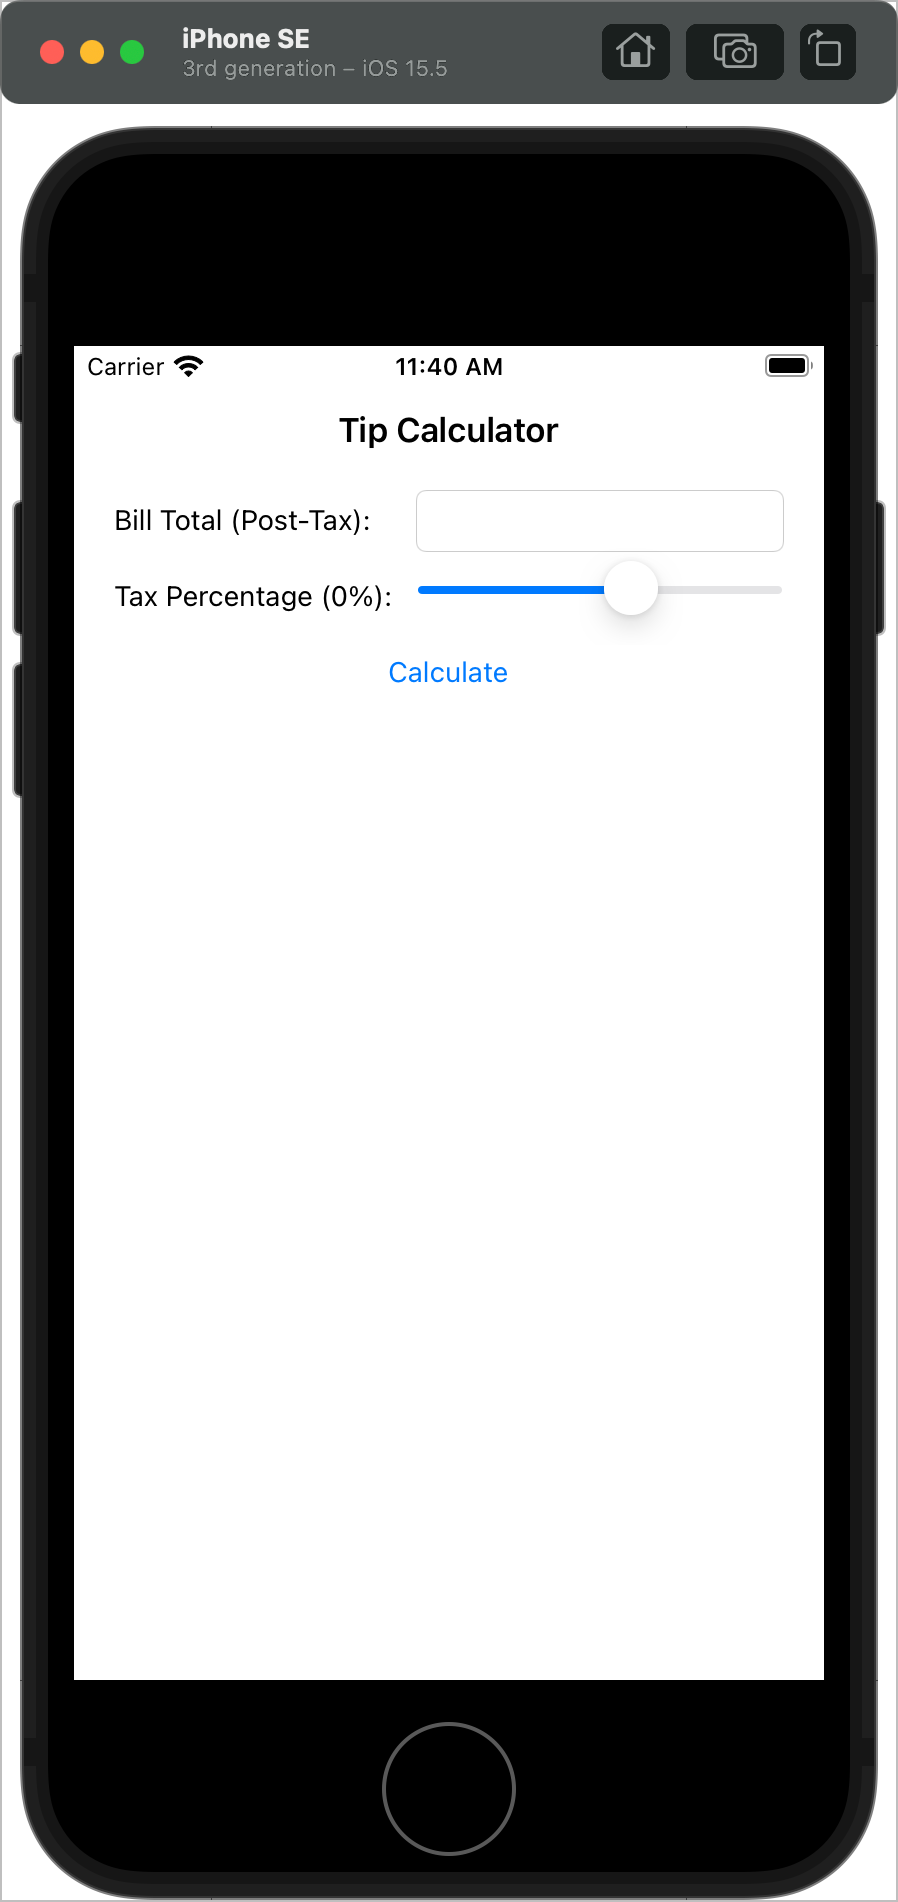
Creating the layout
In Xojo, mobile layouts are called Screens. In the case of the Tip Calculator, there are two inputs fields on the view: the total bill amount and the tax rate. As with the Swift tutorial, a Text Field is perfect for entering the bill amount and a Slider works well for the tax amount.
In addition to those two controls, you'll want a couple labels (for the Text Field and Slider). And you'll also want a Navigation Bar to show the app's name, a button to do the tip calculation and a Text Area to show the results.
Like with the Swift tutorial, you'll go through it one step at a time:
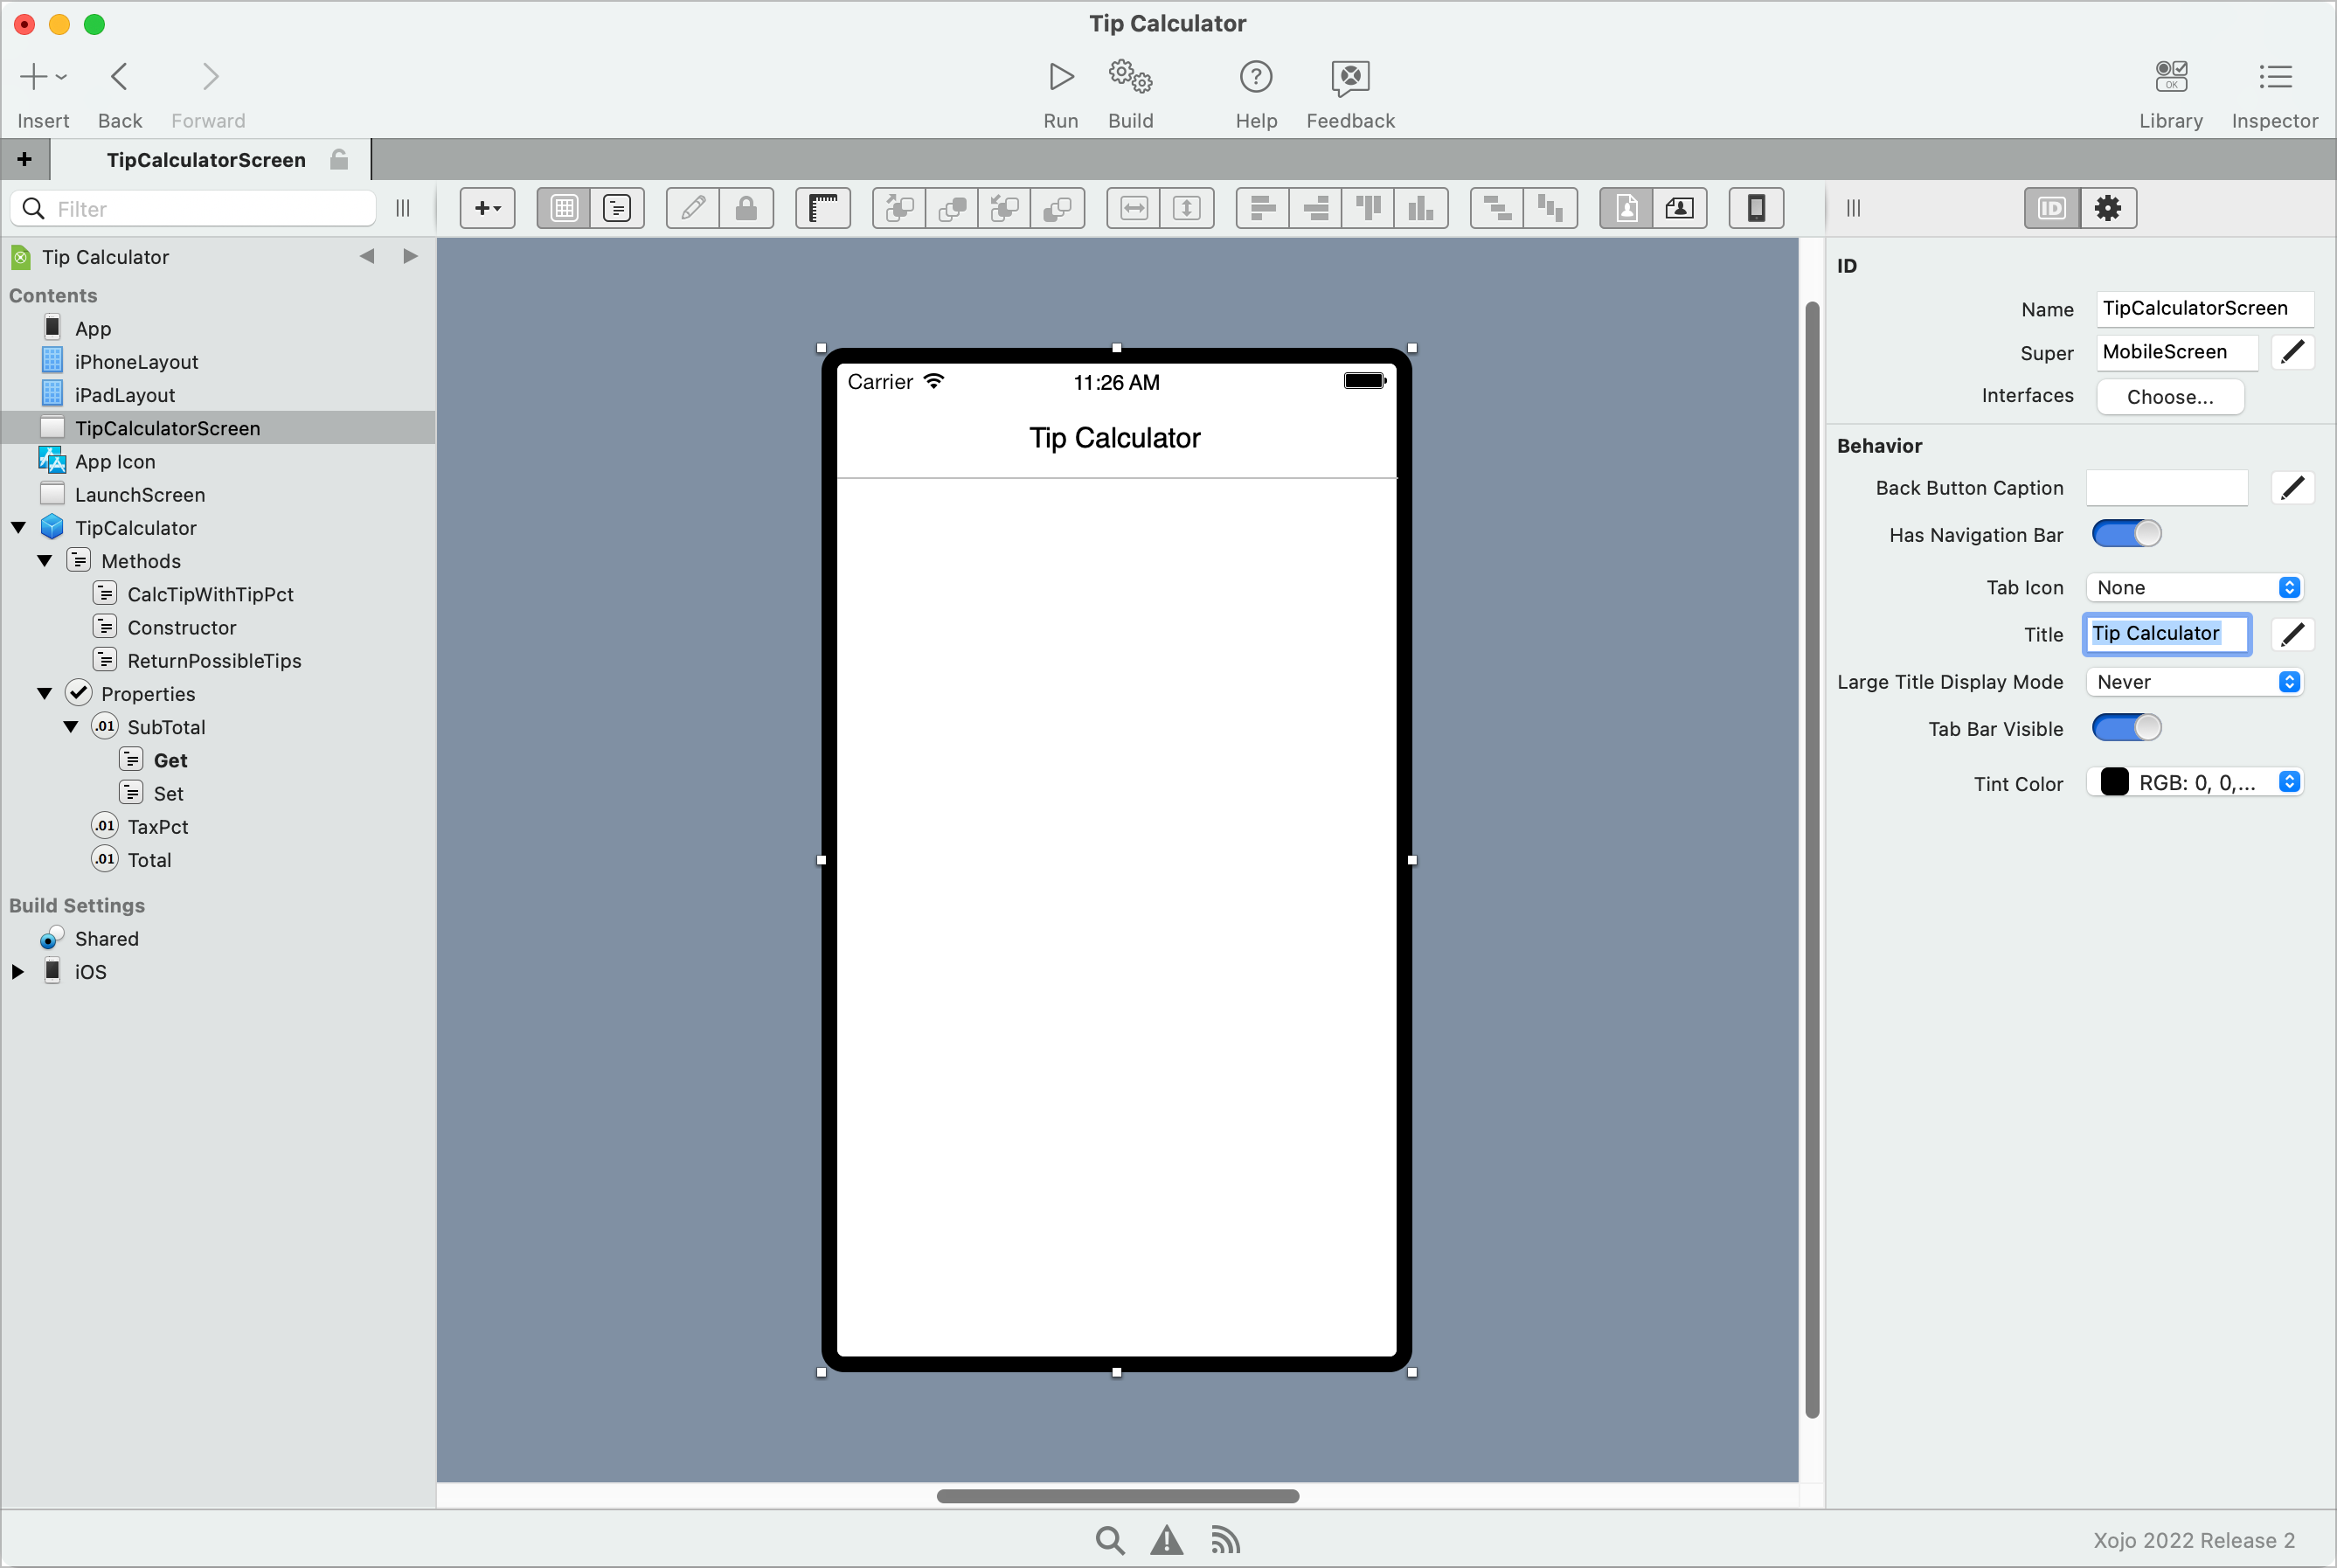
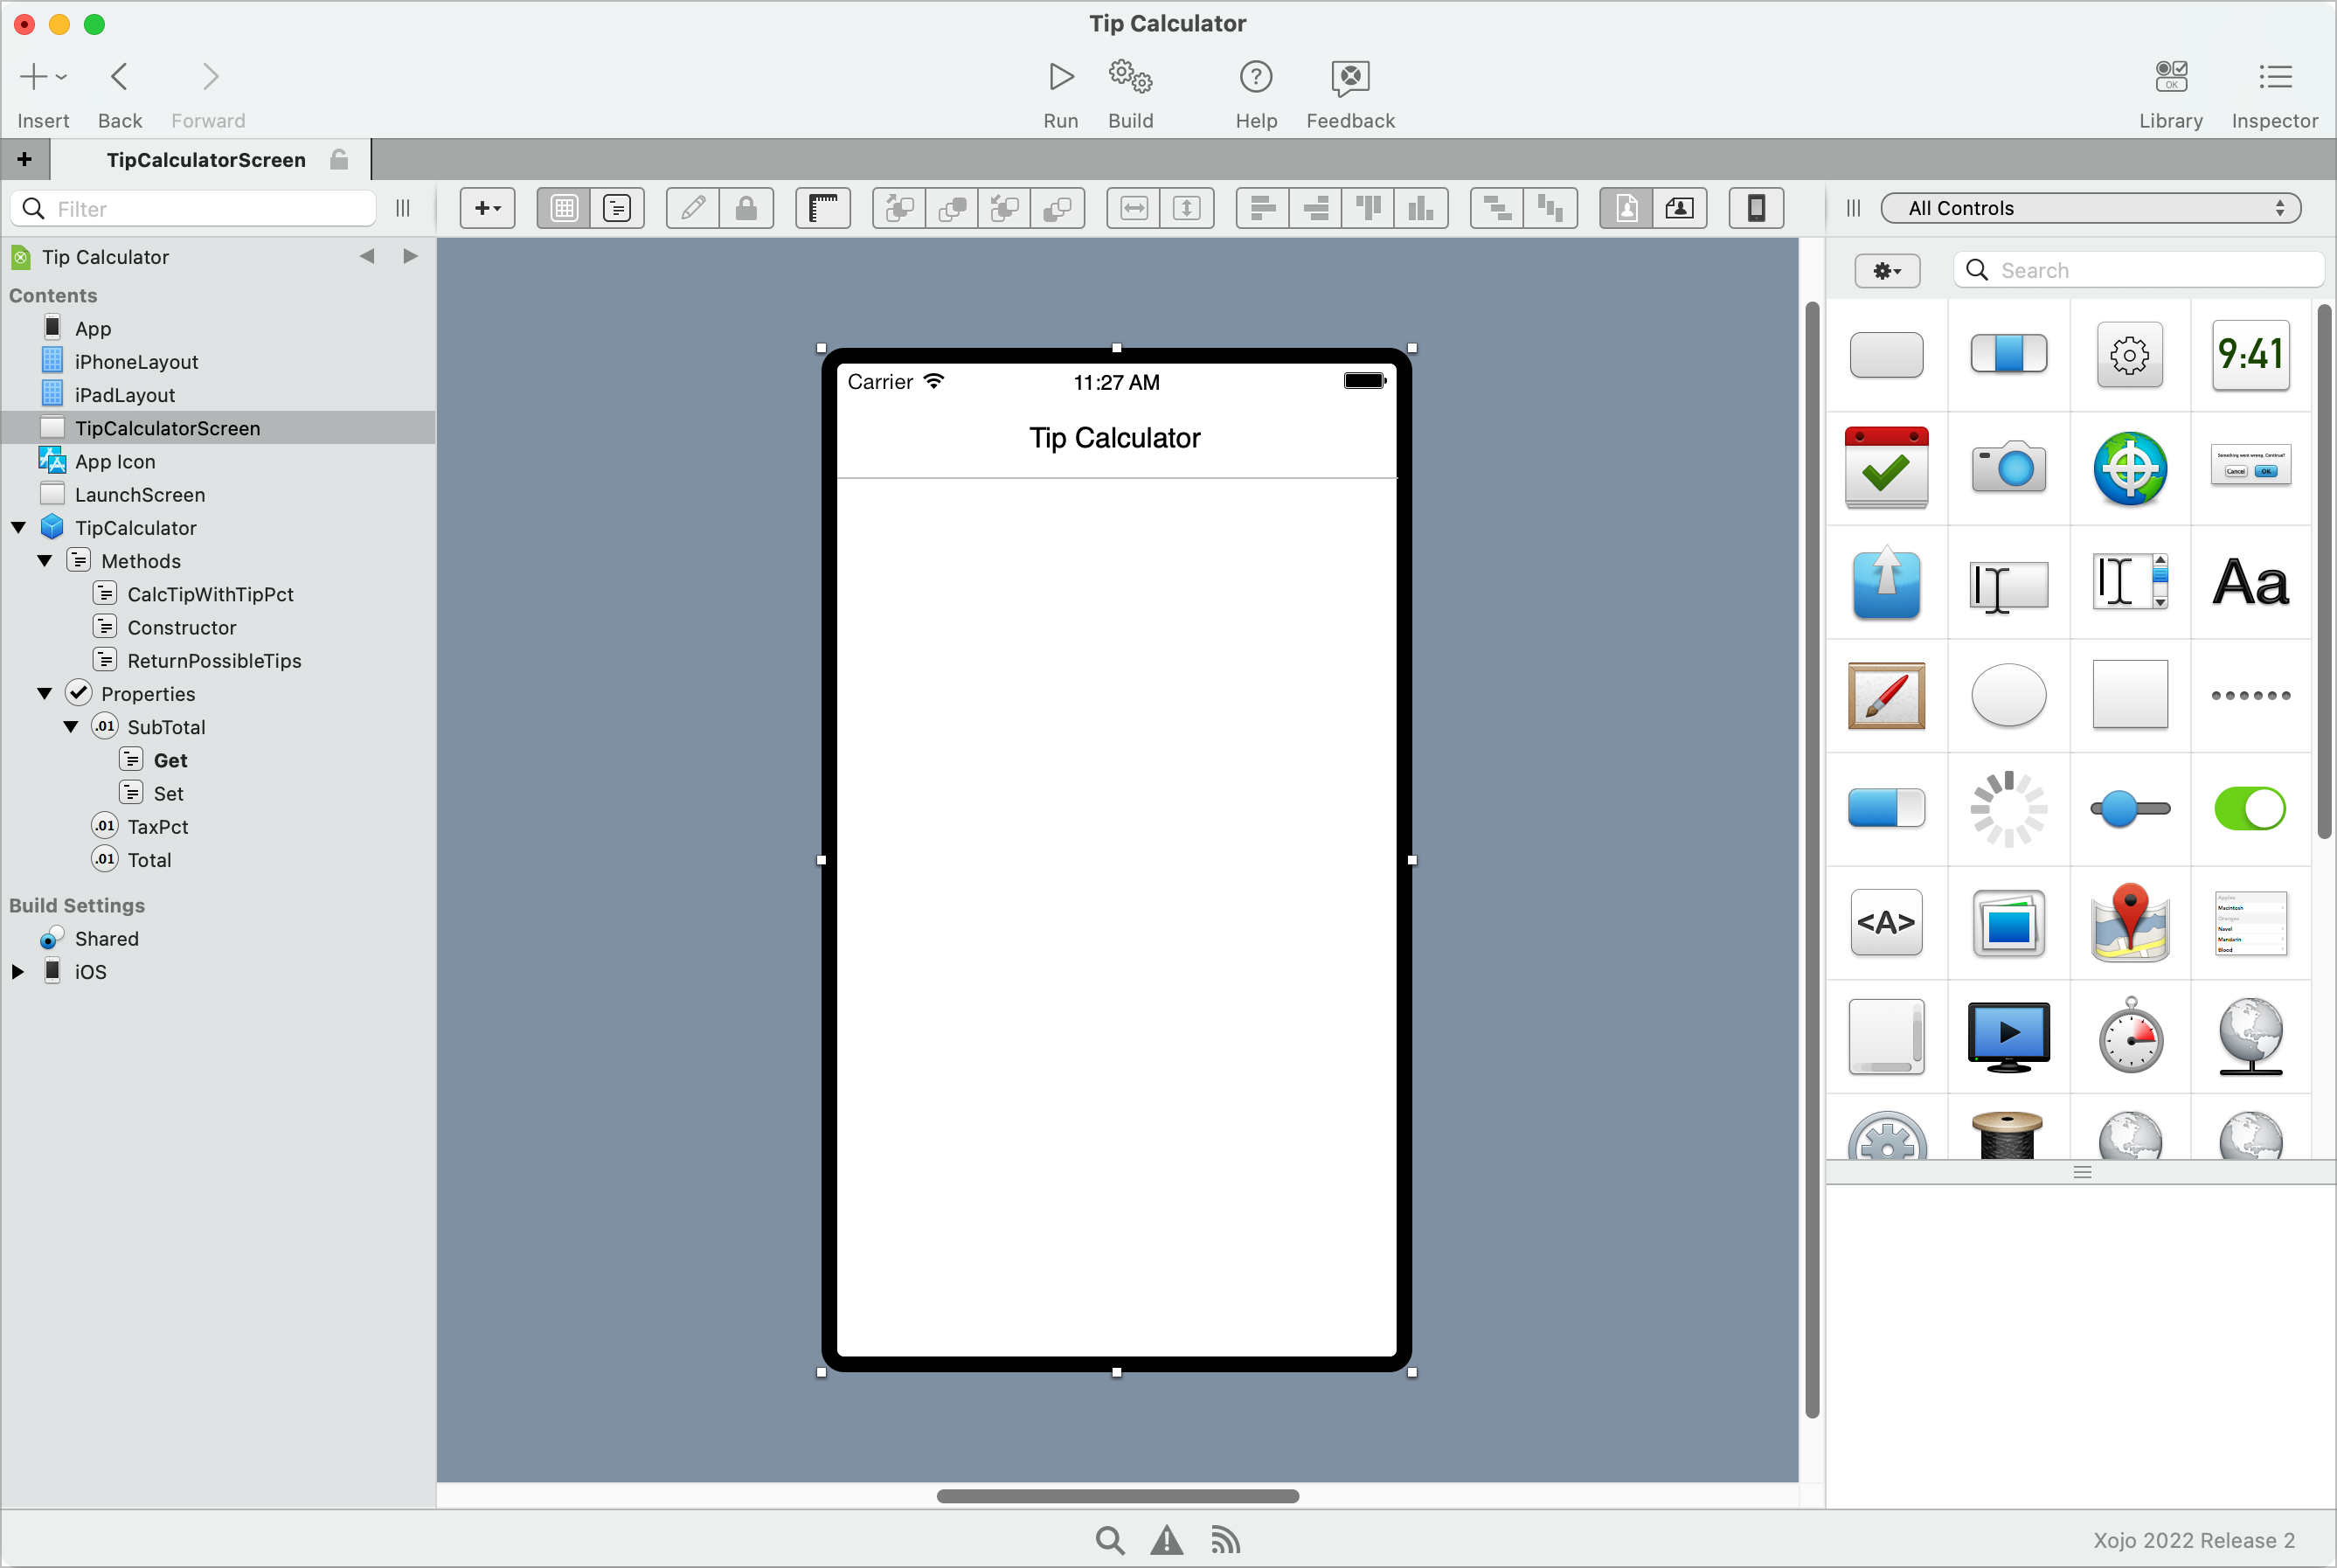
Name. The default screen is given the name Screen1. Click it in the Navigator and change its name to something better:
TipCalculatorScreen.Navigation Bar. In the Inspector for TipCalculatorScreen, set the Title text to
Tip Calculator.
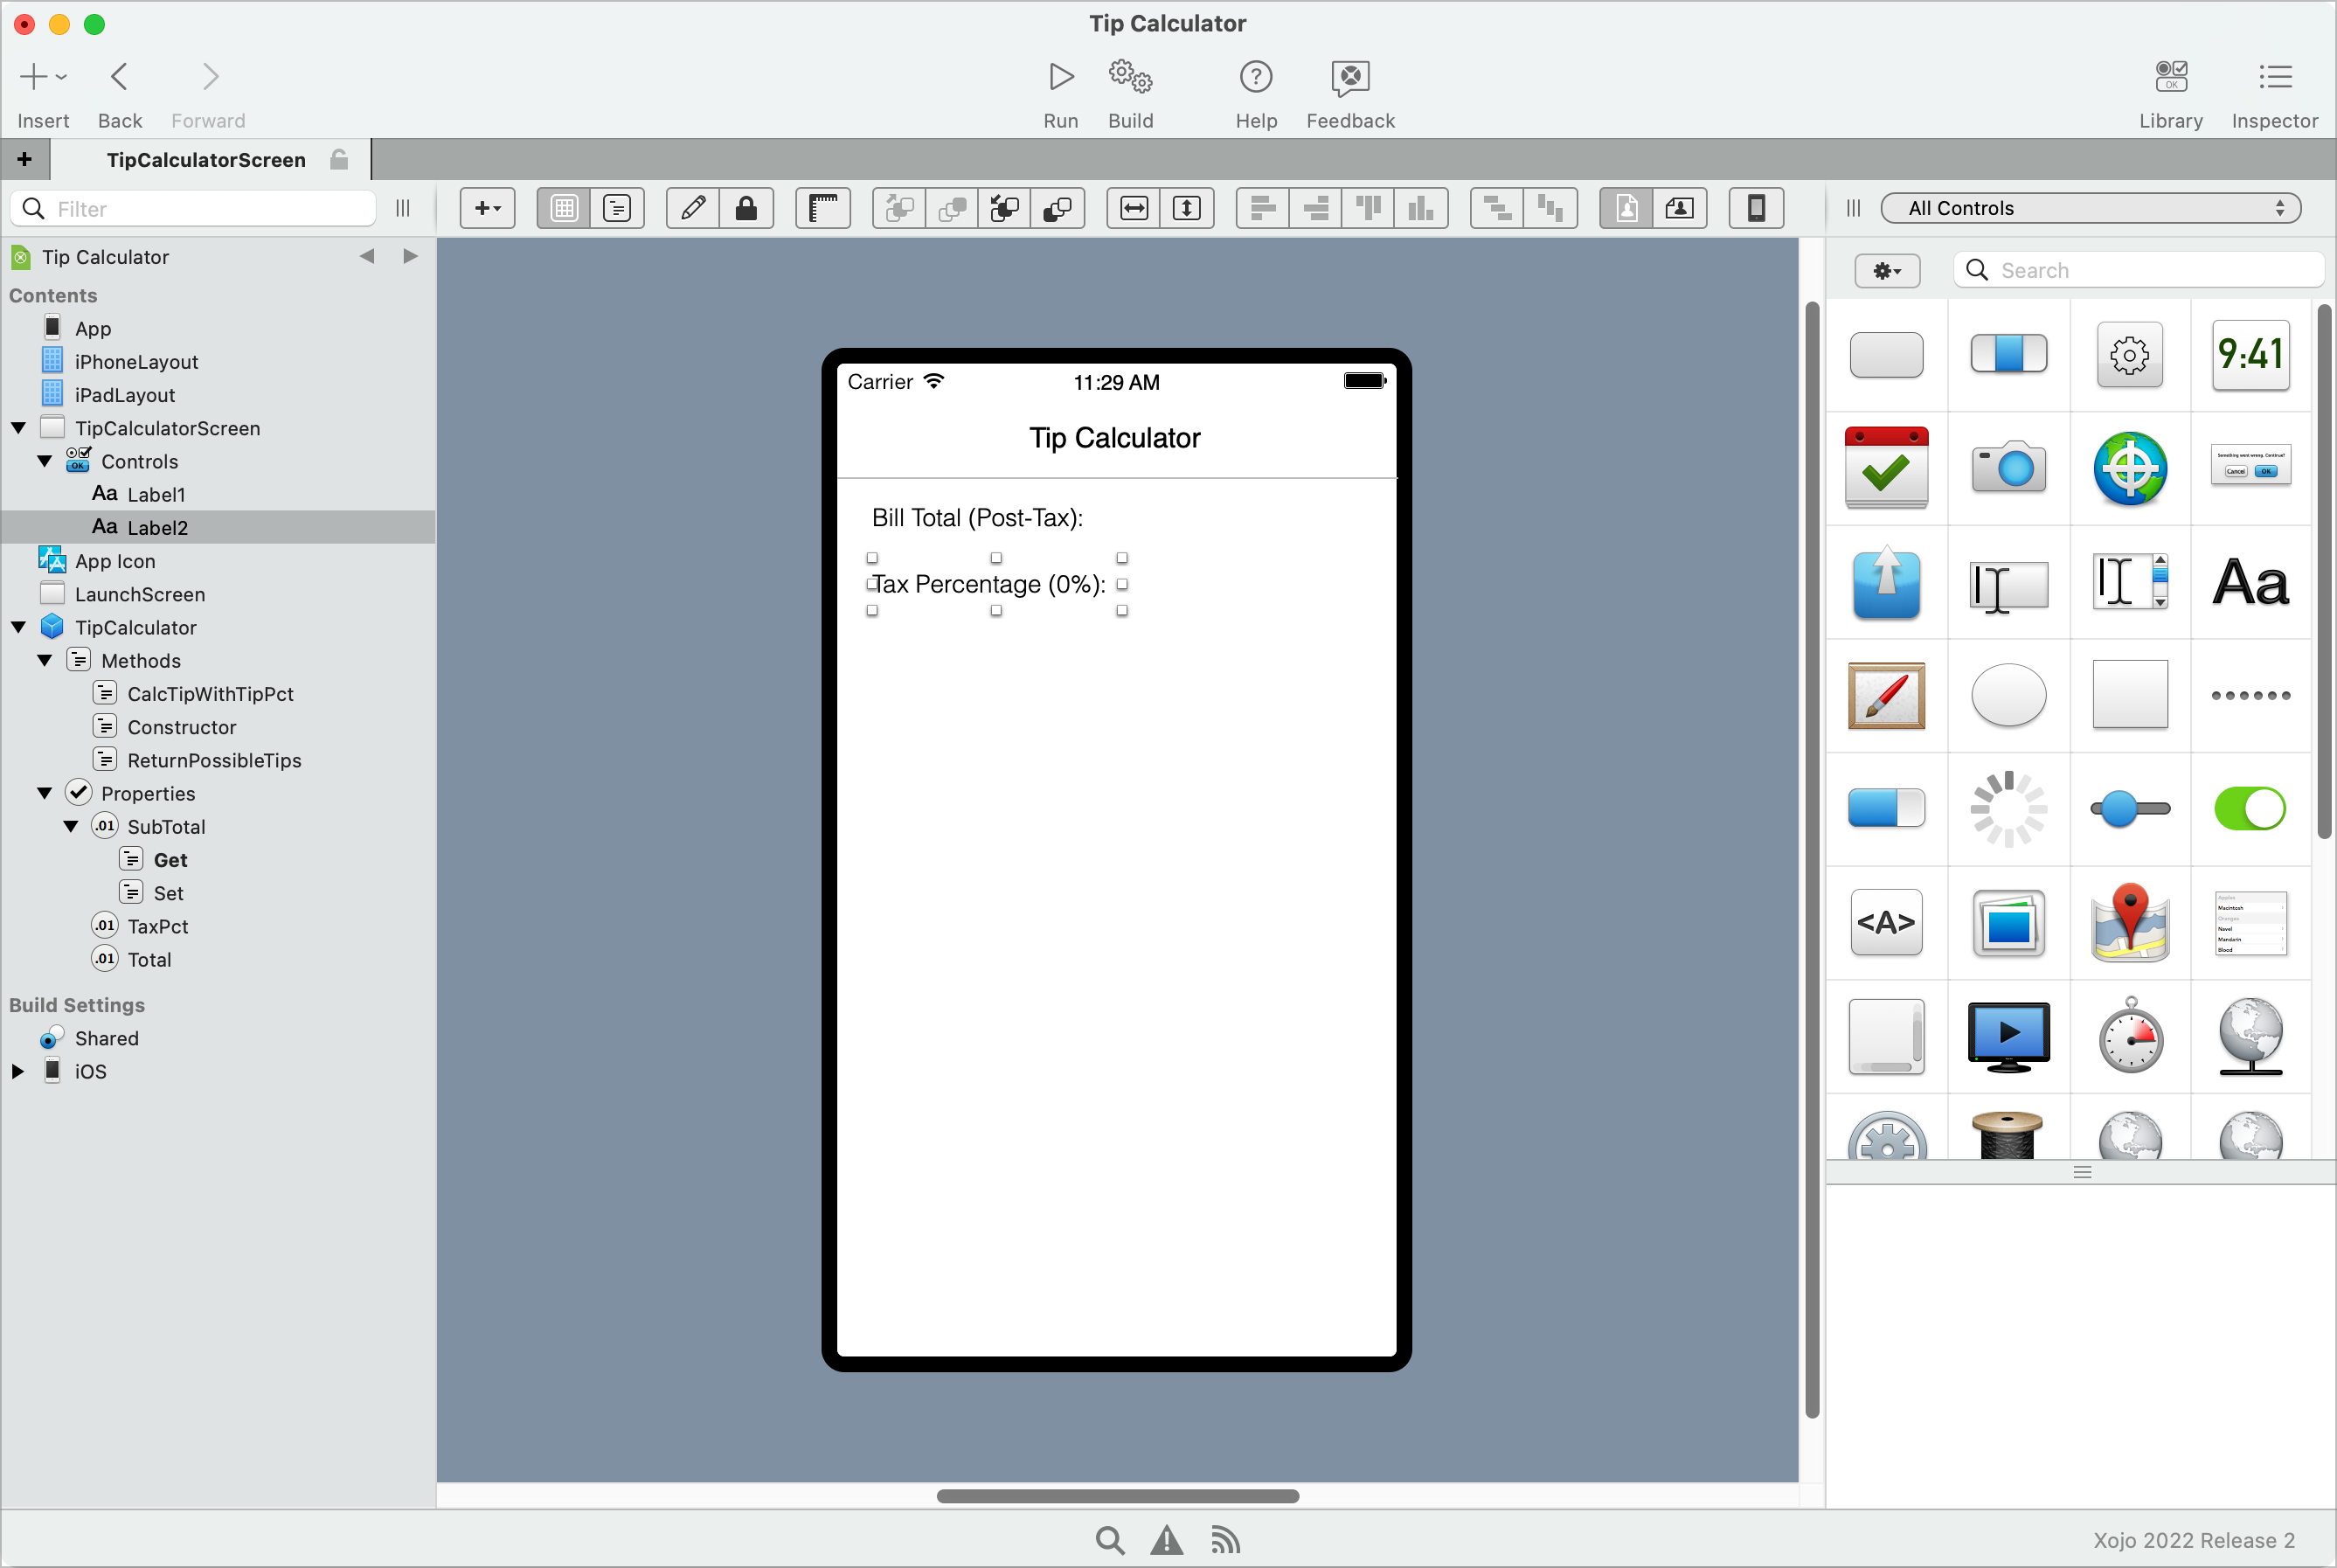
Labels. From the Library (click the Library button on the toolbar to show it if necessary), drag a Label control onto the Screen.
Drag the Label to the top left of the Screen and use the layout guides that appear to help you position it with appropriate margins.
Drag it so that its width is about half of the layout.
With it selected, press RETURN to set its text to
Bill Total (Post-Tax):.Do the same thing for a second label (position it below the first, with the same width) and set its text to
Tax Percentage (0%):. You'll also want to set the name of this second label (in the Inspector) toTaxPctLabelso that it can be easily referred to in the code later.
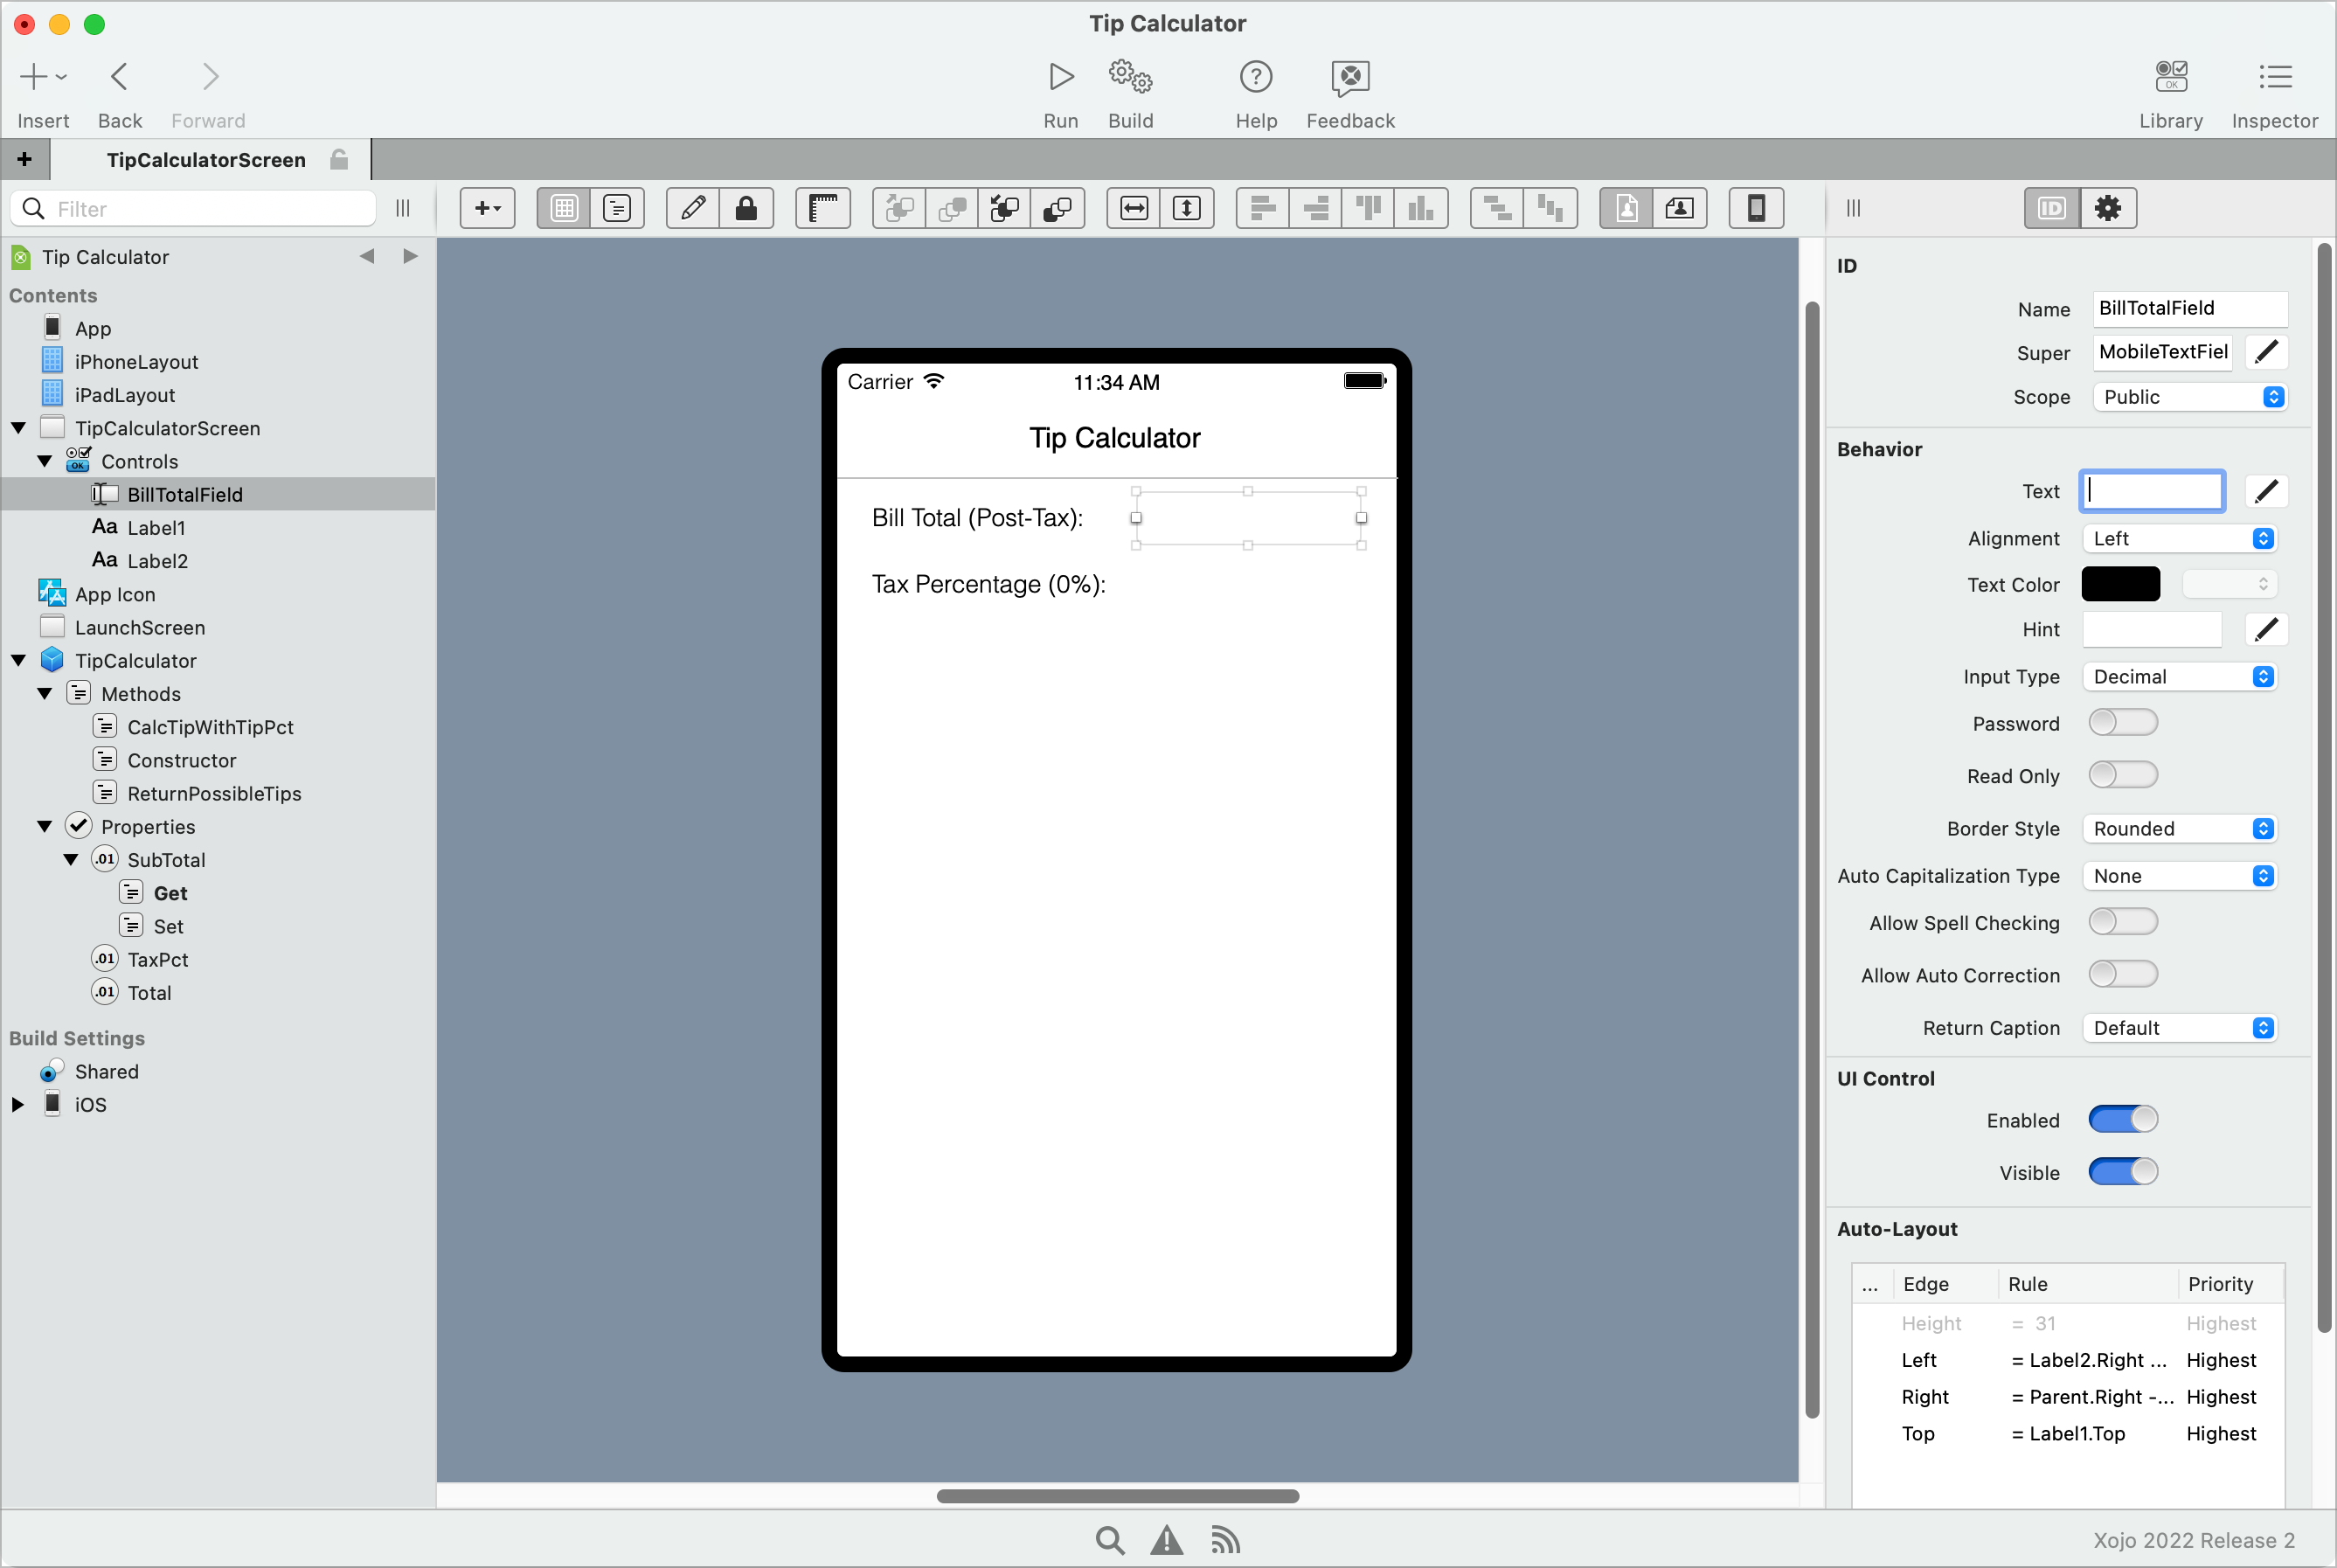
Text Field. From the Library, drag a TextField onto the layout, to the right of the Bill Total label. Use the layout guides to position it properly and resize it to the right margin.
In the Inspector, change the name to
BillTotalField, the InputType to Decimal, and remove the default Text.
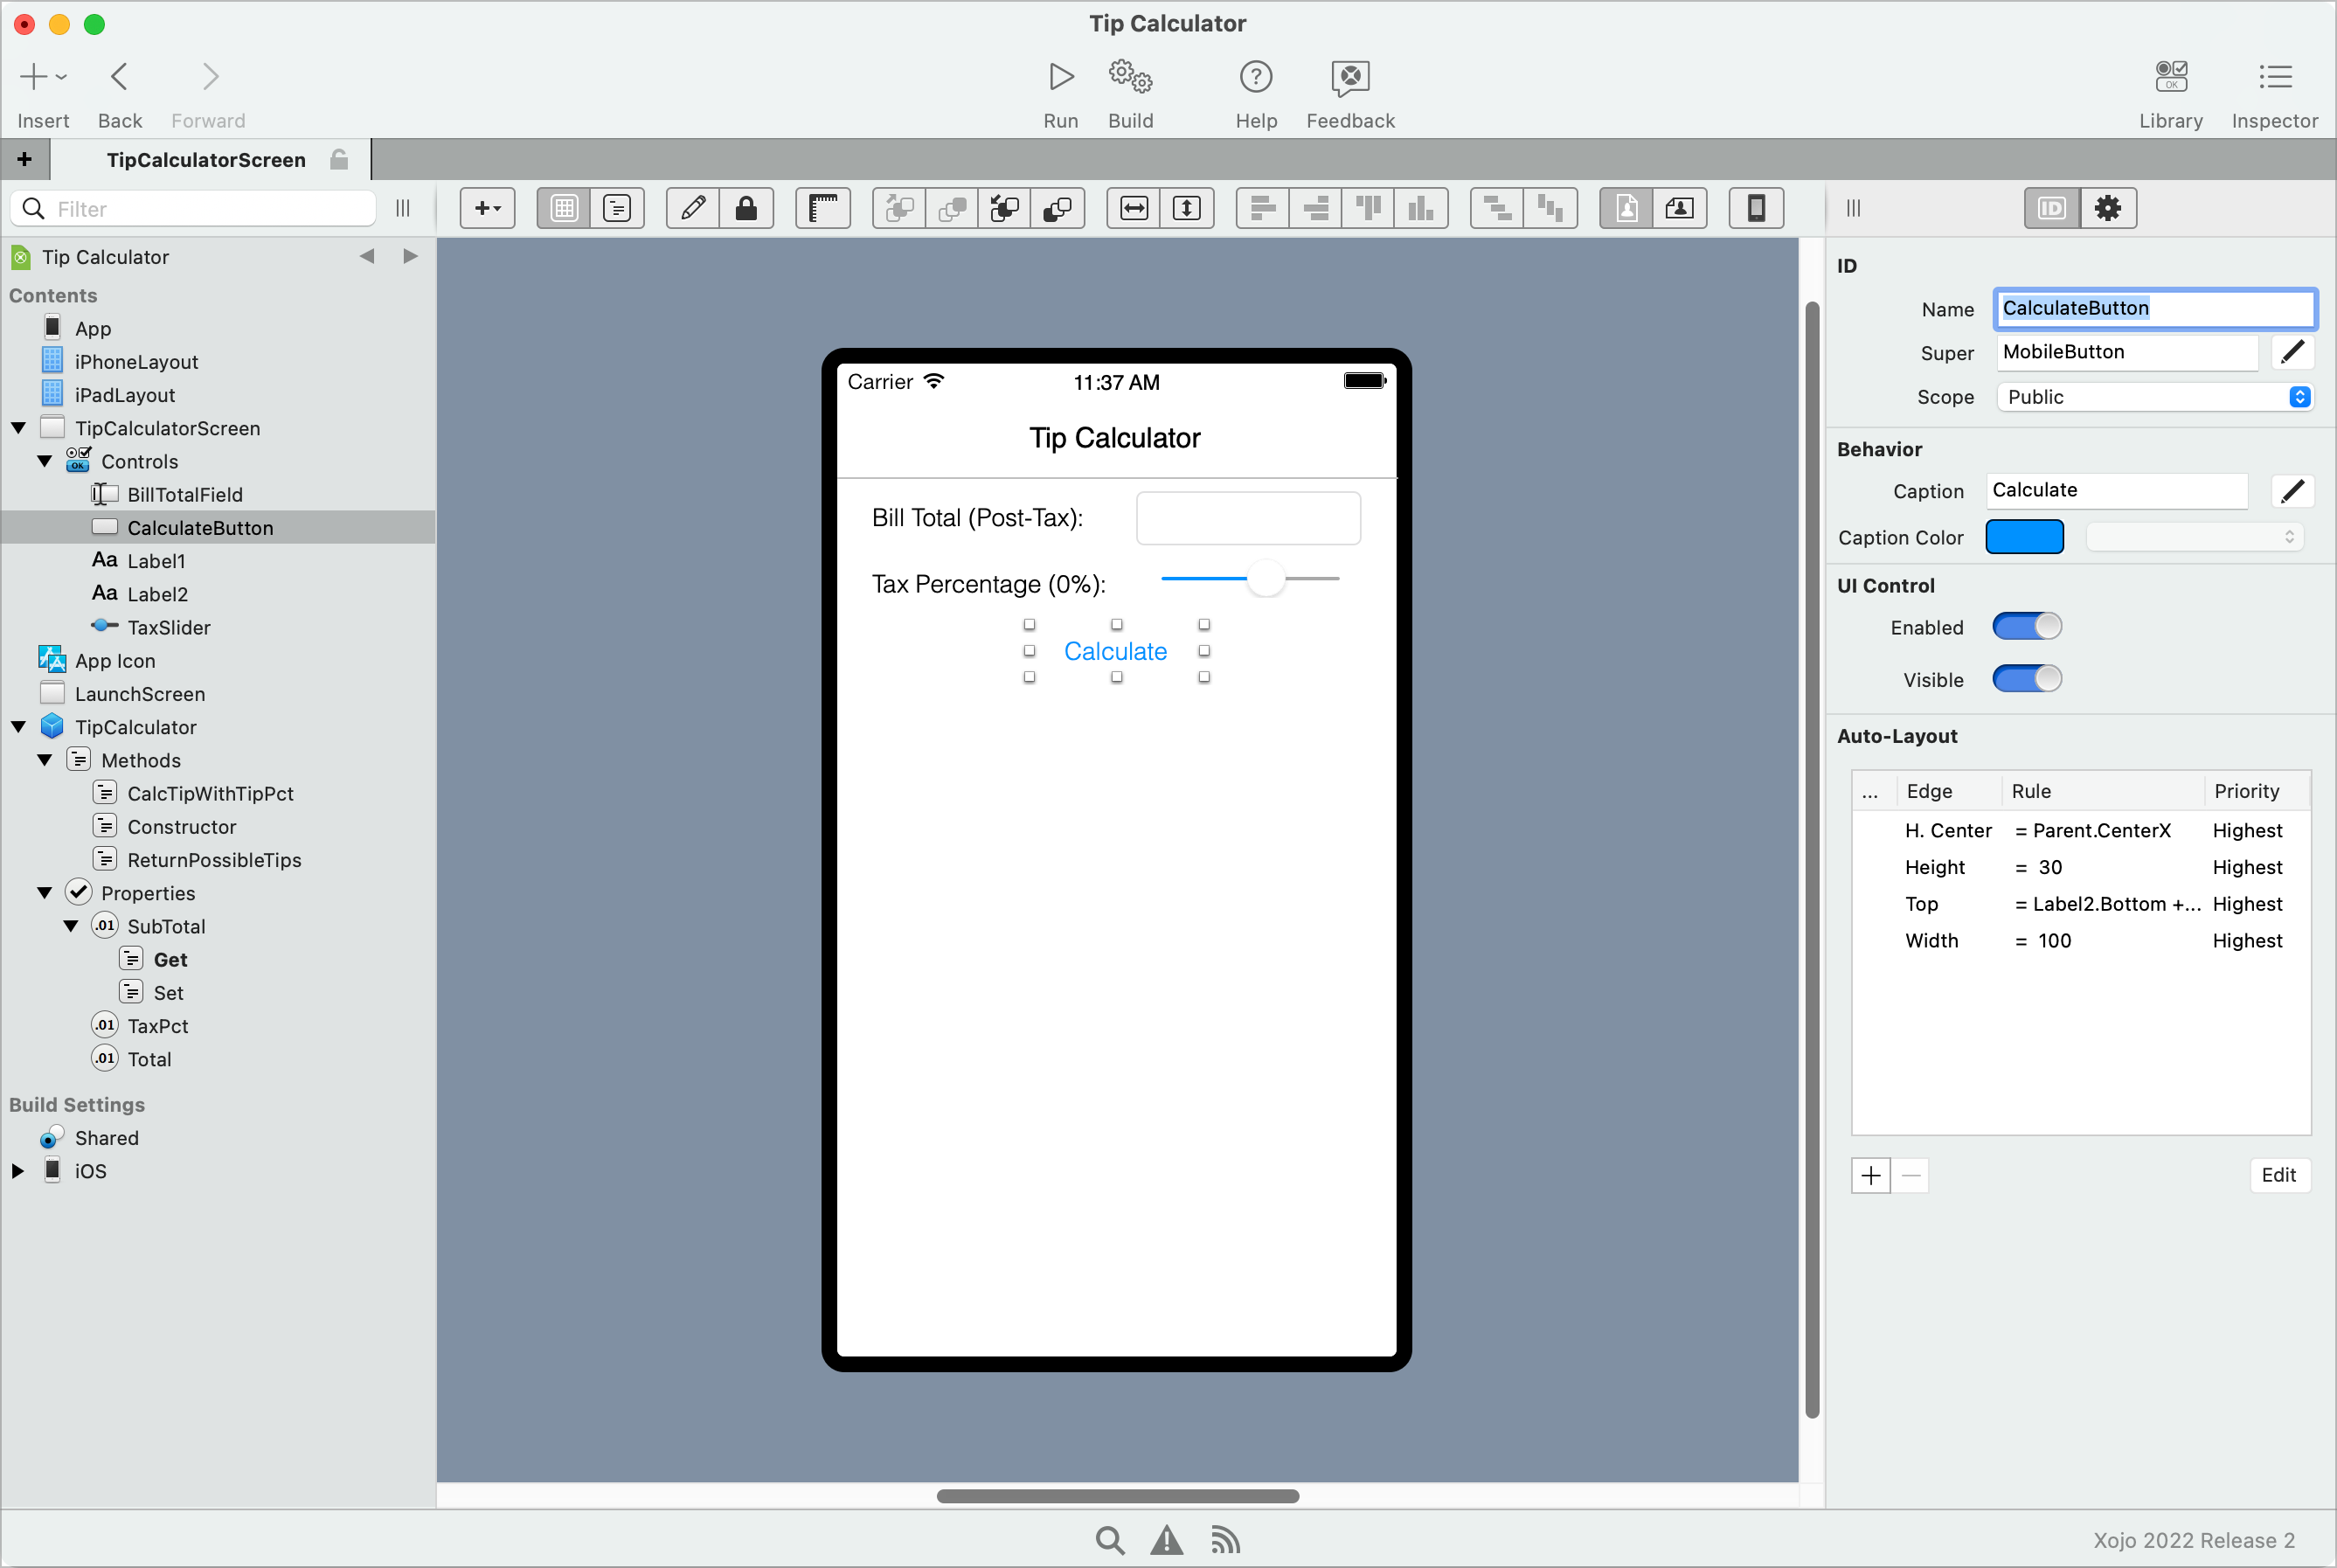
Slider. From the Library, drag a Slider onto the layout, to the right of the Tax Percentage layout. Use the layout guides to position it properly and resize it to the right margin.
In the Inspector, change the name to
TaxSlider, set the Maximum Value to10and Value to6.

Button. From the Library, drag a Button onto the layout, below the Tax Percentage and centered. Use the layout guides to help with positioning.
With it selected, press RETURN and change its caption to
Calculate. In the Inspector, change its name toCalculateButton.
Text Area. From the Library, drag a Text Area onto the layout below the button. Use the layout guides to position it on the left, right and bottom margins.
In the Inspector, change its name to
ResultsTextArea, set Read Only to ON, and remove the default text of "Untitled".
As you were dragging controls onto the layout and using the layout guides to help with positioning, Xojo was creating the necessary Auto-Layout constraints for you. You do not have to do anything else, but if you wanted to manually adjust the constraints, you can do so by selecting a control and changing its Auto-Layout settings in the Inspector.
You can now run the app to see how the layout looks in the iOS Simulator.
Adding events and code
Because Xojo uses an event-driven model, the controls are already all hooked up to receive events. You can simply add the events you need and populate them with the necessary code, which is what you'll do now.
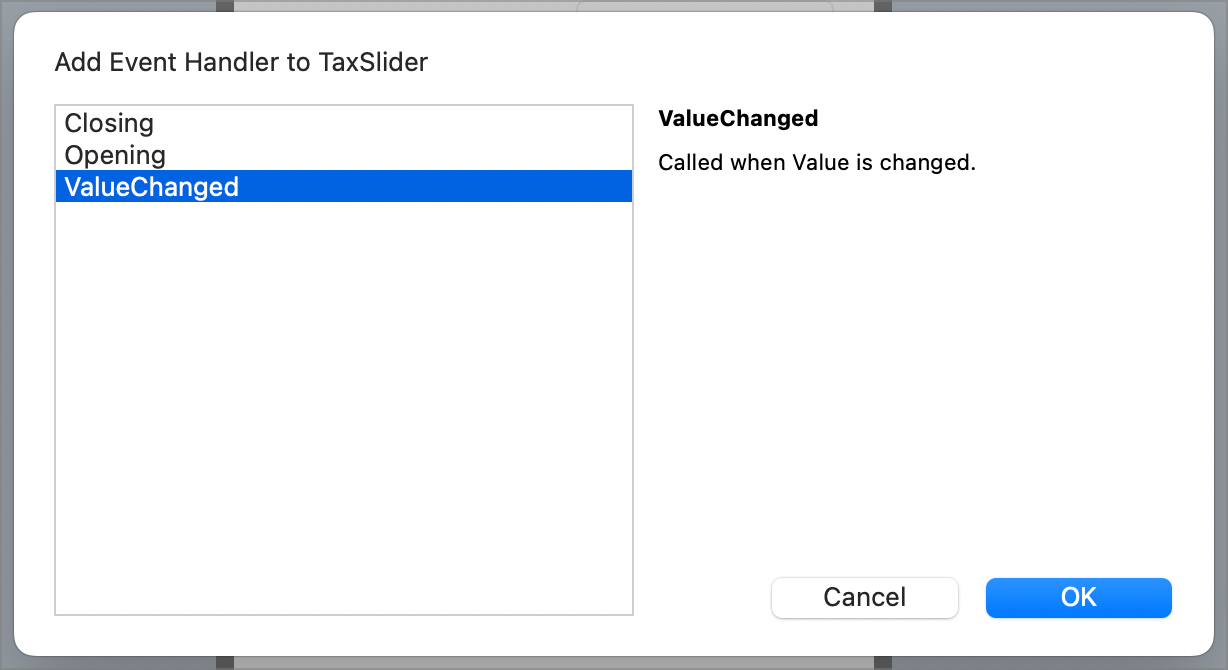
First, you'll add the ValueChanged event to the Slider.
Double-click the slider in the layout to display the Add Event Handler window and choose the ValueChanged event and press OK.
Add this code to update the text for the label with the tax percent as the slider is moved:
Var pct As Integer = Me.Text
TaxPctLabel.Text = "Tax Percentage (" + pct.ToText + "%):"
In the Opening event of the Screen, you can initialize the Tax Percentage label.
Double-click on the Screen layout (not on a control) and select the Opening event from the Add Event Handler window. Click OK and add this code:
Var pct As Integer = TaxSlider.Value
TaxPctLabel.Text = "Tax Percentage (" + pct.ToText + "%):"
The above code is similar to the code in ValueChanged, so you could extract the code into a common method that is called by both events if you wish.
The last code to add is for the button, which is used to calculate the tip amounts and display them.
Select the button in the layout and double-click it to display the Add Event Handler window and add its Pressed event. Use this code to calculate the tip amounts (using the TipCalculator class you created at the beginning) and display the results:
ResultsTextArea.Text = ""
Var tipCalc As New TipCalculator(Double.FromString(BillTotalField.Text), Floor(TaxSlider.Value) / 100)
Var possibleTips As Dictionary = tipCalc.ReturnPossibleTips
For Each entry As DictionaryEntry In possibleTips
  Var tipPct As Integer = entry.Key
  Var tipValue As Double = entry.Value
  ResultsTextArea.Text = ResultsTextArea.Text + tipPct.ToString + "%: " + tipValue.ToString + &ua
Next
Here is a line-by-line breakdown of the code:
Create an instance of the TipCalculator class and initialize it by passing in the bill amount entered by the user (converted it to a Double first) and the current slider value (rounding it to a whole number and converting it to a percentage).
Call the ReturnPossibleTips method on TipCalculator which returns a Dictionary of values.
Now the code iterates through the values in the Dictionary and creates the text to display in ResultsTextArea.
Get the tip percentage, which is the key for the current DictionaryEntry.
Get the tip value, which is the value for the DictionaryEntry.
Combine these into Text to display in ResultsTextArea.
That's it.
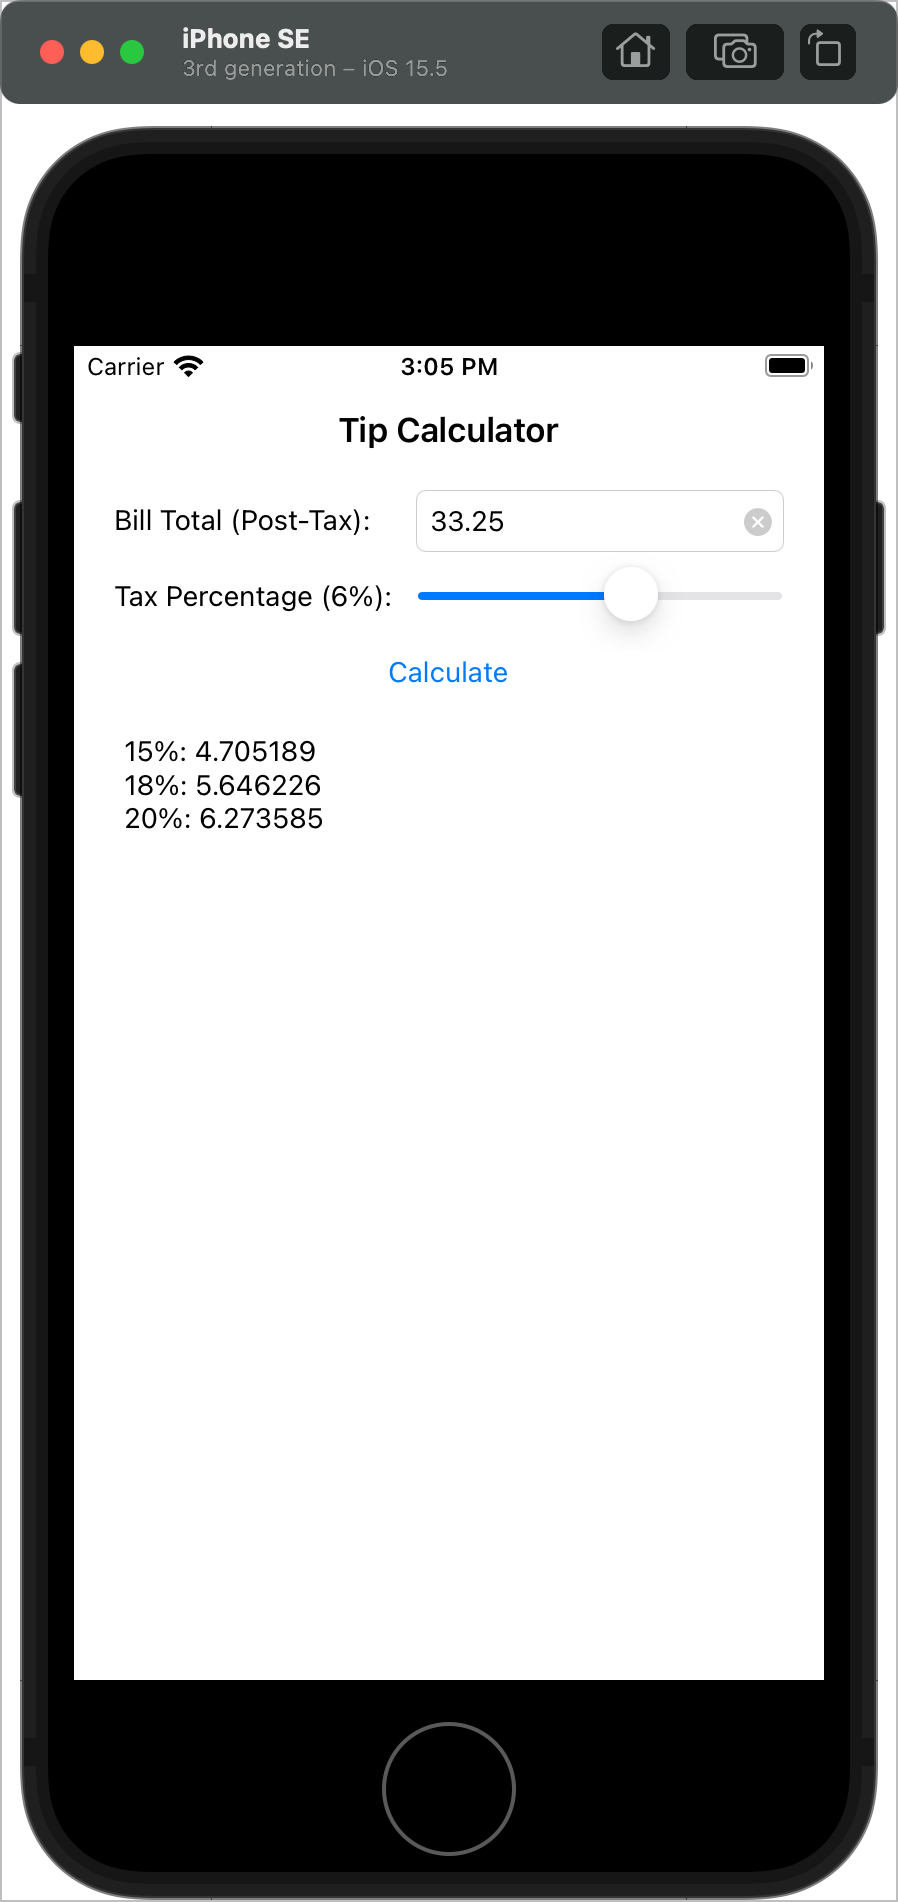
Run the project, enter a bill amount, adjust the slider and click the Calculate button to see three common tip amounts.
You've now made a native iOS app using Xojo in far less time than you would have using Swift. Give Xojo a try and see how swiftly you can create other apps!
Next steps
You've now made a native iOS app using Xojo in far less time and with less code than you would have using Swift.
Download the completed Xojo TipCalculator project.
You can learn more about Xojo and iOS by reviewing more of the Xojo documentation. In particular, the Getting Started Welcome page has links to lots of useful information to help you get started with Xojo.
And be sure to check out the 200+ videos and ask questions in the friendly developer forum.