Web Tutorial
Learn the basics
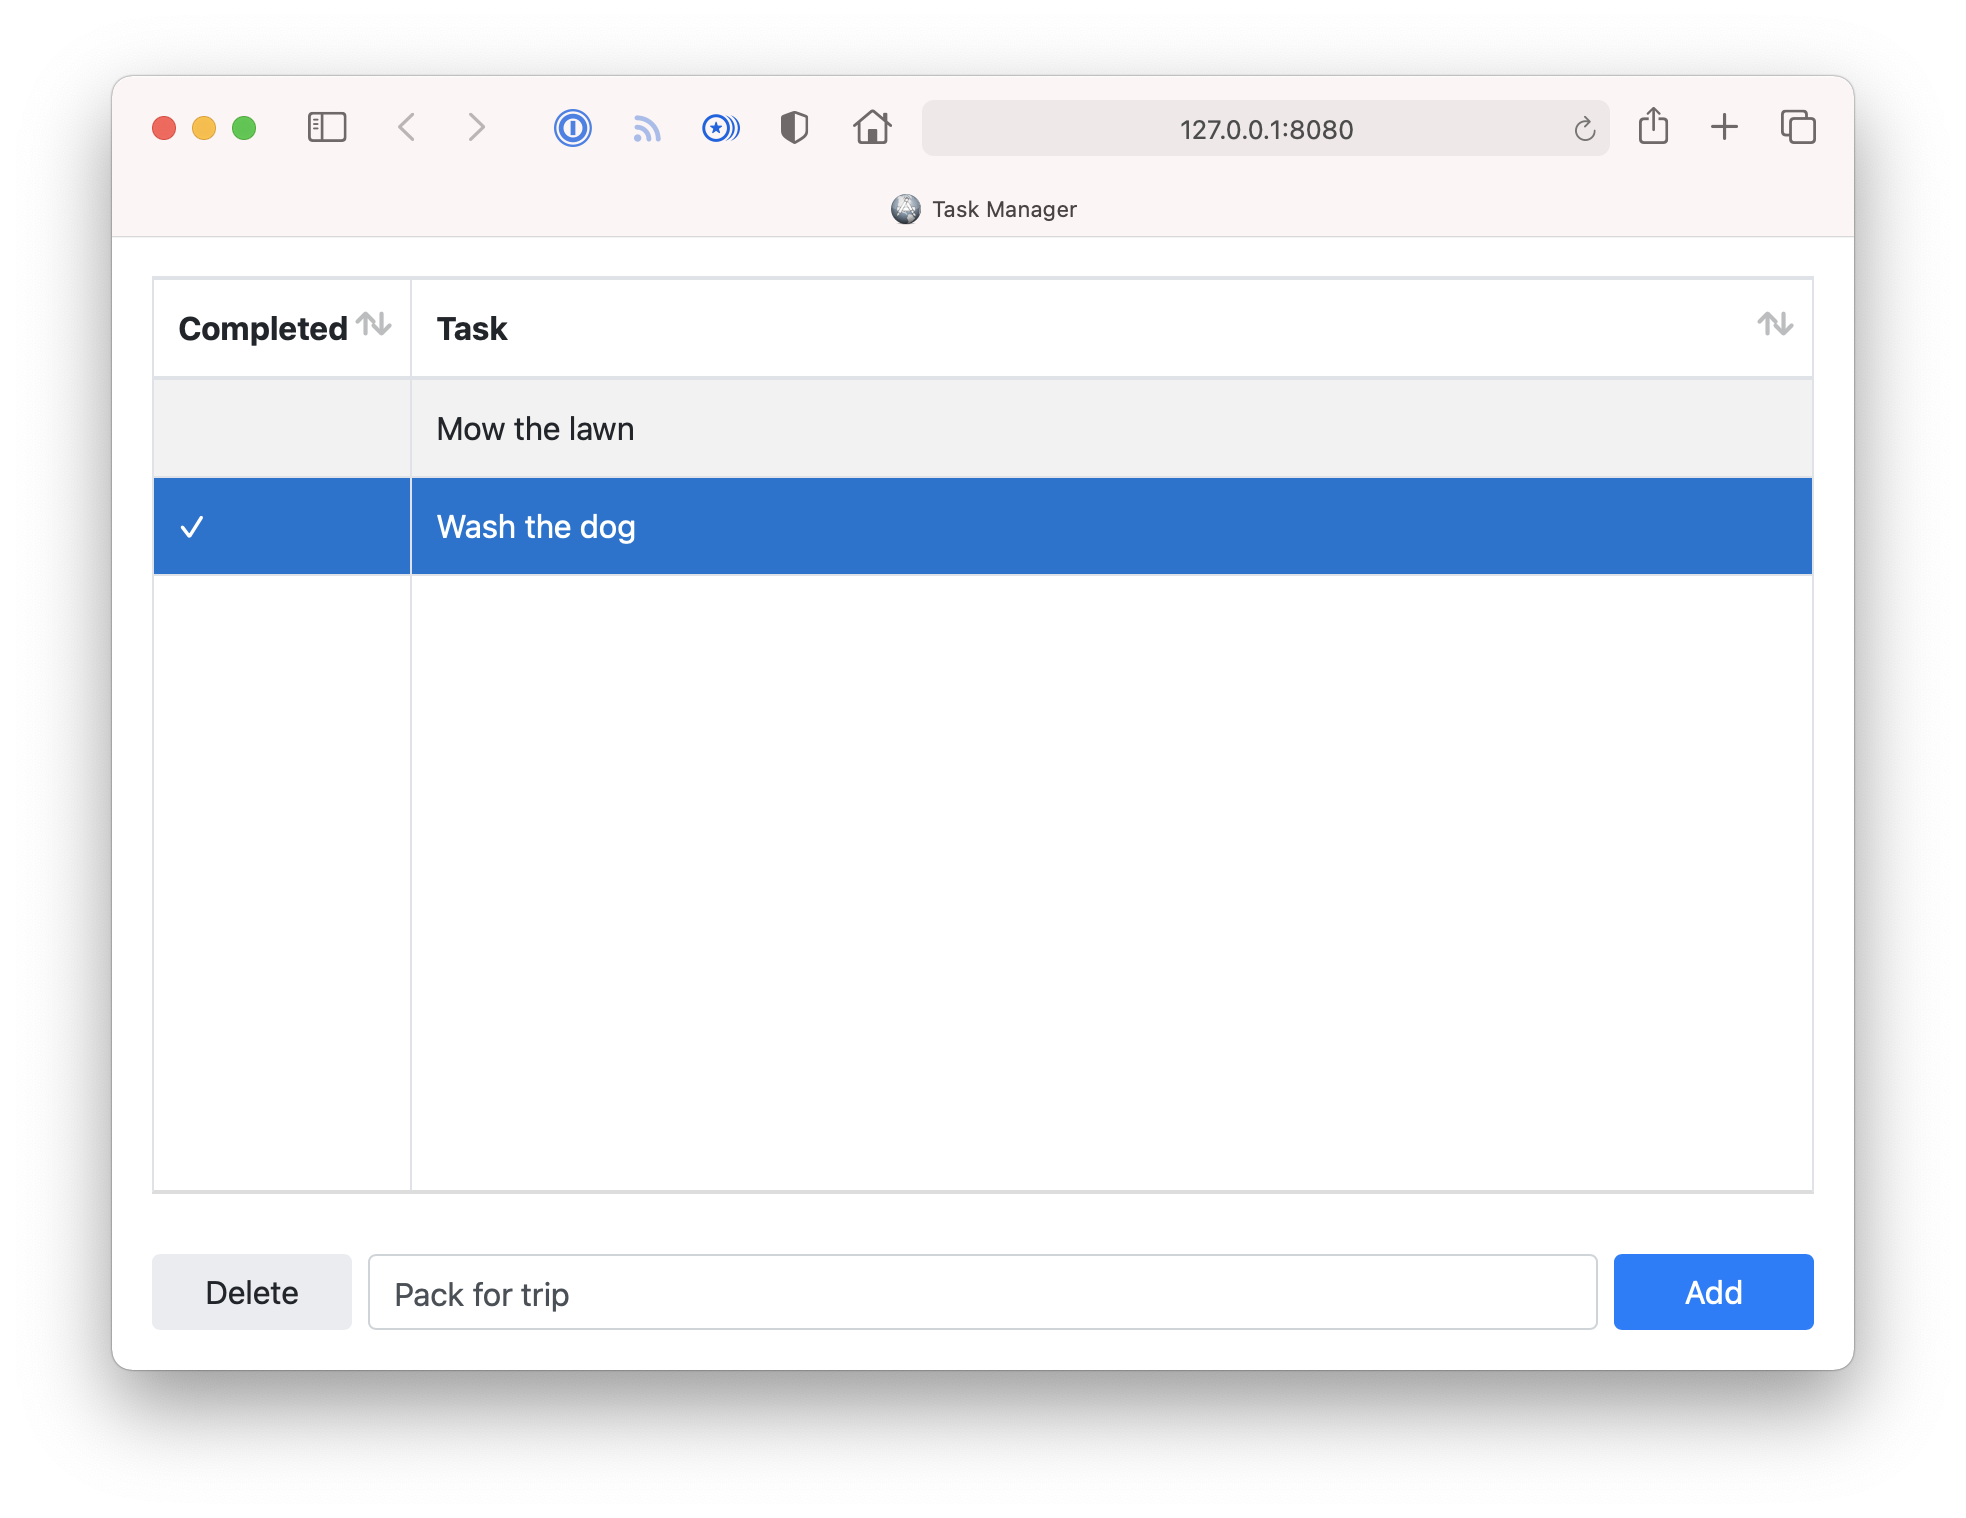
Xojo is a cross-platform integrated development environment (IDE) that is made up of a rich set of graphical user interface objects, the modern object-oriented Xojo programming language, an integrated debugger, and a multi-platform compiler. With the IDE, you can build your app's interface by dragging and dropping interface objects onto the app's web pages and dialogs. Once you have completed the Web Quickstart, this tutorial will walk you through creating a more intermediate web app, a Task Manager. This is what the completed app will look like:
Task Manager tutorial
Getting started
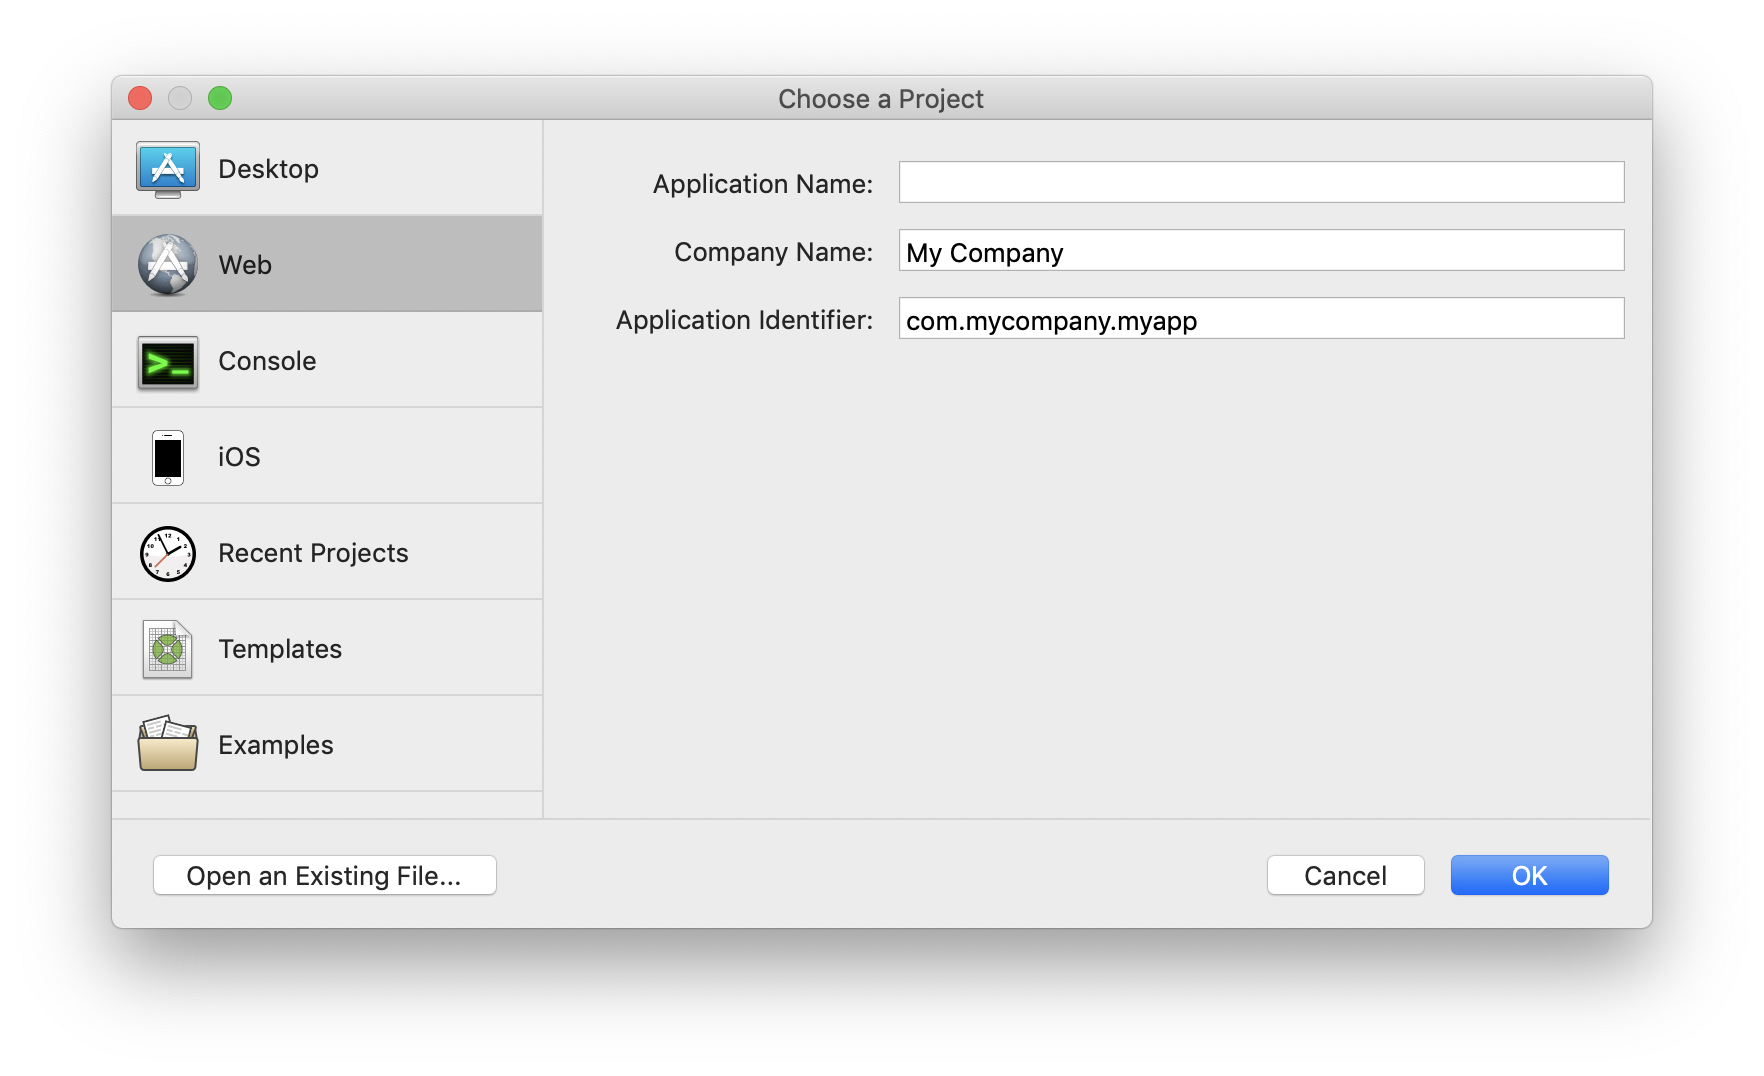
Launch Xojo. After it loads, the Project Chooser window appears. If Xojo was already running, choose File > New Project.
Choose Web, since we're building a web app, and press OK. A new Xojo project window will appear.
The Xojo Project Window
This window has three basic parts:
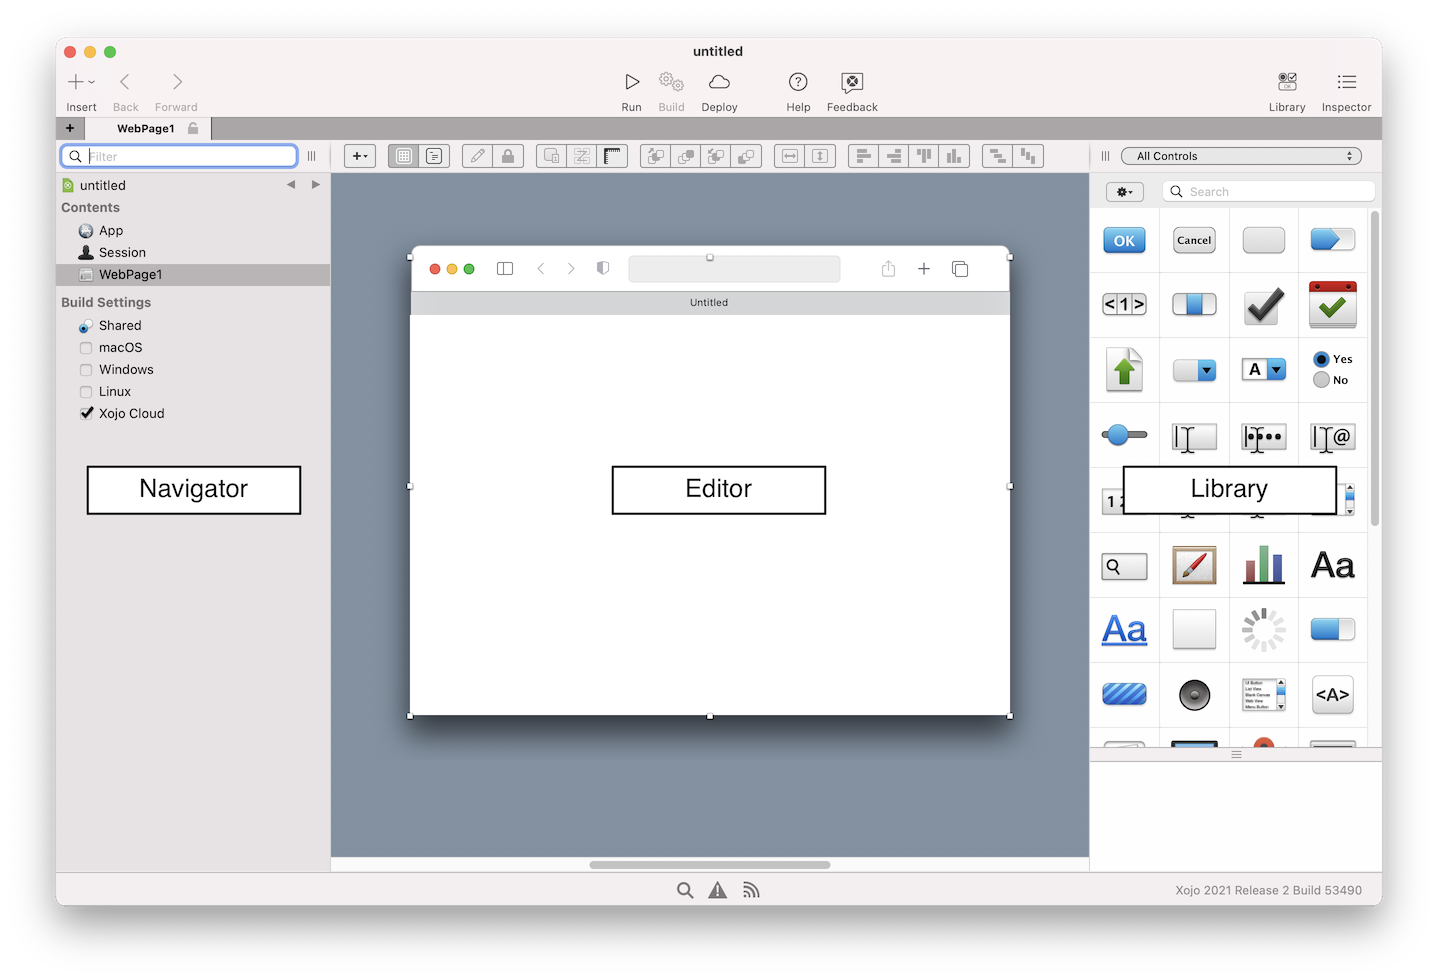
Navigator: The area on the top left shows you all the items in your project. By default you can see WebPage1 (which is selected), the App object and the Session object. Use the Navigator to navigate within your project.
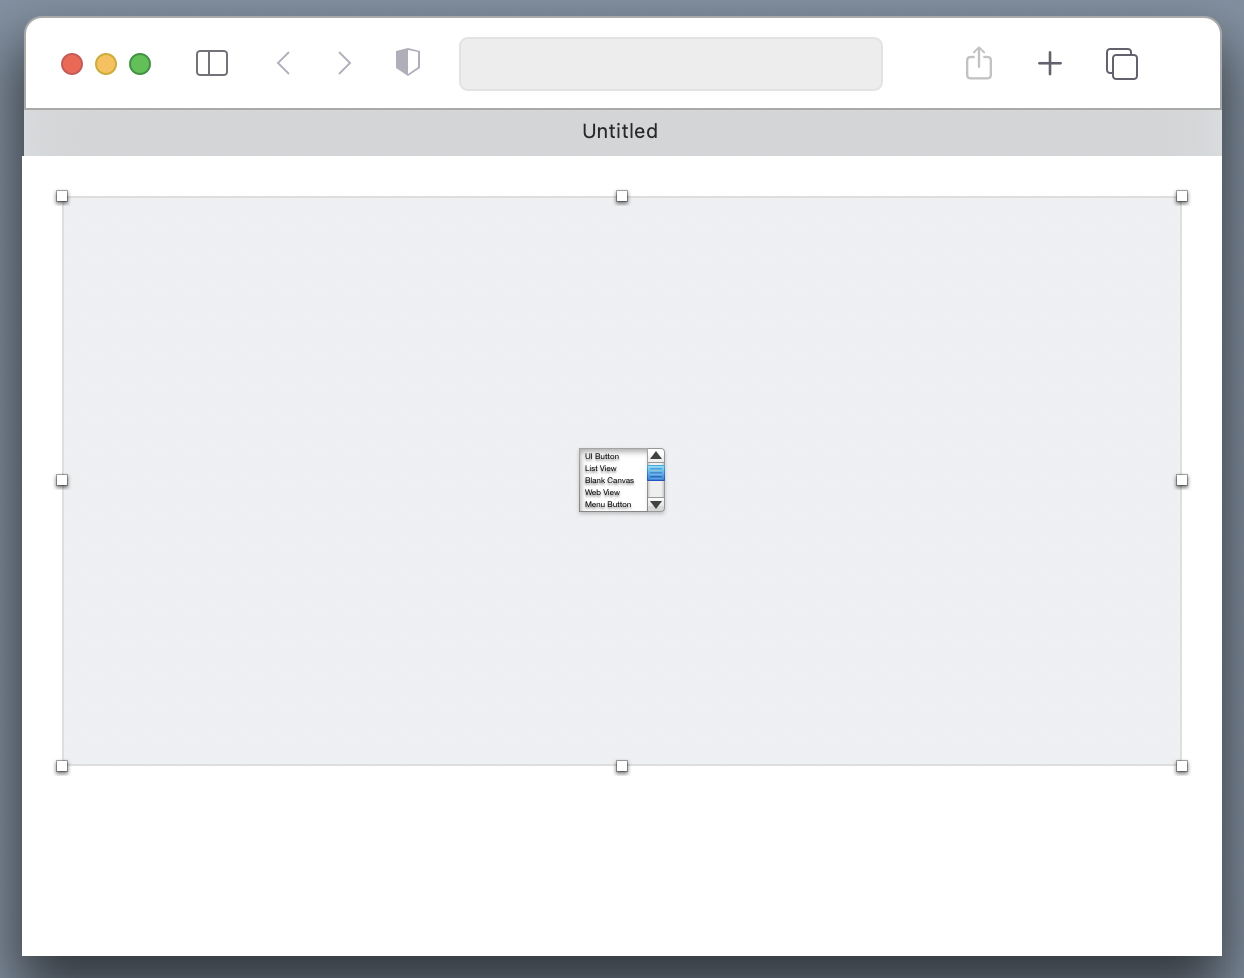
Editor: The center area is the Editor Area. Currently it's showing the Layout Editor. You use the Layout Editor to design the user interface for the web pages in your app. It shows the web page and previews how it looks when the app runs in a web browser. In this image, the web page is blank because you haven't yet added any user controls. The Editor Area however can also show other kinds of editors for editing code, icons and other things you might use in a project.
Library: The area on the right is the Library and shows the controls and interface elements that you can add to a web page. You design the web page by dragging controls from the Library to it. You can also add a control to the web page by double-clicking it.
Note
If your Library looks different than the one above, that's because it was set to show icons only. You can customize yours by clicking on the small gear icon near the top-left corner of the Library and then choosing a different setting.
If the Library is not visible, click the Library button on the toolbar to show it.
Inspector: Not shown in the above image is the Inspector, which allows you to see and change the various attributes (the height, width, name and more) of any control you've added to your webpage. This area of the window is shared with the Library. You can show the Inspector by clicking the Inspector button on the toolbar. The Inspector shows information about the selected item in the Navigator or Editor. The contents of the Inspector changes as you click on different items.
About the app you are about to create
In this tutorial you will create an app to track tasks, called Task Manager. When finished, the Task Manager app will let you enter tasks in a field then click the Add button to add them to the Task list. You can click on individual tasks in the list to delete them or mark them as complete.
Designing the user interface
Creating the task list
WebPage1 is open in the Layout Editor. First, you need to add a TaskList (ListBox) to the web page.
In the Library, click on the ListBox
 and drag it to the top-left corner of the Layout Editor. As you get close to the edges of the web page, you will see alignment guides that help you position the control to leave the right amount of space between the edge of the browser window and the control.
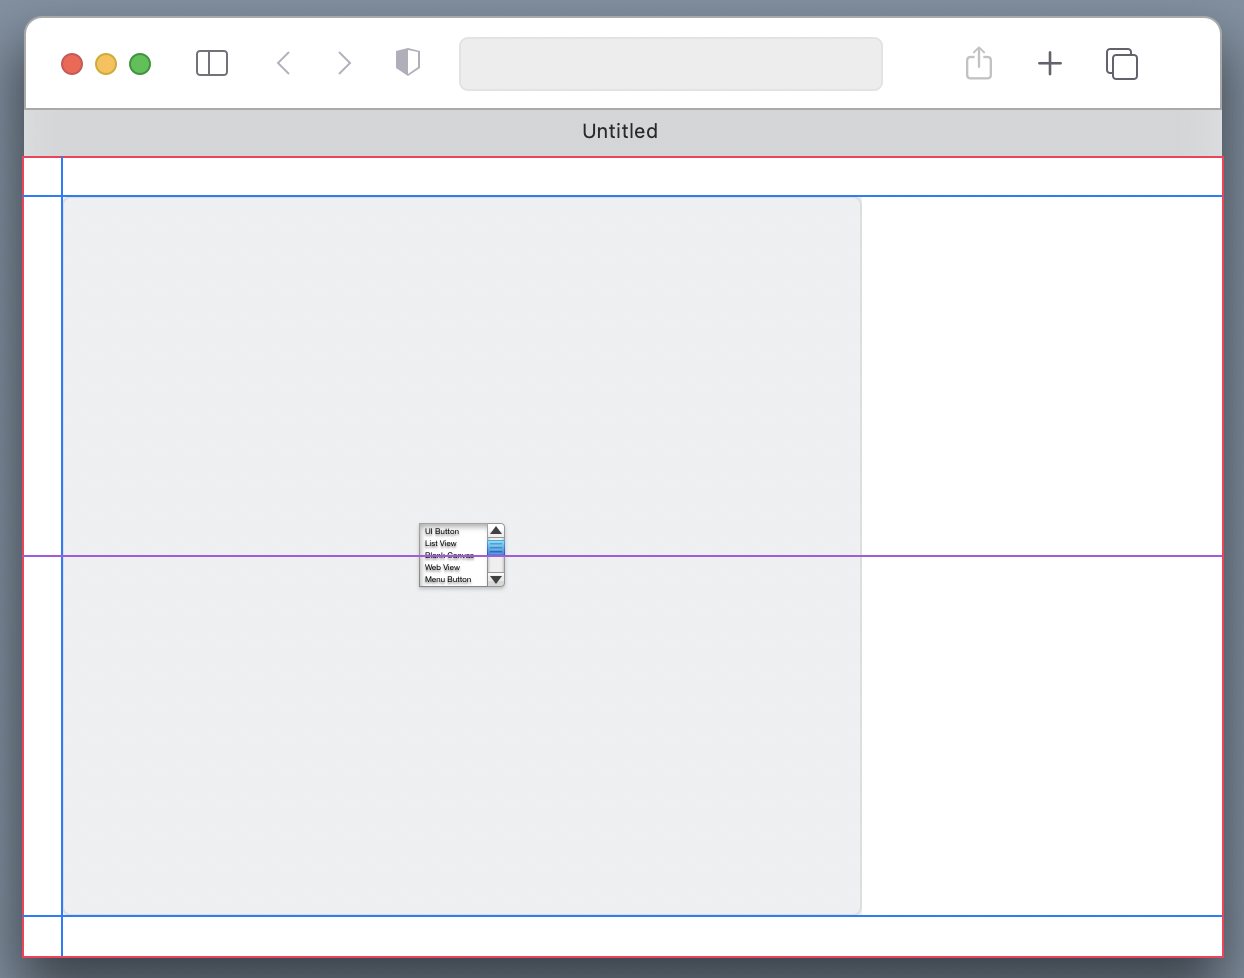
When the alignment guides appear, drop the ListBox.
Click on the Listbox to select it and then use the handles to resize it. Leave about 1/4th of the webpage blank for the other controls you're about to add. Your project should now look like this:
Adding the buttons and text field
Now add the Delete and Add buttons.
In the Library, click on the Button control
 and drag it to the lower-left corner of the web page.
Now drag a Default Button control
 to the lower-right corner of the web page. This button is labeled, "OK" by default but we will change it to "Add" later.
Last but not least, drag a TextField control
 from the Library and drop it next to the Delete button.
Resize the Textfield so that its right side is aligned with the left side of the OK button.
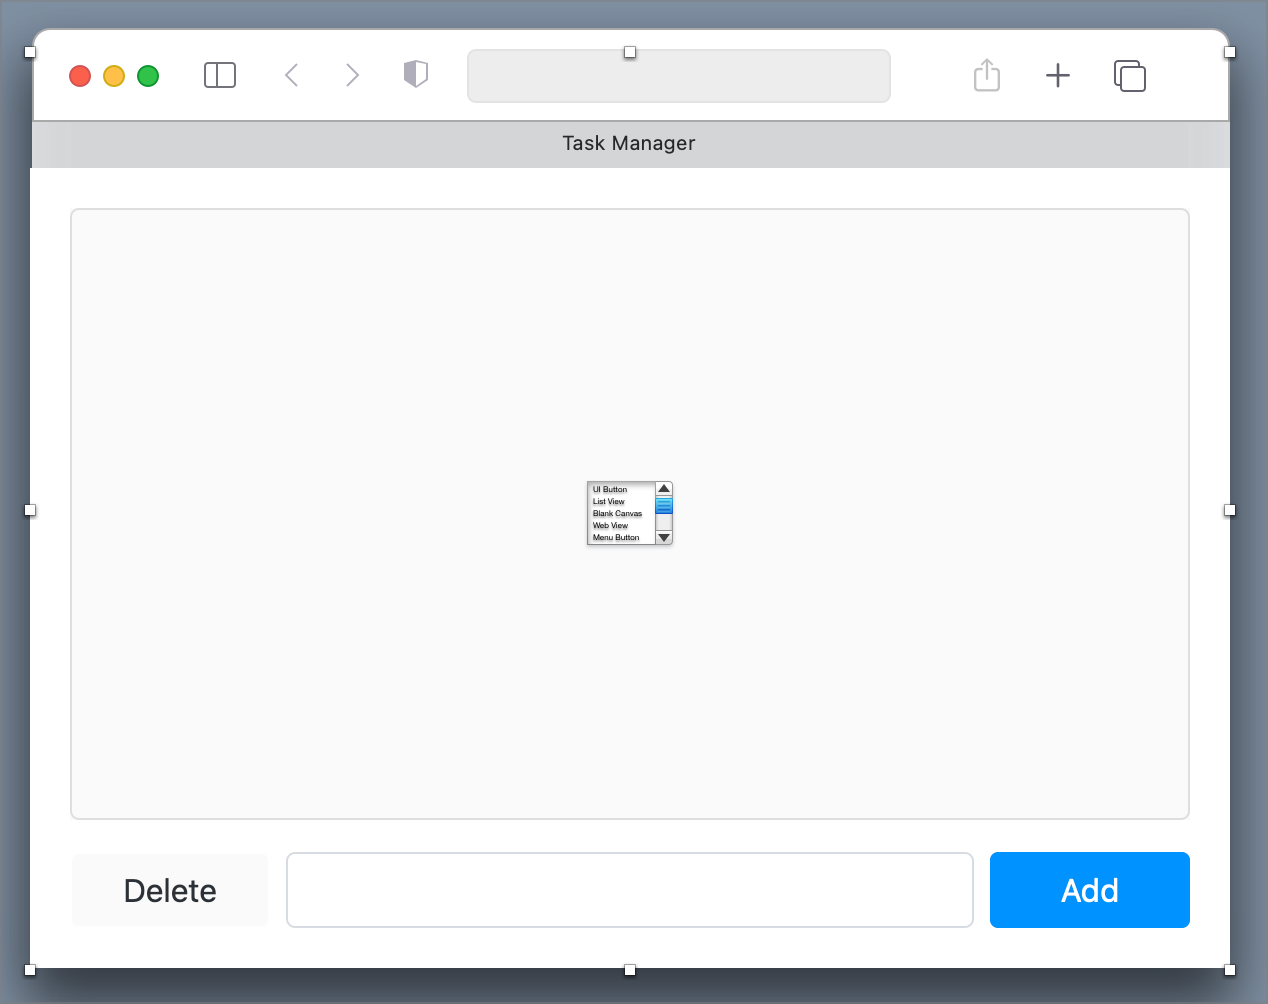
After adding all the controls, your web page in the Layout Editor should look like this:
Note
If on your computer the browser frame of the web page looks different from what you see in this tutorial, that's because Xojo draws a frame that is similar to the default browser of the OS upon which you are running Xojo.
Customizing controls with properties
Controls have various values associated with them such as their caption, height, and width. Because they help describe the control, they are called Properties. Changing property values allows you to change the look and behavior of the control.
Changing properties with the Inspector
The Inspector is used to change web page and control properties. It shares the same area as the Library on the right side of the window.
Changing Webpage properties
You need to change the Name and Title properties of the web page:
Click the Inspector button on the toolbar.

In the Layout Editor, click anywhere on the web page where there is no control to select the page itself. The Inspector pane now shows the properties for the web page.
Change the Name property from
WebPage1toTaskManagerPage. Press Return to see the name change in the Navigator.Change the Title property from
UntitledtoTask Manager. Press Return to see the name change in the title bar of the web page.
Note
The labels the user sees such as the title of a page or the caption of a button, can have spaces. The names of controls, however, are used to refer to them in code and cannot have spaces in their names. If you add a space, Xojo will get confused because controls prefer to have single names like Elvis, Sting and Usher.
Changing ListBox properties
So the ListBox can properly display Tasks, we need to customize the properties.
In the Layout Editor, click on the ListBox to select it. The Inspector pane now shows the properties for ListBox.
Change the Name property from
ListBox 1toTaskList.Since the ListBox needs two columns (Completed and Task), change the Column Count property from
1to2and press Return. The ListBox will not show two columns in the Layout Editor but it will when you run your app.In the Inspector, turn on the Has Header button.
You want to change the column headers to Completed and Task. In the Inspector, click the pencil button to the right of the Initial Value property. This will bring up the Initial Value Editor.
In the Initial Value editor type
Completed, press Tab and then typeTask. Click OK when you're finished editing. Since the Completed column is only going to contain a simple checkmark when the task is marked as completed, it can be narrow.In the ColumnWidths field, enter
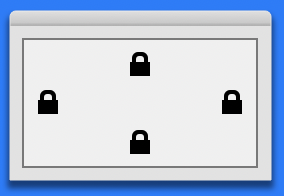
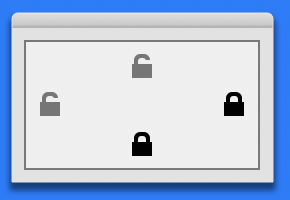
30,*and press Return. Using 30,* tells the ListBox that the first column should always be 30 pixels wide and that the rest of the columns share the remaining width. Next you will lock the edges of the ListBox to the edges of the webpage so the ListBox gets larger or smaller as the web page size changes.Click the locks so that top, left, bottom and right are all locked.
Changing the properties of the buttons
Next let's add properties to the Delete and Add buttons.
Changing the Delete button properties
The button in the lower-left corner will become the Delete button.
Click on the button in the lower-left corner to select it. The Inspector now shows its properties.
Change the Name property from
Button1toDeleteButtonand press Return.Change the Caption property from
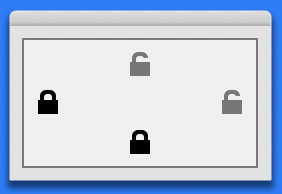
ButtontoDelete. Now you need to make changes to the locking properties so that the Delete button stays in the lower-left corner of the web page when the web page resizes.In the Locking group, click the Top lock to unlock it and the Bottom lock to lock it.
Changing the Add button properties
The button in the lower-right corner will become the Add button. It's a default button which means that pressing the Return key will active it.
In the Layout Editor, click the button in the lower-right corner to select it.
Change the Name property from
Button2toAddButtonand press Return.Change the Caption property from
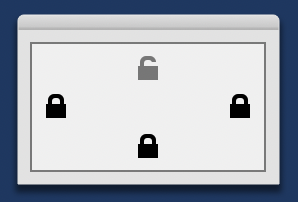
OKtoAddand press Return. Now you need to check the locking properties so the Add button stays in the bottom-corner of the web page when the web page resizes.Click the locks so that the right and bottom are locked and top and left are unlocked.
Changing the TextField properties
The TextField is where your user will type the task to add to the list.
In the Layout Editor, click on the TextField to select it.
Change the Name property from
TextField1toTaskFieldand press Return.To allow the TaskField to get wider/narrower as the webpage is resized, click the locks so that left, bottom and right are locked and top is unlocked.
The final layout
After adjusting all the properties for the web page and its controls, your layout should look like this:
Saving the project
Before we run the app to test it, it's a good idea to save your project so should something go wrong you don't lose your work:
Choose File > Save.
Note
This means select Save from the File menu and is the standard way choosing menu items are notated in the Xojo documentation.
Name the project
Task Managerand click Save.
Running the app
Your user interface layout is now complete, so it's time to try it out. Remember, you haven't added any code yet, so the app won't "work".
Click the Run button in the toolbar to run the project. Because this is a web project, it runs in your browser. If your browser wasn't already running, Xojo launches it for you.
When the Task Manager is displayed, you can interact with the buttons by clicking on them, you can type in the TextField and you can resize the web page to see the buttons and TextField reposition themselves.
Close the browser tab or window to return to the Layout Editor. Xojo won't know that you closed the browser window or tab for several minutes.
To stop the app, click the Stop button in the Debugger (which we will talk about more later).

Adding functionality with code
Adding code to the Add button
The Add button adds tasks to the list. The code you add to the button needs to take what was typed in TaskField and add it as a new row to the TaskList ListBox.
Follow these steps to add the code:
In the Layout Editor, double-click the AddButton control. The Add Event Handler window appears. When a user presses a button, the Pressed event handler is called.
The Pressed Event Handler is already selected so just click OK to accept it.
This displays the Code Editor. Now you need to get the task that was typed into the TaskField. You might think you could get the task just by using "TaskField", the name of the field. That is close, but not quite enough. The name of the control represents the entire control with all of its properties. What you want is just the text in the TaskField. To do that you type the name of the control, followed by a dot, followed by the name of the property. In other words, you use this syntax: ControlName.PropertyName. This is something called “dot” notation and is commonly used in object-oriented programming. In this case the control is named TaskField and the property you want is Text (use the WebButton to find out about all the properties available to TextFields). The syntax looks like this: TaskField.Text The ListBox control has a built-in function for adding a row to itself. That function is appropriately called AddRow. Functions like this in Xojo are more generally referred to as methods. The AddRow method can take multiple values allowing you to fill in as many columns as you want with a single call. The first column contains the completed status of each task, so it is initially set to blank. The second column contains the name of the task.
Add this code to the Pressed event:
TaskList.AddRow("", TaskField.Text)
Run the app to test it out.
Type tasks in the TaskField and click the Add button to see them appear in the TaskList ListBox.
Close the browser tab or window.
The app is still running in Xojo, so click the Stop button to return to the Code Editor.
Marking tasks as complete
When the user clicks in the Completed column of the TaskList, the selected task should toggle between being displaying a checkmark (✓) and displaying nothing.
Let's add code to the TaskList in the same way we added code for the Add button:
Click on TaskManagerPage in the Navigator.
Double-click the TaskList control on your layout.
In the Add Event Handler dialog box, select the Pressed event and click OK.
Notice that the name of the event (Pressed) appears at the top of the Code Editor. Along with it are the names of two values (row and column) that are automatically populated when the Pressed event is called. It also indicates they are both integers. Values that are passed into a method or event are called parameters. Like AddRow, the ListBox control has another method that lets you get and set the value in a cell. This method is called CellTextAt and it expects you to tell it which row and column to access. In this case, the Pressed event's row parameter provides us with the row number. Columns in a ListBox are numbered starting at 0 so that's the number of you Completed column in this project. Enter this code for the TaskList's Pressed event. And then I will explain what's going on here.
If column = 0 Then
  If Me.CellTextAt(Me.SelectedRowIndex, 0) = "" Then
    Me.CellTextAt(Me.SelectedRowIndex, 0) = "✓"
  Else
    Me.CellTextAt(Me.SelectedRowIndex, 0) = ""
  End If
end If
This code uses IF (a conditional operator) to make a decision. On the first line, it checks to see IF the column that was pressed was the first column (column 0 AKA the "Completed" column). If it is, then it continues to the next line that checks to see if column 0 of the selected row is blank. Let's dissect this line a bit further: Me.CellTextAt(Me.SelectedRowIndex, 0) = "" Remember that to call a method, you need to start with the name of the control. A shortcut for this is a function appropriately titled, Me. It means the control from which Me was called. This is convenient as well because if you change the name of a control you won't have to update any code in the control's events that refers to itself. Next is CellTextAt, the method already discussed. It takes two parameters: a row and a column. For the column, we are once again using Me and then calling a property of the ListBox called SelectedRowIndex. As you may have already deduced, SelectedRowIndex returns the number of the selected row. That value is then being passed as the first parameter to CellTextAt. The second parameter is 0 because the only column we care about is column 0 (the Completed column). Finally we compare the value from the cell at the intersection of Me.SelectedRowIndex and 0 to "" (which means an empty text value). If it's empty, we use nearly the same code to assign it a checkmark. If it's not, we go to the ELSE part of the code and set it to empty ("").
Now if you've never written a line of code before, that may seem like a long explanation for some code that toggles a cell. I can only say that computers can't think for themselves and need a lot of details to get the job done. The good news is that the more code you write, the easier it will get.
Since you've already entered the code, run the app and add a few sample tasks.
Now try toggling the Completed column by clicking in that column for one of your tasks.
When you're done, close the browser tab or window.
The app is still running in Xojo. Press Stop in Xojo.
Adding code to the Delete button
The code you add to the Delete button needs to determine which row is selected in the list and remove it.
Add code to the Delete button in the same way you added code for the Add button:
In the Navigator, click the the TaskManagerPage to select it and show the Layout Editor.
In the Layout Editor, double click on your Delete button to add the Pressed event handler. Once again we will be using a method of the ListBox. This one is appropriately named, RemoveRowAt. Since it's removing an entire row, it only needs to know which row is getting the axe. Once again, we will be using the SelectedRowIndex method. This time, however, we can't use Me because we are calling the method from an event of the Delete button not the ListBox:
Add the following code to the Pressed event:
TaskList.RemoveRowAt(TaskList.SelectedRowIndex)
Save the project.
Run the app and add and delete some tasks to test it out.
Finding and fixing bugs: the fine art of debugging
No matter how experienced you get at writing code, you're going to create bugs.
Note
Remember, computers can only do exactly what we tell them to do. If you tell them to do something, they will do it without complaint. Some bugs are obvious and easy to find, others are are sneaky and love to hide in the dark corners of your projects so you can spend your time looking for them instead of creating new ones.
Although your app works just fine, believe it or not there is a bug that needs addressing. Do you know what it is? Here's a hint: What happens if you you click the Delete buttons but have not selected a task? Let's find out!
Run the app and click on the Delete button without selecting a task, observe what happens.
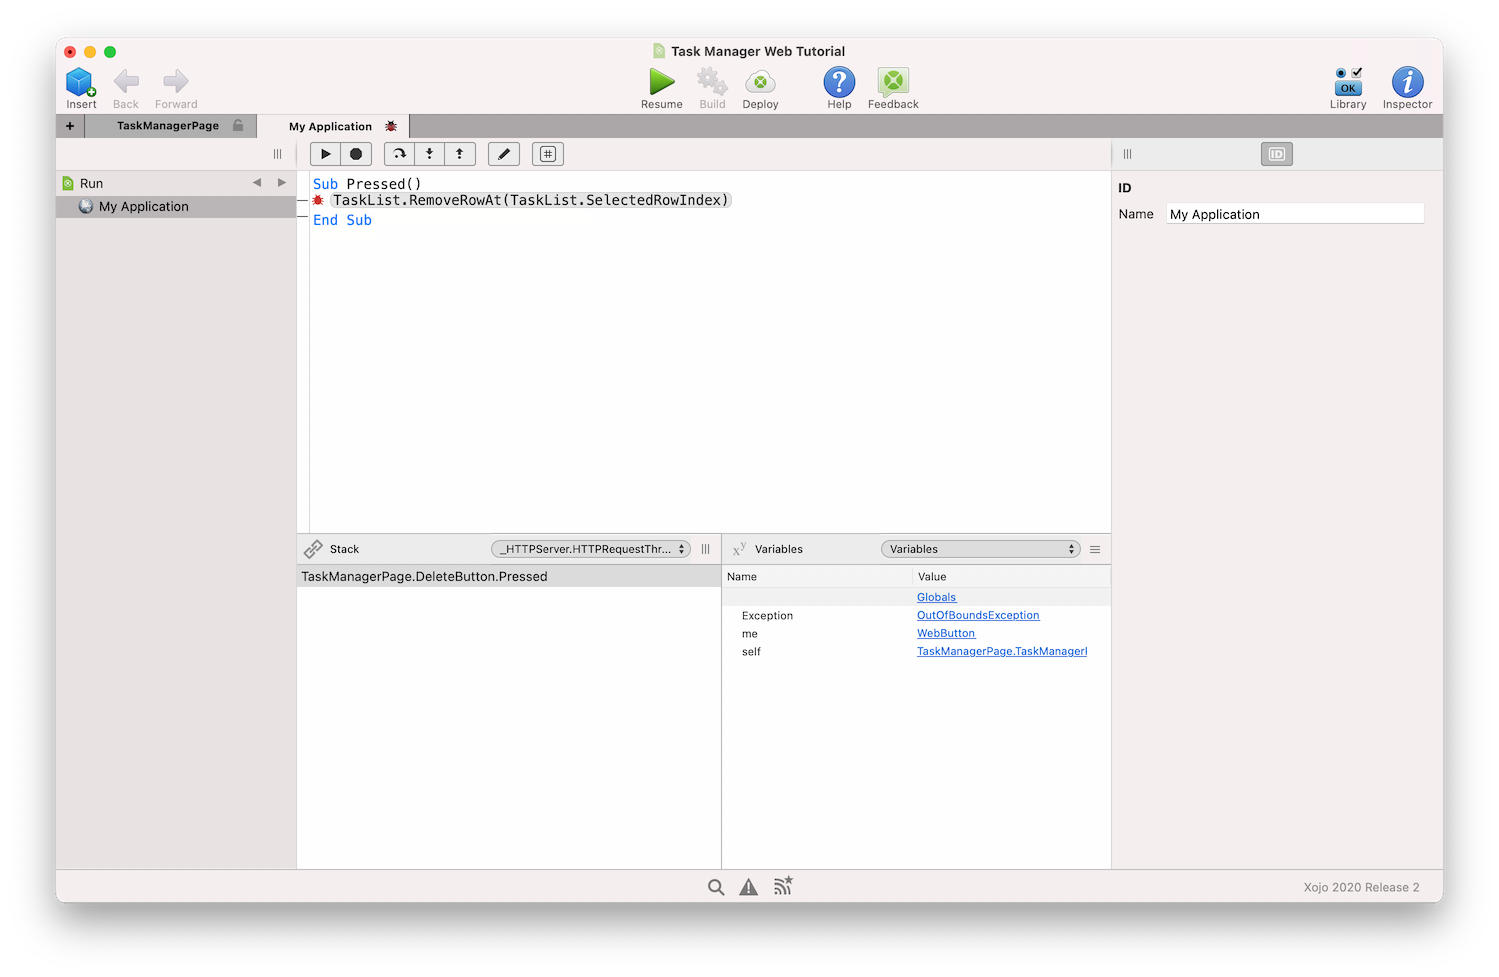
Xojo has switched to its Debugger and has highlighted a line of code where an error occurred.

You can tell where this error occurred but you can also tell by looking at the Stack pane of the Debugger. Notice that it indicates it's in the DeleteButton's Pressed event:

The error occurred because you attempted to remove a row that does not exist. When no row is selected in the ListBox, the SelectedRowIndex property returns -1. Since this is not a valid row number, the CellTextAt method caused an error. Specifically, the value passed was out of bounds and thus the error is called an OutOfBoundsException. It's called an Exception because it's something exceptional that happened. You can tell it's OutOfBoundsException by looking at the Debugger's Variables pane:

Close the browser tab or window.
Click the Stop button in the toolbar to return to the Code Editor. Luckily, it is easy to prevent this bug from occurring. We are just going to prevent the user from even pressing the Delete button if they don't have a row selected. That way SelectedRowIndex can never be out of bounds.
Click the TaskManagerPage in the Navigator.
Select the Delete button and then in the Inspector, turn off the Enabled property. Now the Delete button is disabled by default.
Now select the TaskList to add another event. This time, click the Add button
 in the Layout Editor's toolbar and select Add Event Handler from its menu. You have to add the new event this way because you've already added the Pressed event so double-clicking on the TaskList would take you there instead of adding a new event.
Add the SelectionChanged event.
In that event, add the following code and then I'll explain, though perhaps you have figured it out on your own:
If Me.SelectedRowIndex = -1 Then
  DeleteButton.Enabled = False
Else
  DeleteButton.Enabled = True
End If
When the user changes which row is selected (which includes selecting no row at all), the SelectionChanged event is called. This code checks to see if the SelectedRowIndex is -1 which means no row is selected. If that's the case, we set the Enabled property of the button to False or otherwise to True. Your code can't fail if it can't be called in a situation where it could fail.
Run your app again and you'll observe that this bug is no longer an issue. When you're done, return to Xojo and hit the Stop button.
Finishing the app
Making improvements
Did you notice that the Add button is enabled even when you haven't entered a task? The user probably doesn't want to accidentally enter an empty task. And after you click it, the task you just entered is still in the TaskField. So first, we need to disable the Add button when there's no text in the TaskField and second, unless you're the type to do the same task over and over, we will need to remove the last one from the TaskField after we add it to the TaskList.
Click TaskManagerPage in the Navigator to get back to the Layout Editor. When the text is changed in the TaskField, we decide whether or not to Enable the Add button.
Double click on the TaskField to add the TextChanged event.
Now enter the following code:
If Me.Text = "" Then
  AddButton.Enabled = False
Else
  AddButton.Enabled = True
End If
Let's make the Add button remove the text from the TaskField after it creates a task out of it:
Select the AddButton in the Navigator to both display the TextManagerPage in the Layout Editor and select the AddButton at the same time.
In the Inspector, turn off the AddButton's Enabled property.
Next we need to update the Add button's Pressed event handler so double-click it to get to the Pressed event.
Now you should be staring at the first line of code you wrote. Click at the end of the line and press Return to create new line.
On that brand new line, enter this code to set the Text property of the TaskField to an empty text value.
TaskField.Text = ""
Go ahead and save your code.
Run your app to test out this newest version.
Deploying the app
There are several ways to deploy a Xojo web app. The easiest way is to use Xojo Cloud so that you can just click "Deploy" on the main toolbar to send your app to a web server where it can be used. You can also deploy your app yourself as a standalone application that is a self-contained app and web server which can be run on any computer or server. Users can access the app by using the computer's URL and port number.
To learn more about these options, refer to Web App Deployment Overview in the Topics section.
Next steps
Congratulations, you have successfully completed the Web Tutorial and now have a fully functional web app. Watch this video tutorial to learn how to connect this app to a SQLite database. To continue on your journey of learning Xojo, you should next move on to the Topics and API sections of the documention, which covers Xojo in its entirety. Go to the documentation when you run into trouble, check out the example projects included with Xojo and hop on over to the Xojo Community Forum and start asking questions. There are lots of experienced Xojo users eager to help.
Feedback
What did you think of this tutorial? We'd appreciate your feedback, write to us.